This is a Carry over from the Old Site. MTI HOSE Infusion

I had been having problems with dry spots and tiny bubbles. Hojo recommended I make sure of my vacuum and to degass.

Well Im back. @Hojo, you may have been right, but there were other issues as well, as I discovered.

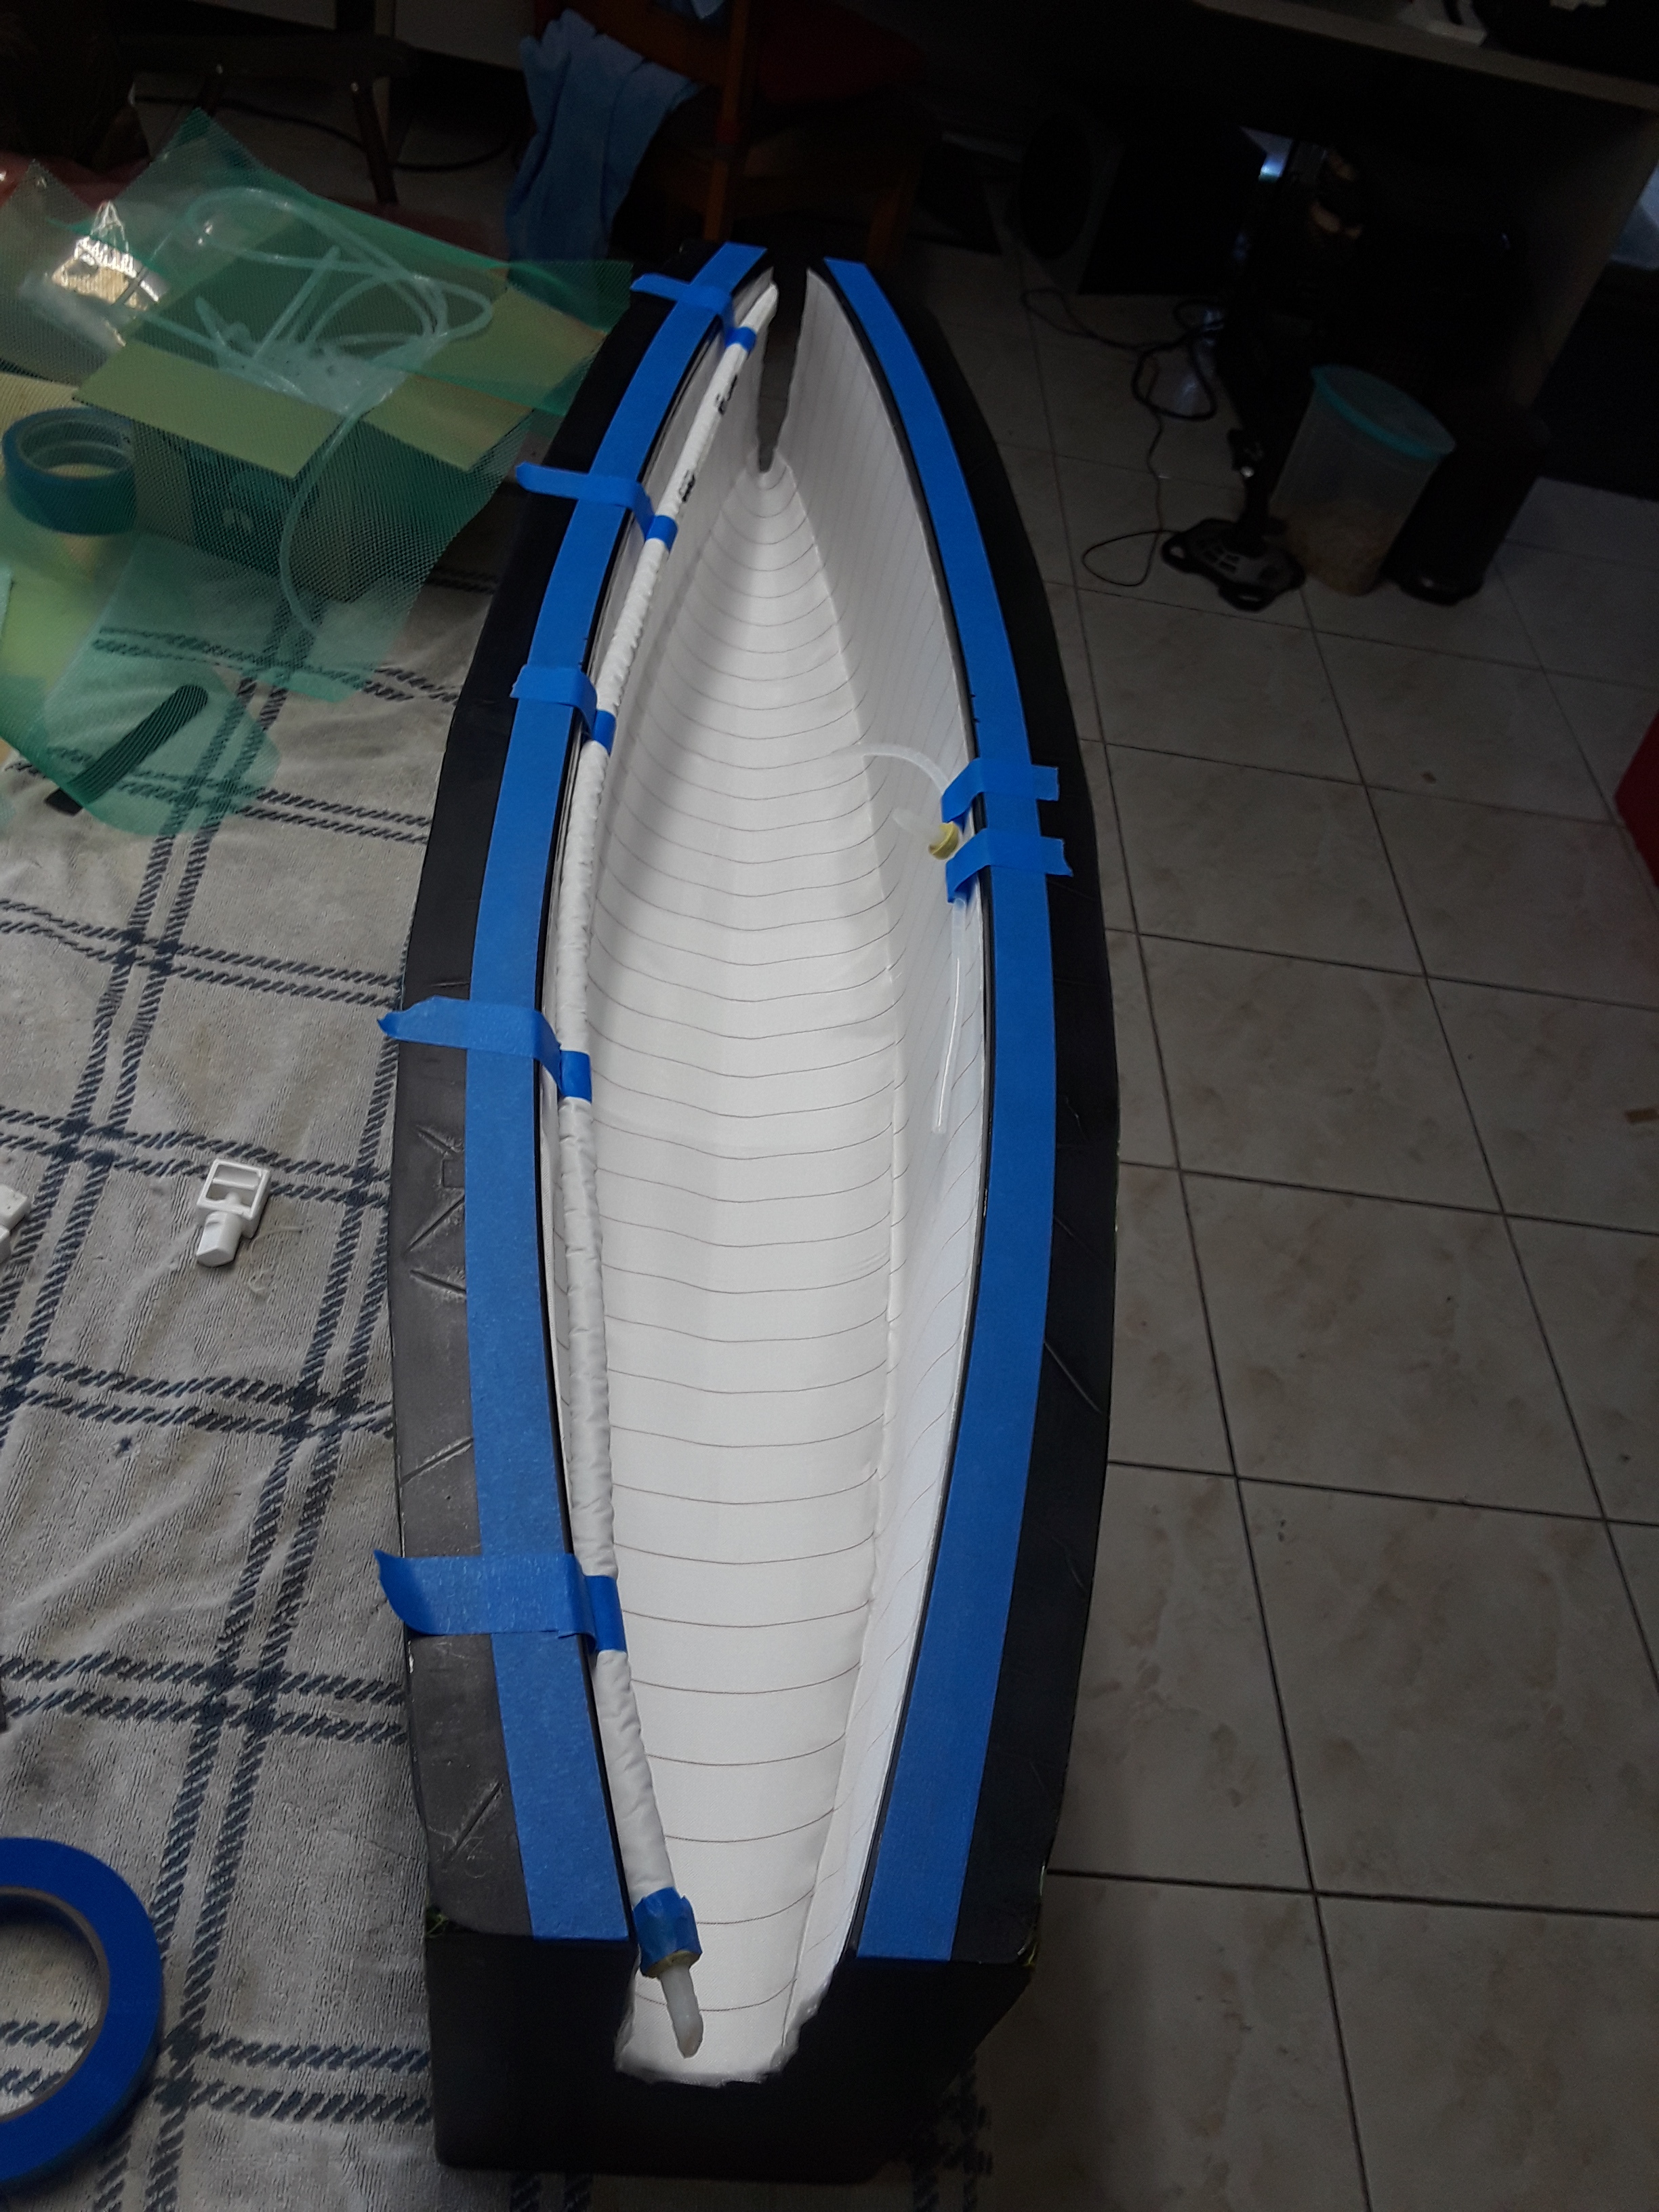
  1. I changed up my bagging material and got away from the Airtech Stretchlon 200. Im now using 36" Bag Tubing Airtech Ipplon KM-1300 LFT.This bag TUBE helps me use less Sticky Tape, is thicker and gives me more confidence while handling it. Works like a charm. Just Bag the WHOLE MOLD.
  2. I was degassing my Pro-set Infusion Resin for 5 mins before Flowing Resin. I kept increasing my degass times and kept seeing improvements in the finish. Now I am degassing for approx 13 mins and getting great results.
  3. I was using MTI Hose on both sides of the mold and flowing with a large metal Intake, in the middle. The round one. I kept having bubble problems at the intake. I changed up to using a simple 1/4" Nylon Tee fitting for $1.99. Its a one time use but hey its worth a couple bucks it if works. Now I Use the Tee with some 6mm spiral extensions on one side of the mold and one MTI Hose on the other side. Takes longer to evac the air out of the bag but again, Im saving money on MTI Hose.
  4. I have all the Flow Technique down to a science now. Im using simple and cheap plastic clamps to adjust the resin flow and now have the flow speed ingrained into my brain. Let the flow symphony begin!
  5. I know just when to shut down the flow. The whole flow process takes just a few minutes. Maybe Ten Minutes for the result.

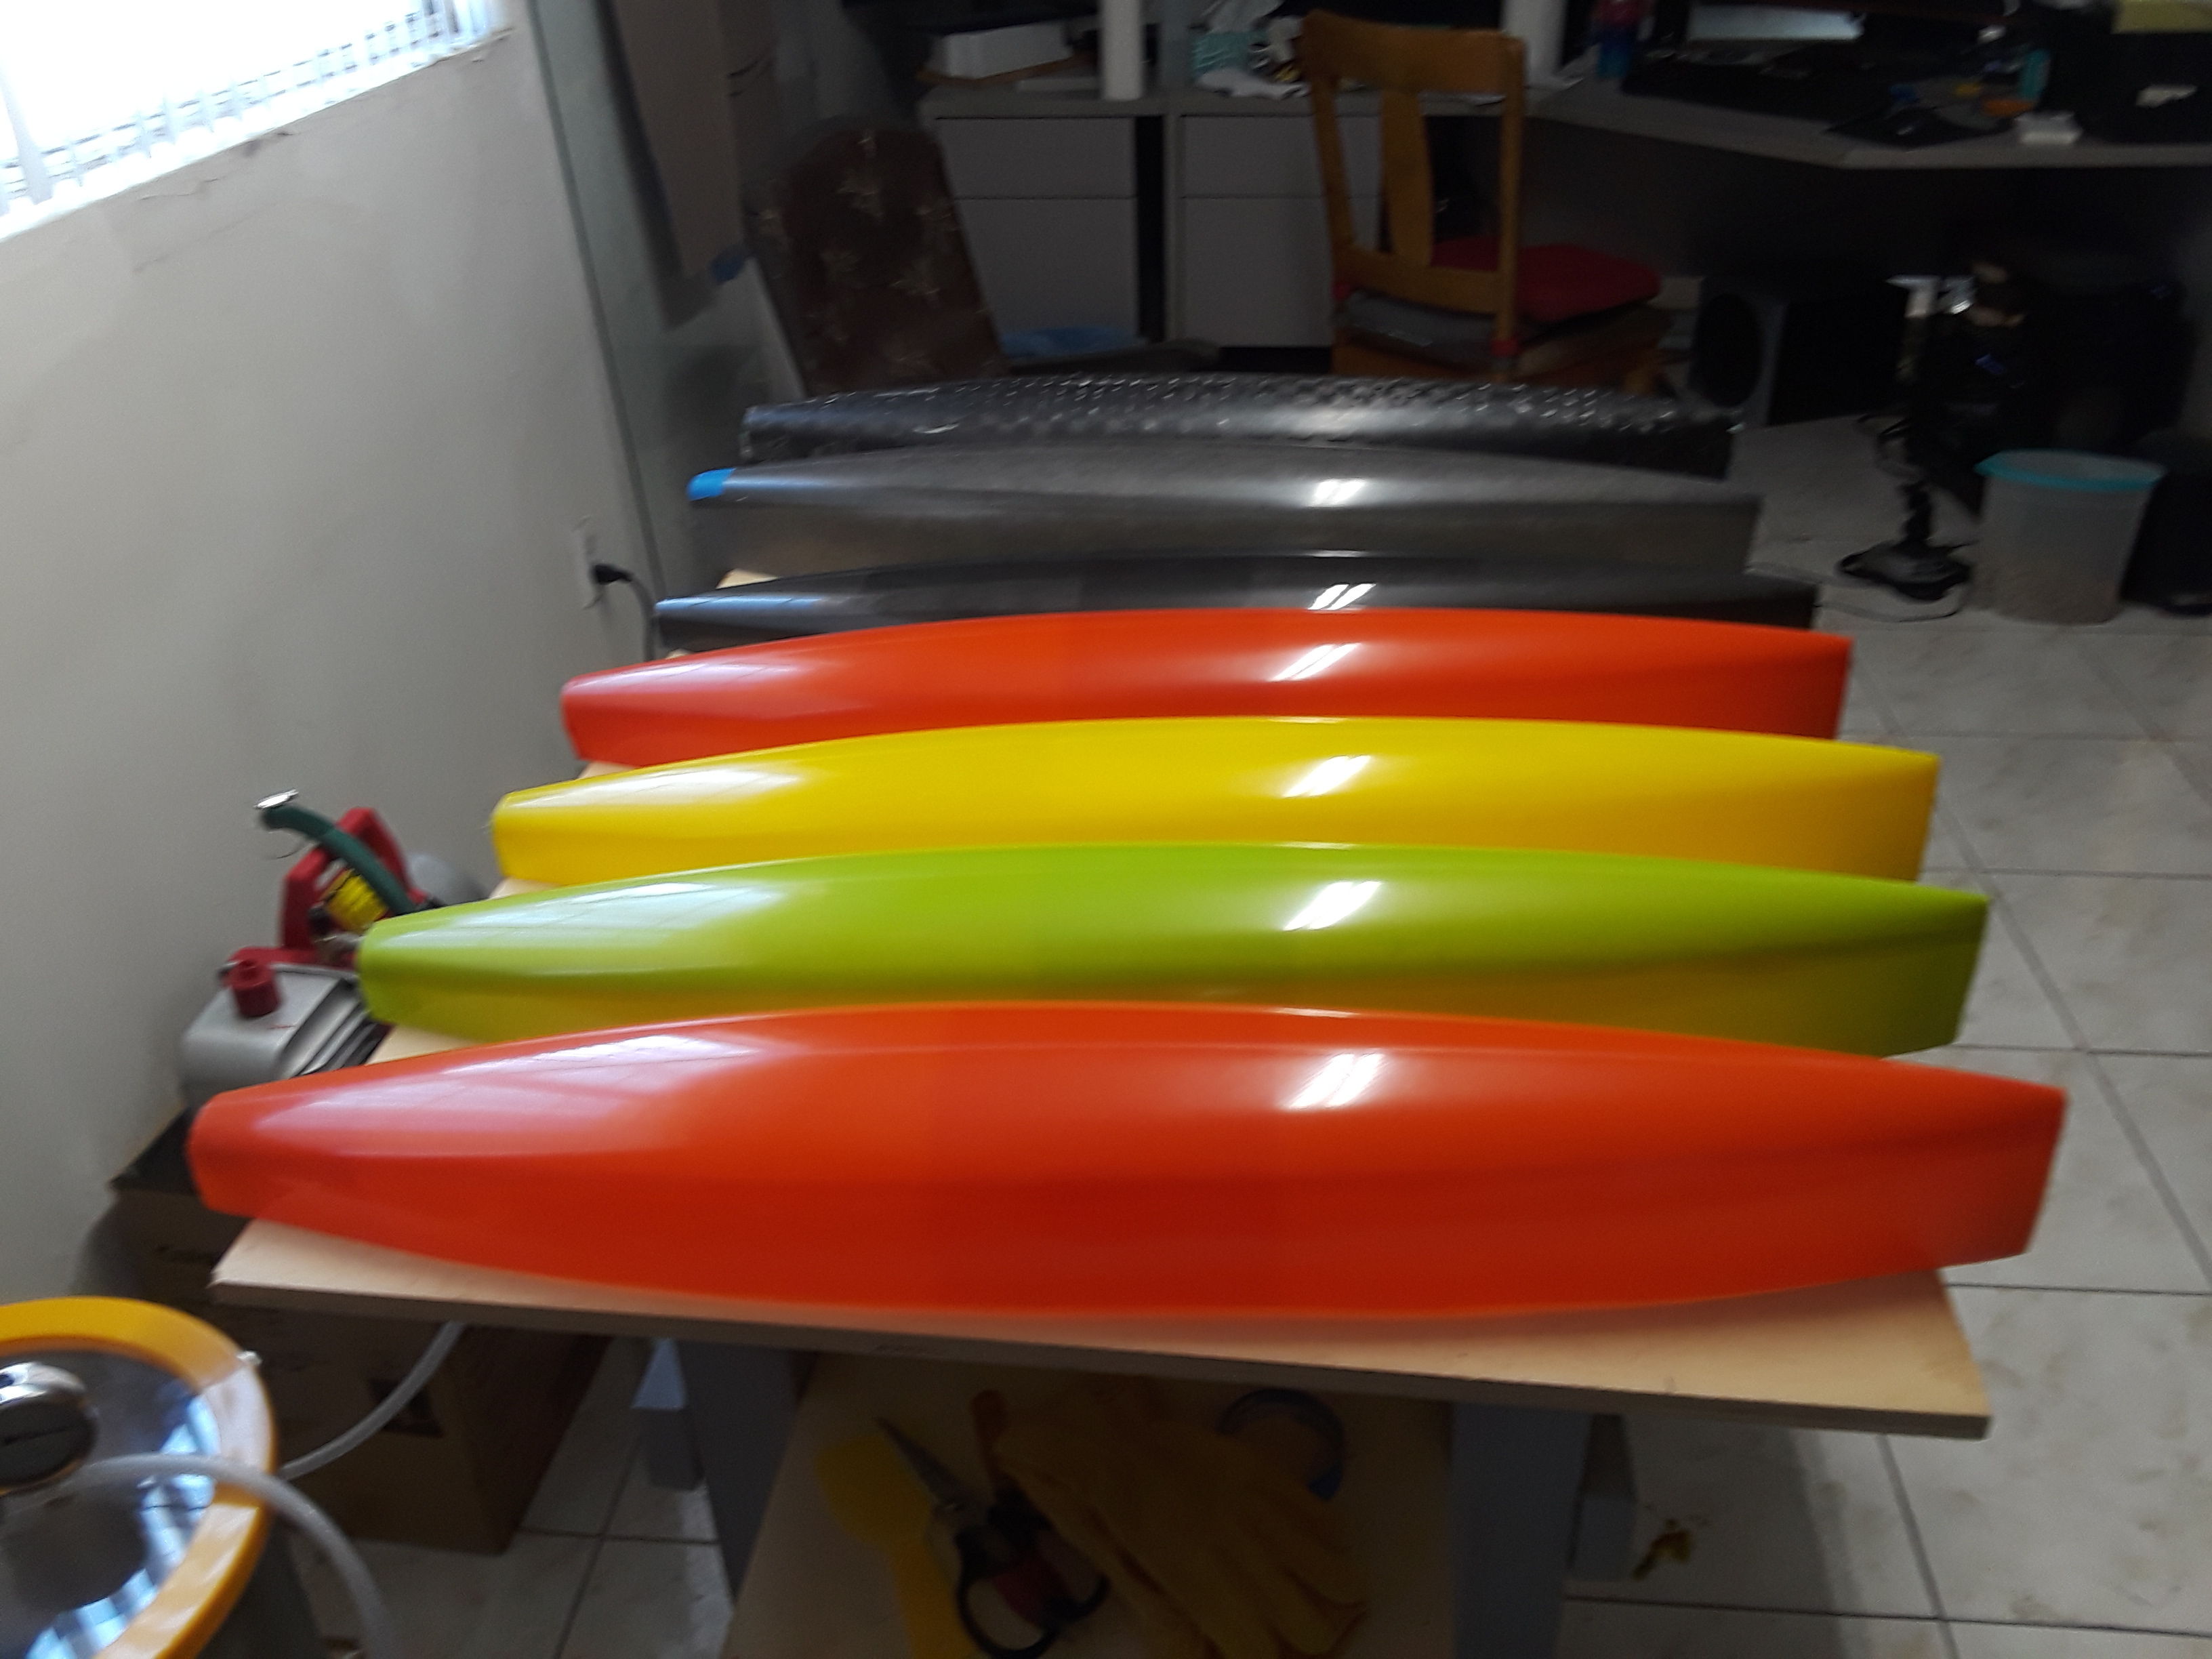
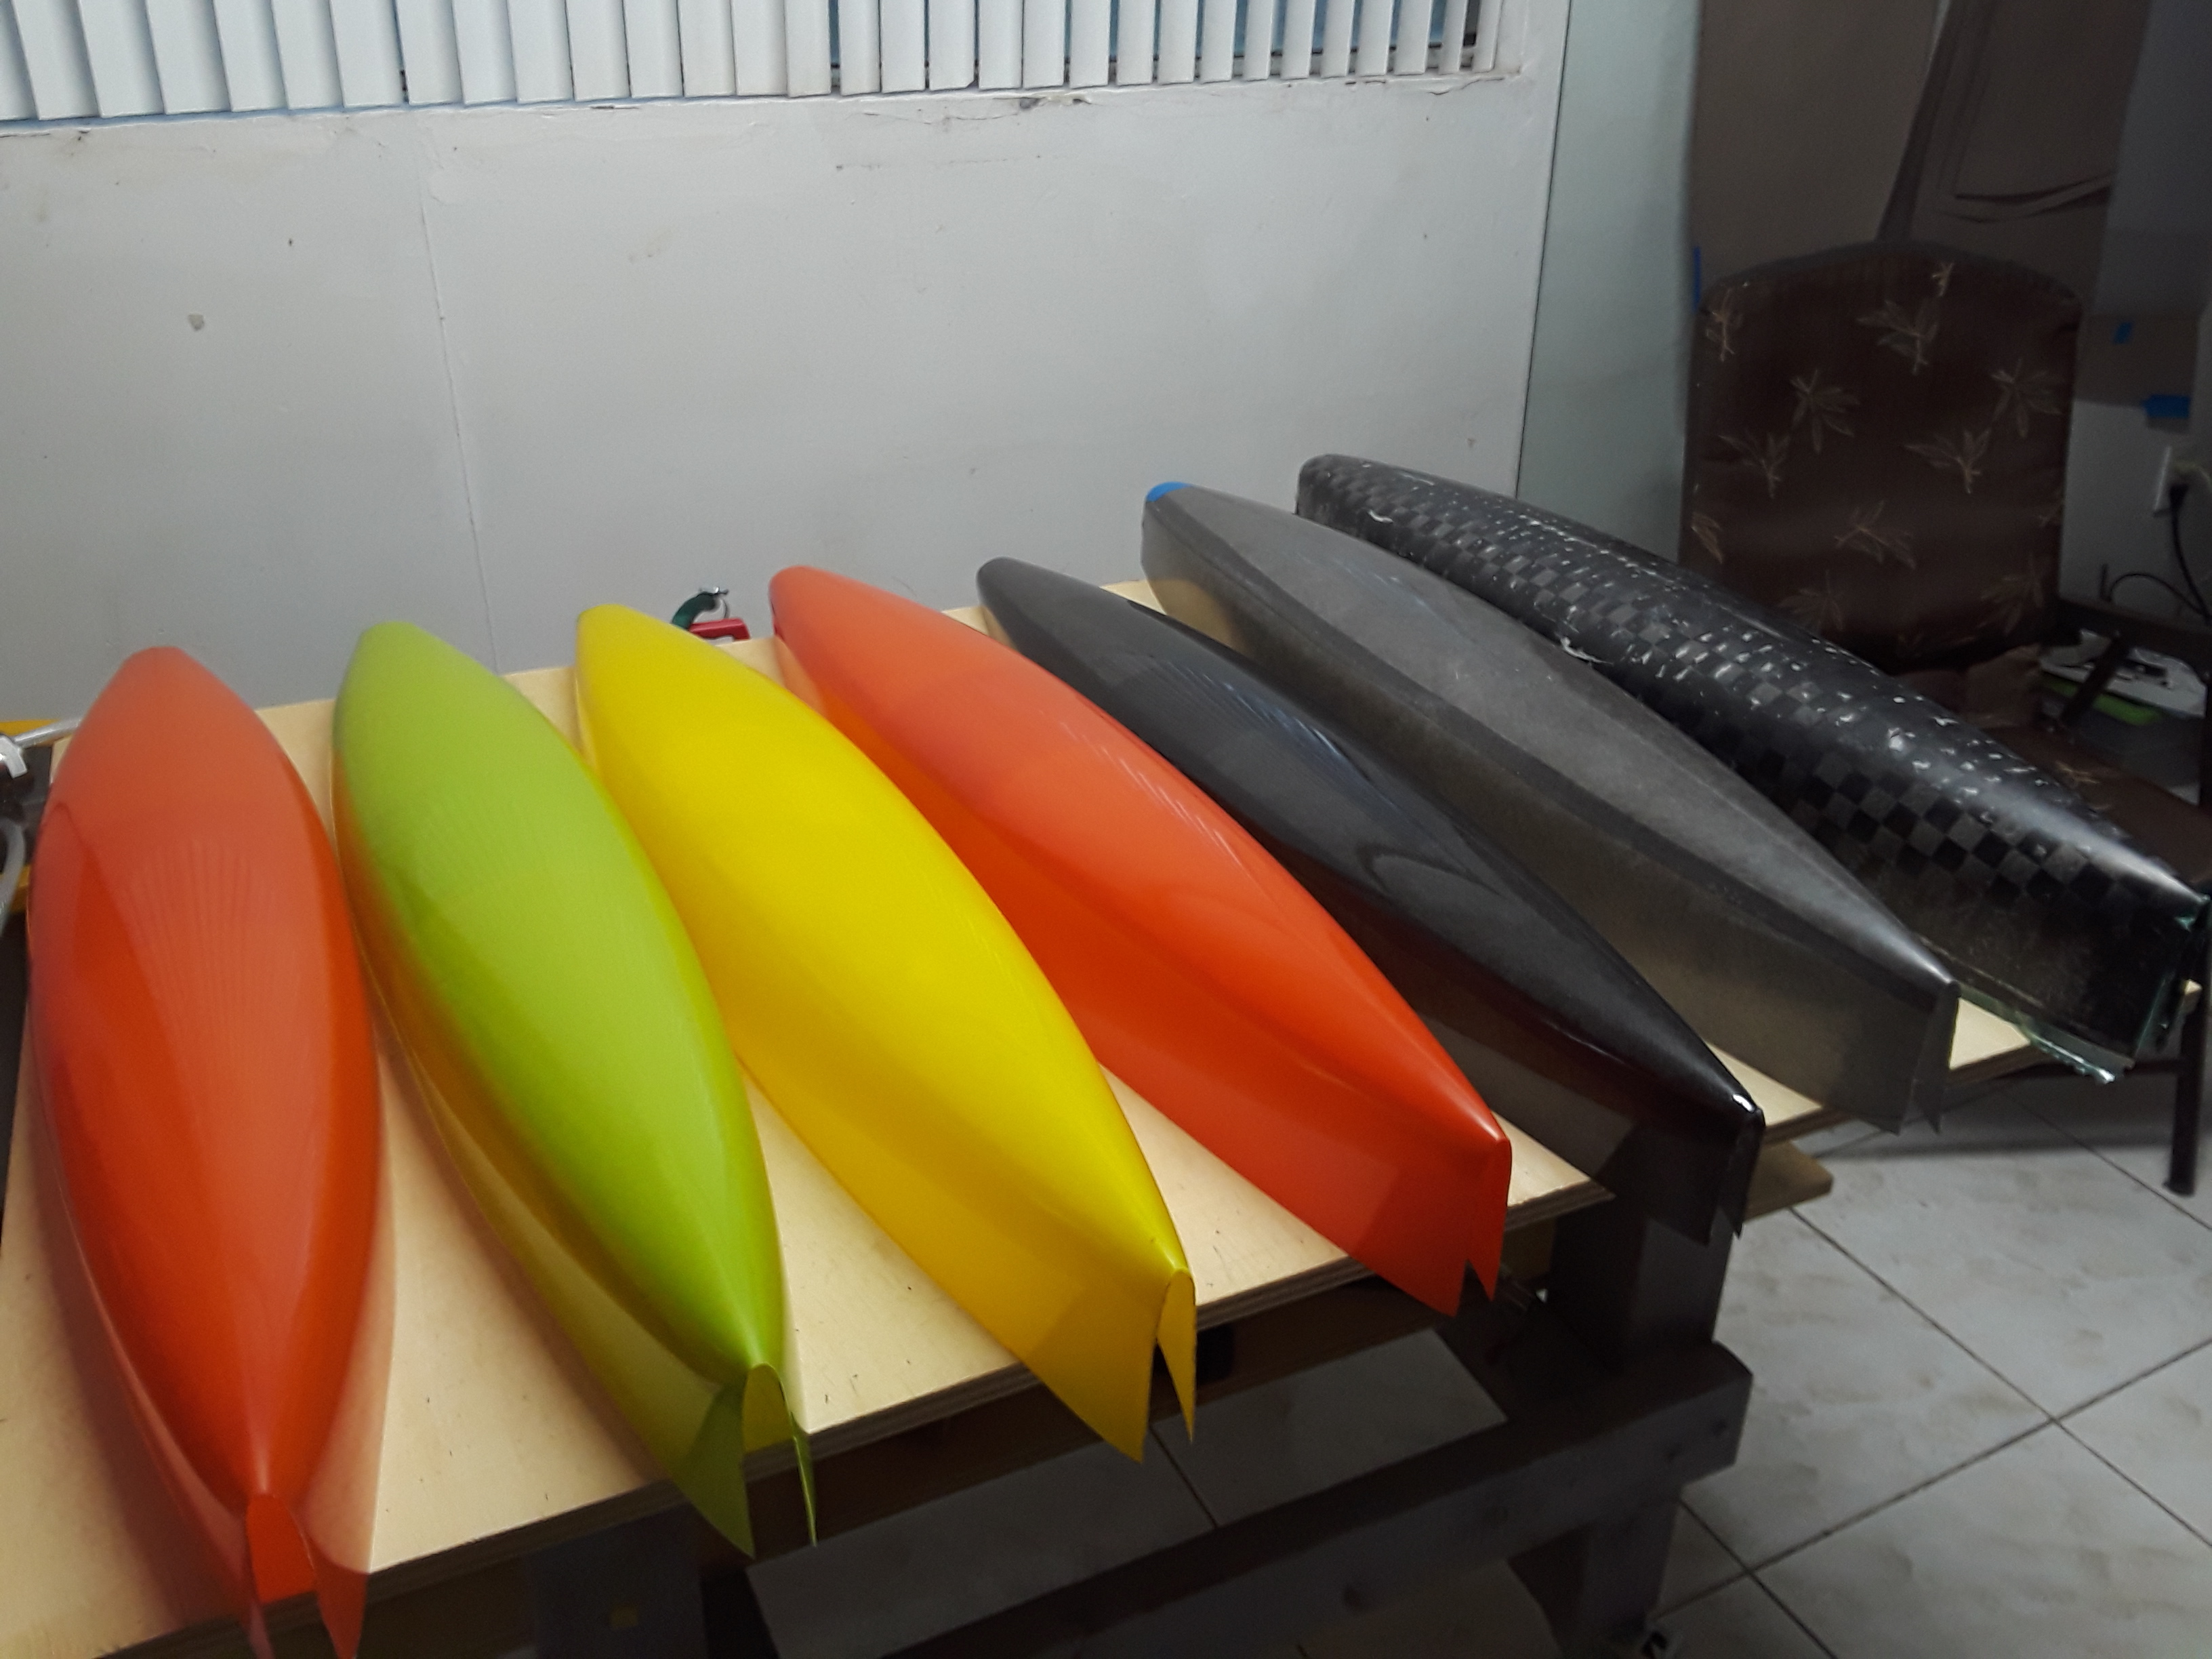
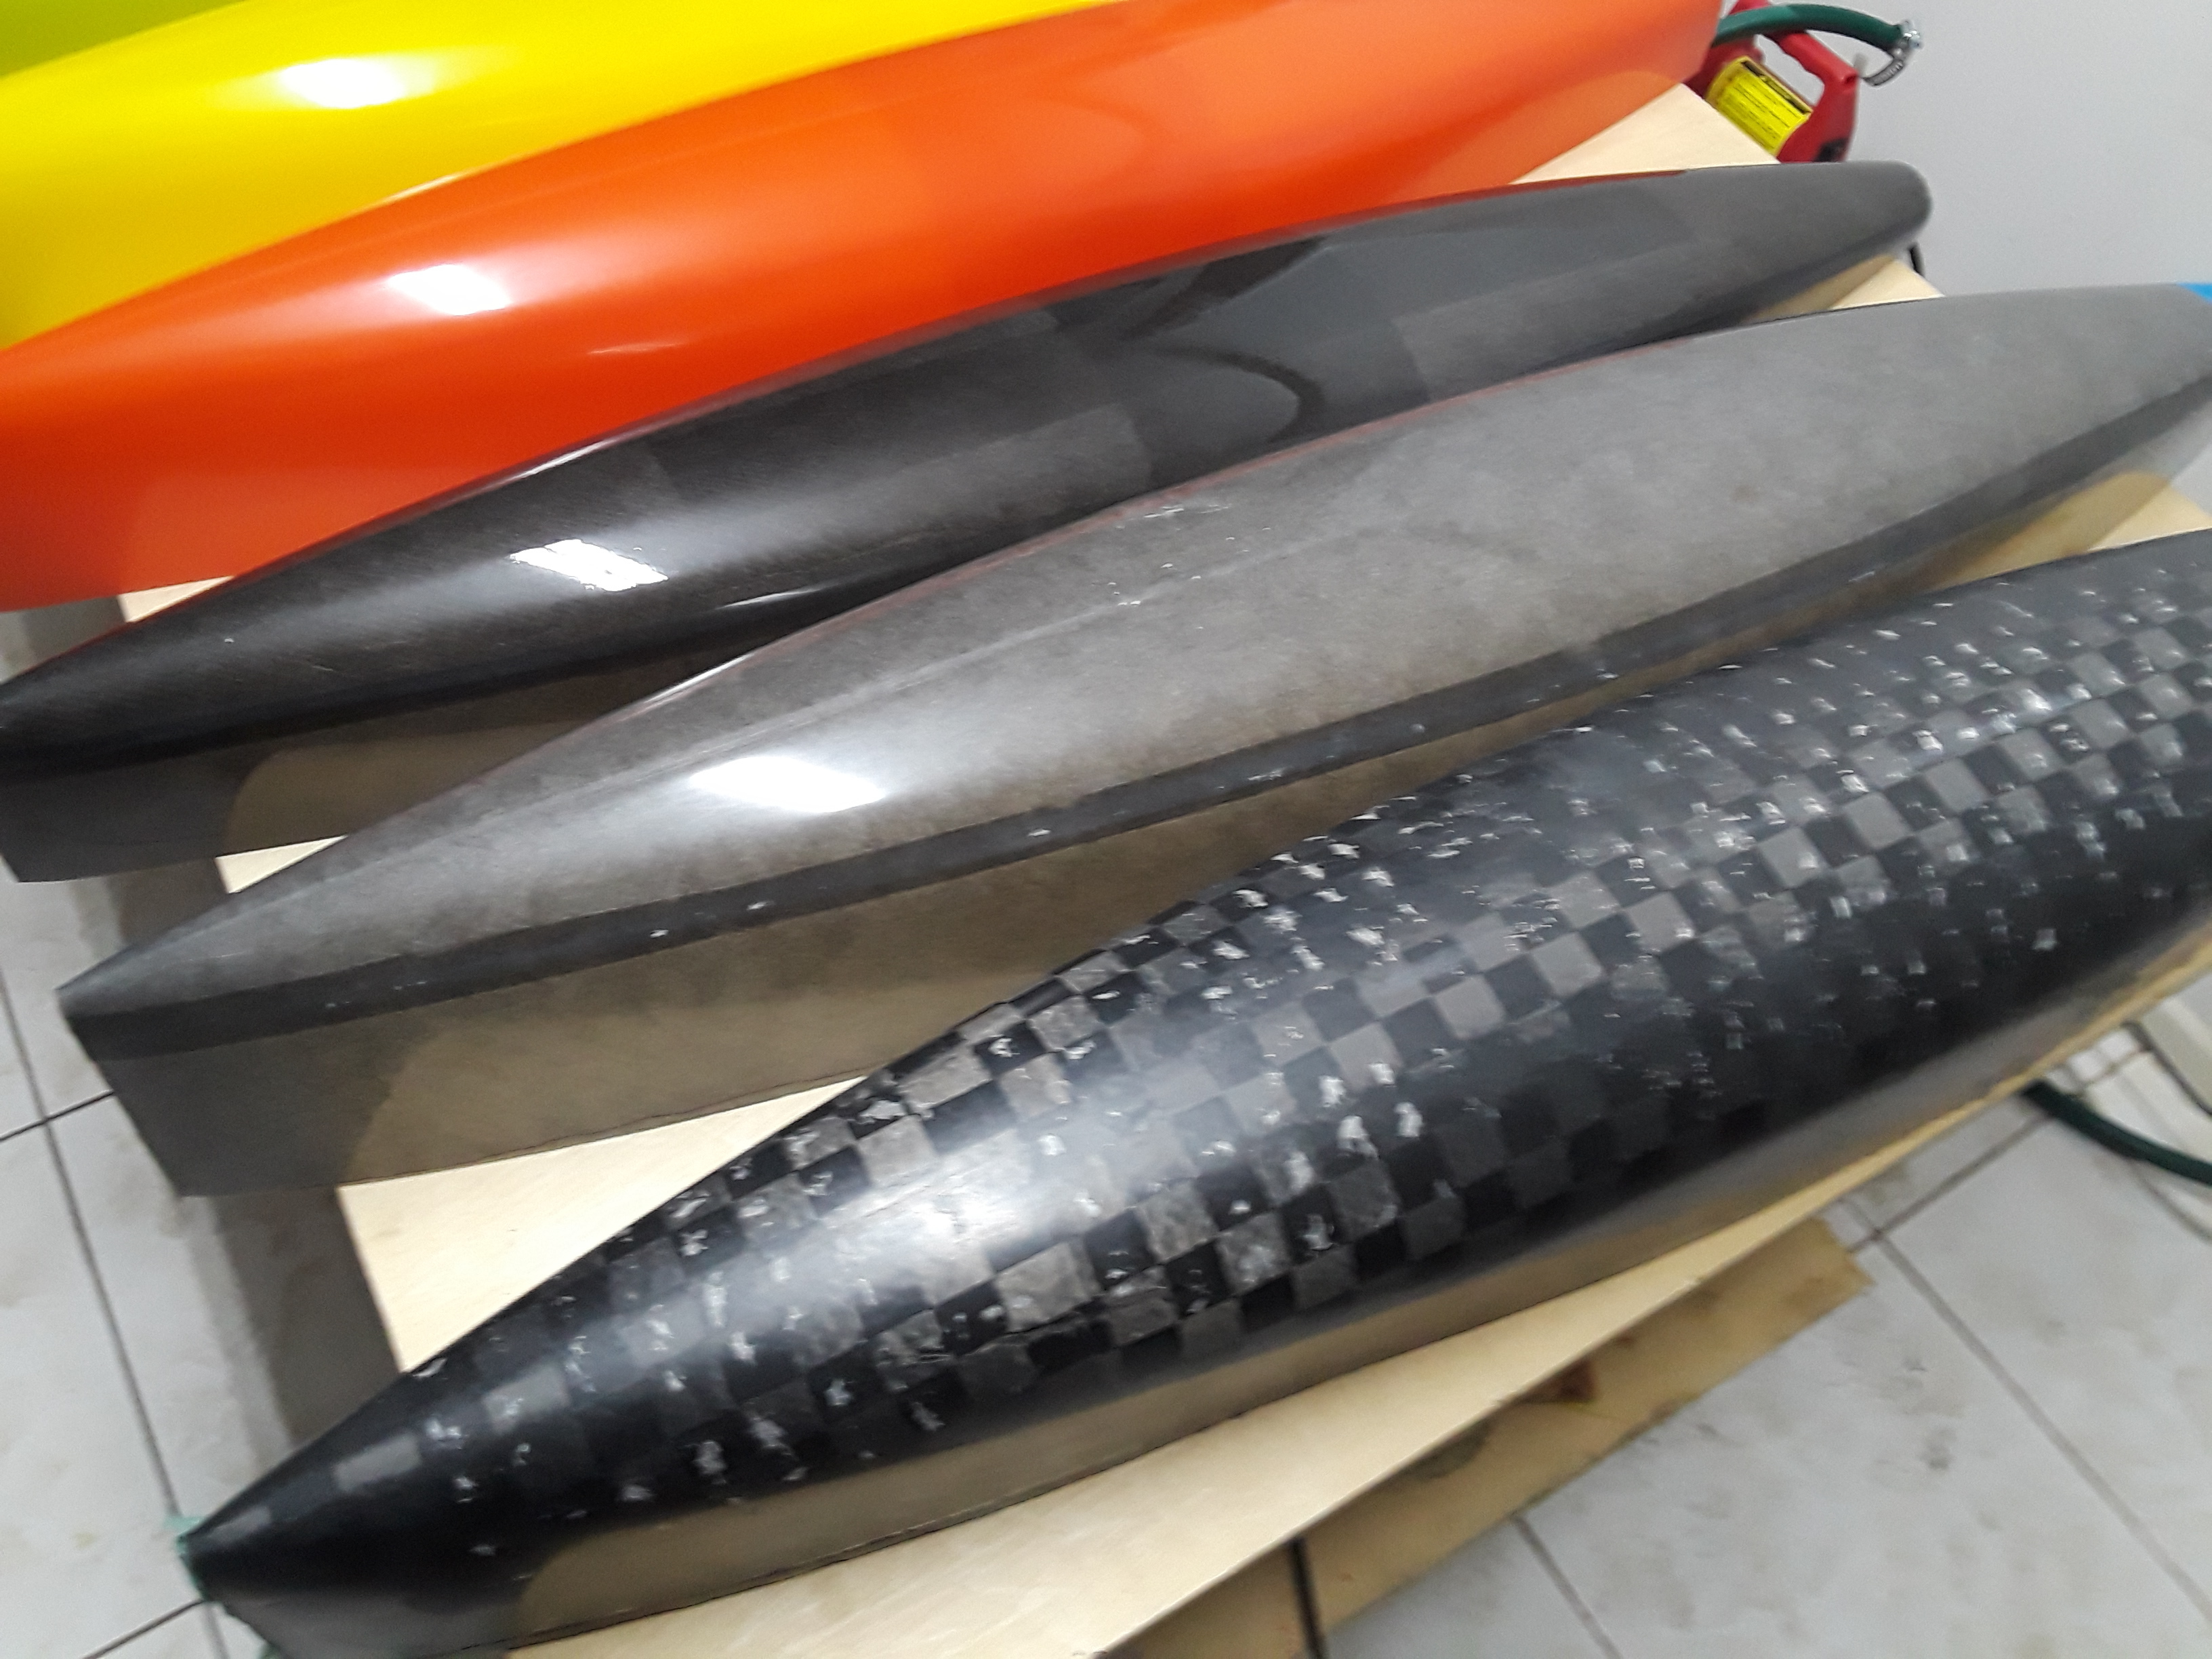
I quit using Carbon Fabric as the Spread Tow (I believe) was causing some of the flow misery I was experiencing. I am now using Tight Weave Fiberglass. One layer of 3 oz and one layer of 6 oz. This is giving me the strength and stiffness result I was looking for but still coming out fairly light. Im giving up approx .75 oz in weight vs the Carbon version. At this point, its a great compromise, and cheaper too.


I cant begin to tell you the sense of accomplishment I am feeling now.

@AllThumbs! Nice to see you. Quick tip on this new forum. You can tag people like @hojo :slight_smile:so they get a notification

Hey thanks for the Tip Canyon.

What class of boat are those hills? IOM, US1M, RG65 or something else?

FC

@SpockSail, This is my Design US1M. Its been awhile since anyone came out with a truly fresh design in the class. Ive learned alot from it so far. I gave the math on paper to a Naval Architect and had him draw it up and test it in a 3D Boat Design program. I had a Race Car composites maker build the Plug off a 3D printer and make the Mold for me. I also have a copy right on it.

I’m the AMYA US1M Class Secretary. Your design looks very similar to the Steve Andre Zipper https://www.theamya.org/boats/us1m/pdf/us1mzipper.pdf. Low prismatic and circular sections.

I race a Zipper (along with other designs including a Venom). Because there is very little reserve buoyancy with the narrow bow, you must rig down early. However, because of the low wetted surface, in light winds it is very fast.

Let me know how it performs against some known designs.

@SpockSail, Well Hello Steve. This is Hal down in Orange County. OCMSC. I have finally started kicking out hulls. I believe we have talked about it, but you had not seen my hull. The hull is not a skinny. It has a 7" max beam about 55% back from the bow. The bow opens up very quickly and provides alot of floation forward. The Rocker is very shallow. It was designed to a 5lb 12oz displacement, but Im pretty sure I will come in around 5lb 8oz or 5lb 9oz as i am building now and constantly doing weight calcs. Im the guy who has the Radial Jib Club. You were working on one yourself.

@SpockSail, These are fresh out of the mold. I used Pigment in the resin and it came out beautiful. No paint job needed. The shear line needs to be cut down, 3.5" in the bow to 1.5" in the stearn. The Fiberglass version is sitting at just over 5.5oz. With the trim job it should be weighing in around 5 oz. Not bad for Fiberglass. It took me forever to learn Resin Infusion.

Well Hello Hal.

I did get my jib post design working, but it was too much trouble to adjust quickly between heats, so I reverted the boat back to a standard jib system. It is on a new published hull designed by British Naval Architect, Robert Wills. It is so narrow that it must use a winch system, and so far, it seems very quick. I won’t really know until we actually get in back to some real racing.

Nice looking hulls. I tried infusion with the special tubes and like you had lots of issues getting a good surface and the hulls came out heavier than if I used Kevar and painted them. Plus, I was going through lots of $ material dialing in the process. The cost of 1K carbon went through the roof so I switched to 1.7 oz Kevlar reinforced with CF tape and am able to make a very light and strong hull.

All of my hulls have been designs by other more experienced designers than me so I decided that making plugs>molds>hulls was way too much trouble. Now I make a plug and lay the fabric over the plug and use lightweight wall patch to fill the weave on the outside surface. I paint them with water based automotive paint and a catalyzed clear coat. Sanded out to 2000# and polished with a 3" buffer, they have a class-A show car finish (very low drag!)

Keep building and don’t forget to have the new owners register their boats with the class.

Steve

Hi Steve, well it sounds like you really stepped up your game. Happy to see it. I have steared clear of Kevlar just for the fact that it is not really epoxy friendly, although it is so light and so very strong indeed. Just goes to show there is more than one way to skin a hull. Kekek. Of course, I havent done any polishing yet, but they should turn out very shiney. Thanks for the Conversation and hey I will go through all the right steps when and If i start selling boats. I’ll be in touch and thanks again.