My friend will kill me for posting this, so don’t tell him. He has a son who races motocross, and he hand makes CF parts all the time for his bike. He never uses vacuum bagging or anything- just doing it for show I guess. When a part comes out of his mold, it has a lot of pinholes. He then uses something from his full time job (custom cabinet making), seam fill. Seam fill is used when you laminate a table top or counter top- it fills the gaps and hides any chips or what have you. You can get some black seam fill and apply it to the holes and they just disappear. His parts look perfect after about 15 minutes of work with the seam fill.
Sure I can! This is kind of embarrassing actually… but I guess I can get away with posting this because I am a n00b after all. :o Disclaimer: these photos show extremely ghetto, low budget techniques. Use at risk to your own self-respect. 
This was my setup for the test pieces - all I did was cook up a batch of PlayDoh (which I have a good recipe for if you want!) then I put some down and used a motorbike fender to press out this shape. You can see that the surface is not really clean (at this point I did not realise that I was applying release wax incorrectly - little did I know that you should not be able to see the wax on the surface!) and you can also see a bit of the oil from the PlayDoh. The goal for these tests was to get an idea of the type of strength in a flat piece, as well as the inherent strength in a shaped section.
This seems like a good way to quickly test out a lot of different things. I had about 8-10 sections that I masked off for test pieces, did tests in glass as well as CF, epoxy and polyester resins, testing different mixes for epoxy surface coats, also testing different releases - brushed PVA, hairspray (excellent release! But a slightly textured finish), and plain release wax which I applied incorrectly and found that doing so actually causes a more difficult release, and I still have some parts stuck on my piece of perspex.

Part way through the layup. I used the heat gun here again and let it tack off a bit so that I could put the next layers down with less chance of the core moving around.

Here’s some of the finals:

As expected the PlayDoh didn’t give such a great finish, but I wasn’t worried about that. The flat surface areas are not 100% glossy, but I was still happy that I couldn’t spot any pinholes, etc.
Those are just some photos I had previously taken and had at hand. I can take some closer detail shots of the surface if you want.
[QUOTE=mugget;49814]Sure I can! This is kind of embarrassing actually… but I guess I can get away with posting this because I am a n00b after all. :o Disclaimer: these photos show extremely ghetto, low budget techniques. Use at risk to your own self-respect.  [QUOTE]
Just getting the job done and using what you have around you teaches you a lot… Respect for just getting stuck in… I had to do the same…


Sorry the one below is a crappy camera phone image…


morepower - looks like a novel technique. 
You can be certified ghetto.  Something tells me that there is likely to be quite a number of “closet ghetto” types all over the place…
Good result though! It’s amazing how you can still get a great result almost regardless of how dodgy it started out!
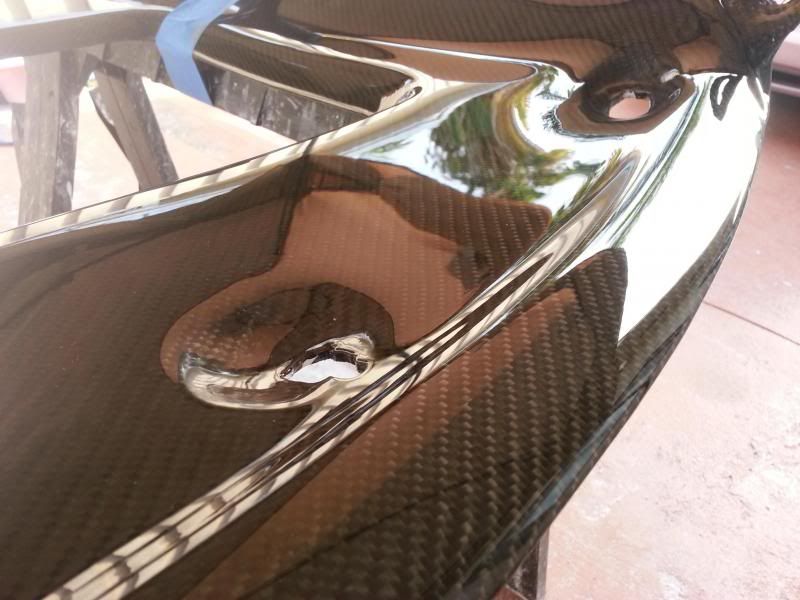
razuuk004 - Very nice item in the first photo - can you share some info about that? Was it all wet layup? What kind of resin, and what part is it actually?
@morepower: Yes, extremely Ghetto. The pro’s use PU insulation foam from a spray can. That looks so much more sophisticated… 
Another solution is metal wire (ultra cheap cloth hangers) and some fabric (T-shirt, nylons). Impregnate the fiber, and you have a solid base to work on.
Even in high tech operations, also suppliers of the composite industry, I see quite ghetto style constructions and techniques.
wet lay in a mold then vacuum bag
Cheers guys… It was just using what I had at hand and it was the first thing I have ever made to be honest… I had never made anything composite before…
So from that to this… I am so happy…

cool! but were is the pic of the topless woman of the month?:amuse:
Sp115 is clear polyester resin
I wouldnt use a fast catylist in summer. allow yourself more work time. spray your resin into the mokd first. dont spray epoxy, as that creates a bigger health hazzard. lay your first layer and do what i told yoy then prewet your second layer of cf. then lay it into the mold. do the same thing to get rid of air from the second layer. try two layers of perf ply… one breather and bag it. leave the pump run until cured. like others said be sure to fully wet each layer.
Hi DDCompound, would you be kind enough to share rules as mentioned on your statement “By infusion you may need 5 parts to get a perfect result if you just follow some rules.”
thanks
“Ghetto” may be another word meaning resourceful…MacGuyver is the Prophet!
Finding easier ways of making products and using supplies that are less expensive sounds like progress.
It is what we all go through when we are self taught… It is a good thing that when we improve we can adapt and improvise and Mac Guyver is a great term… I aspire to be of a MacGuyver like person… haha…
Of course I will tell you the rules.
1: 100% tight bag
2: Vacuum below 20mbar absolute pressure
3: degassed resin
4: Using MTI hose
5: Using infusion materials
That all does not cost much, take for the beginning a cheap airco pump from harbour freight. They will reach the vacuum level. When they stop smoking your bag is tight and after 20 min your vac level should also be perfect. Degass your resin, you can also take the paint pots from harbour freight for degassing or another vacuum proved pot.
Use a multi layer vacuum film and a flow media.
Take a look at the MTI tutorial and it will work.
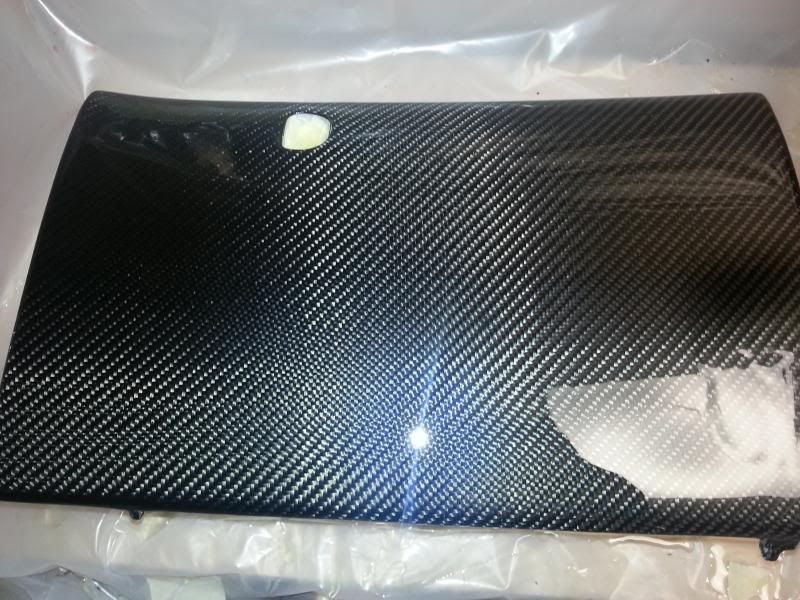
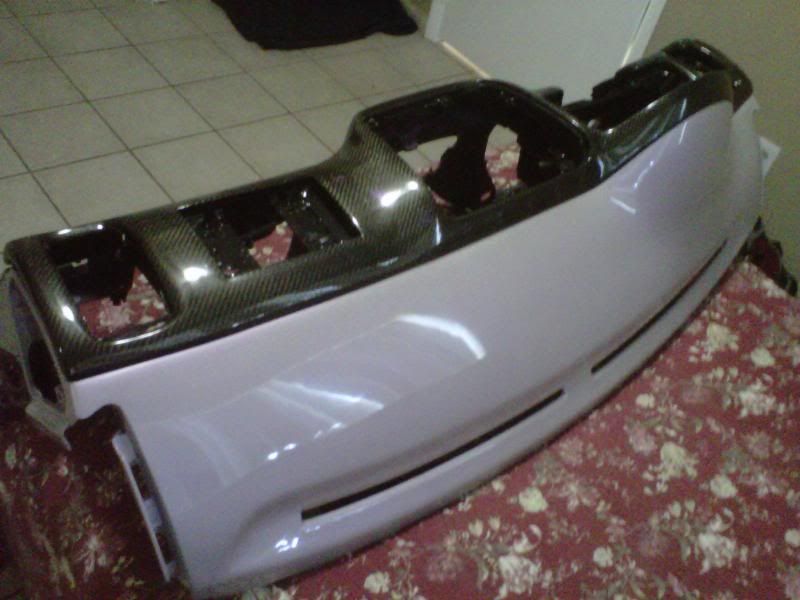
IT IS A HEADLINER WITH SUNROOF FROM A MAZDA RX7. AND IT IS CARBON FIBER OVERLAY ON ORIGINAL PART. i USED COMPOSITE ENVISION’S 3 TO 1 THIN EPOXY LAMINATE RESIN.
hi all,
i keep seeing posts when you recommend aplying the first coat of resin in the mould and let it go to a tack. Problem is that i can´t get an even coat! Immediatly after brushing the first coat it starts get air voids and the mould beeing exposed.
Here is a photo of what is happening (this is another test, not in the mould but the result is exactly the same)

How can i wait until it kicks off if the release agent of the mould is repealing the resin making all those voids?
thanks in advance for any advice.
Is that a visible carbon mould? Fancy!
Indeed you would need to fix that fisheye/repellant problem. An idea - put down a layer of glass veil (really light, like 20gsm I think - you won’t even see it in the final product) then wet it out. It will wet out very easily, and the fact that it would be covering the entire surface means that it can’t fisheye. At least I wouldn’t think so.
when i do wet layup/vacuum bag i always use epoxy gelcoat and the part is perfect every time.
mugget: that´s not a mould. that´s a test part. But the efect i get when using the mould is the same or even worse 
jimff1: i tried epoxy gel coat, epoxy laminating resin, vinylester gel coat and vinylester resin and all of them made the same problem. I always use a brush. when you use gel coat you use a brush or you spray?
What kind of release agent are you using?
i use brush to apply both epoxy gelcoat and epoxy resin and i only use pva which i brush it too.
