TET I’m absolutely sure. No leaks as always. Vacuum port is located on top of second picture just below black sealing tape. This area was just peel ply. Tube end was also covered in peel ply. Same think happen to my laminate again and again. 
mix it in a glass science beaker… place it over a bunsun burner for 20 seconds to degass the epoxy resin. Don’t try it with ester resins… flamage fire!
10 to 20 seconds shouldn’t kick the resin much and still allow for infusion.
This is just one idea. I used to heat up a dish of water in the microwave (800 watts) for 2 minutes on high setting. Then place your container of resin in the heated water to degass it. Also stir/mix with a round dowell stick to help prevent bubbles.
Some guys use a vacuum pressure pot to degass resin… 3 - 5 minutes.
try with the distro metia not covering the last inch or 2 method. I can see that the tows themselves look dry, not just between them. This will then let the resin flow INTO the tows, not just between them.
When you pull the part off, is the surface perfect, but you can see the voids under the resin, or does the surface itself have the bubble holes?
The pic attached is what I do, ignore the fact that there is no distro media at all. I’m double-side tooling the panel. I let the resin flow at least 3" past the part before I clamp the line and let the inlet/vent size thickness equalize.
I once sat in on a industry training course for infusion run by “New Zealand’s leading authority on resin infusion”. We were told to degas, have the mould, resin and air temp at 25deg, stir with a round stick in one direction only, the moon needs to be in the 3rd phase with Mars rising and the wind from the east. And his test piece was rubbish, but he thought it was the bees knees.
I then went to someone that does infusions on boats and got shown the right way. Now I will shoot an infusion at least once a week in my job and I would say I get it good 95% of the time. I don’t degas or stress over a little air in the mixing.
The tricks are:
-
Get a good pump, I use one from Vacmobiles.com not the cheapest but will suck the chrome off a tow ball, and great aftermarket serving and support.
-
Get a infusing resin, it won’t boil, will be thin enough to flow everywhere and has a longer gel time. I get mine from Adhesive Technologies as they make their own. (and they helped me learn infusion)
-
Make a fuc-ket, this is a funnel bucket where the resin is sucked from the bottom of the container, thus avoiding the pesky air in the inlet tube when clamped.
-
Put the fuc-ket level with or below the part, this will prevent resin pouring into the bag. Forcing it to be sucked in and though the laminate pushing any air in front of the resin front.
-
Clamp the inlet line when done, don’t connect it to vacuum.
I shot an infusion today at work, I’ll take a picture tomorrow and show you my set up with regards to the flow media and lines.
Sorry if this seemed long winded, I got carried away.
Testing has shown this to be incorrect. Why do you suggest it? Clamping is ok, but better to pull vacuum.
Have you seen how far resin will travel after the feed line is clamped? That’s because of how much excess resin is around the feed line entry point(s) where the vacuum level in the bag was lower.
We were shown that the “correct” method is to attach the inlet to vacuum, but I have found I get better results closing it off. I think it works as when there are two vacuum lines the voids/air get confused which way to go so just spread out rather than travel to the exit.
The resin can continue to flow for about 30mm in just peel ply once shut off, thus I shut it off 30mm before the resin hits the vacuum line. Plus having a supply of excess resin will replace that which is sucked up the lines.
Don’t! Figure out the problem and then tell us how you did it.
Could it be that the resin absorbs moisture from the air? I guess the humidity is a little high at 1000ft below sea level, just guessin though. So, you get tiny drops of water in your resin and when it heats up, water turns to gas, expands and you get bubbles. The bubbles also has no trouble expanding because the laminate is under vacuum, it’s actually helping them to expand.
So I have now infusion resin from MGS. Viscosity 200mPas at 25°C. I mix it, heat to lower the viscosity, put in vacuum chamber for degassing. After about 10 min the resin is clear. No boiling. Same infusion test, resin flows quicker. After clamping feed line again same problem. Little bubbles are made in peelply and also on the mould surface in tow intersections. Something is boiling in the material. I dont think its because of resin. Maybe moisture in fabric? Any idea?
I suspect the bagging material. Is it from a legit infusion company? Also flow material can sometimes poke holes in the bag. Put peel ply on everything.
I dont have any leaks. Im sure about it. I have a special high elongation vacuum film for composites.
high elongation bag can be a bad thing for infusion using a mesh. the bag will close the mesh off and slow the flow. You should make a video and post your infusion. It would be much easier to help you I think. Sometimes something meaningless and small is the biggest culprit.
Okey, I will make a video and post it. It will take a while.
I think what TET is saying is allow the laminate to infuse at least 95% or more, then connect the resin inlet line to vacuum.
Then you will have no worries about the whole thing infusing and you will be getting rid of all that excess resin near the inlet side of the laminate.
Videos … HoooHaaa! I look forward to it  I should invest in a digital video camera. I do so much work with fiberglass, epoxies, polyesters, vinylester, mold construction blah blah… maybe some people here would benefit.
Heyy guys, i am new here, but i have the same problems. I was doing wet layups and had air in my carbon fiber parts. I was doing with out any gel coat and then i tried with the gel coat first and wet layup over. The part came out very well. Right now, i want to do some infusion and i just wondering, should i do the gel coat first and then vacuum infusion?
Here are some pics what i do
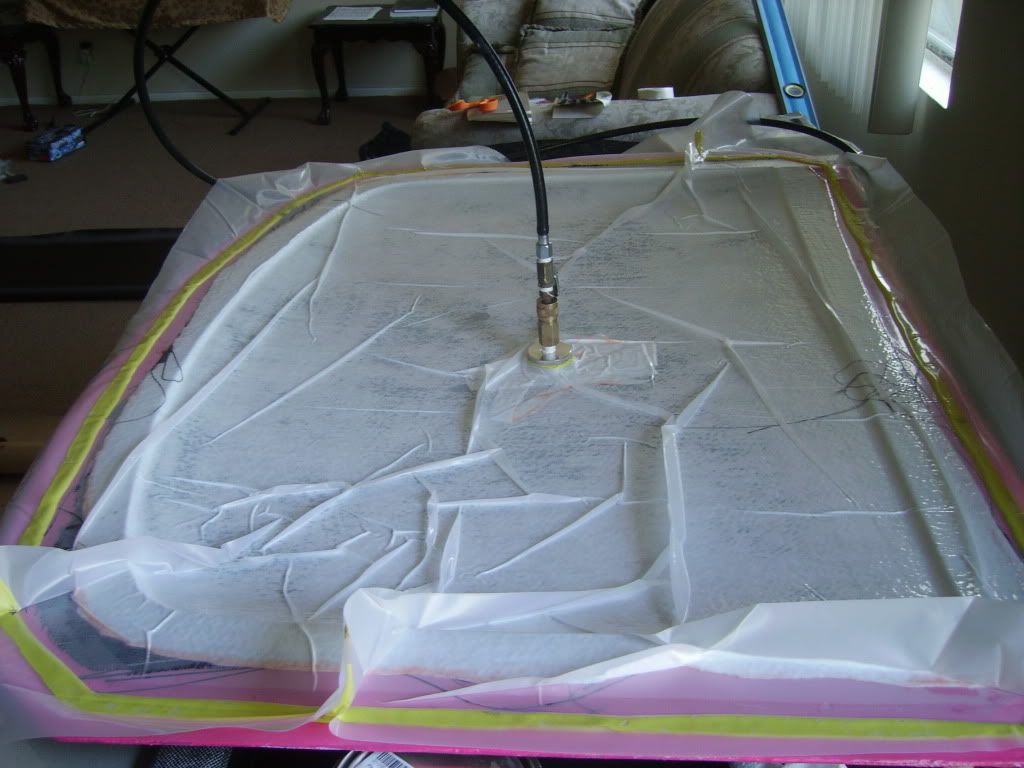

haahaa…couch.
Well, all those fittings will get clogged with resin if you use them with infusion, so good luck with that
Okey, I made other infusion test.
Setup:
-mirror glass used as toolside.
-Frekote NC separator.
-3layers of carbon fiber twill 180gsm
-pieces of peel only around vent.
-no flow media
-infusion epoxy resin 200cps, degassed in jar of about 10 minutes.
-high stretch vacuum bag
-black sealant tape
- -0,95 atm on gauge, no leaks
I heat up resin to lower the viscosity. I also use hair dryer to heat up tool with layup during infusion. Speeds up infusion really noticeably. After whole carbon layup was saturated I clamped down feed line. After a while Im able to see air pockets moving in the saturated peel ply. No visible bubbles in carbon, no movement of bubbles (maybe inside fabrics?). Looks like carbon is perfectly wet. Area around feed line is slowly drained out. There is still visible movement in the peelply. Nothing in carbon. Next day, before any demoulding I can see through bag that carbon fibers looks a bit dry. Its worse on vac. side, best on feed side. After demoulding same look again. Lots of pinholes between tows. Less affected area is around feed line. Weted tows now look a bit dry. It seems to me like the carbon is dryed out after clamping feed line. Or is it air expanding under vacuum?
That part is too small to really represent what would happen on a real sized infusion. You’re removing too much resin with such a small layup.
Thanks TET. I also think that I remove too much resin to the layup is dry. So you think that on a large part and more layers this will not be problem? Any idea how can I limit this draining on smaller parts? If the vacuum cannot be ,too high, what can have influence on draining? Resin is too thin?
To be honest every infusion I have done has some air spaces on the top of the weave like Mike’s sample piece. The dry air spaces are not entirely over the whole surface of the part… just here and there.
I think gel-coat does help prevent this from happening, BUT if TET or someone here has info on how to totally prevent the problem… awesome.
Mike… what I have done in the past is to go back with a toothpick, clear epoxy resin… and apply it to those areas. Wet sand it down after the repair cures.