Fender flare project...where to go from here?

Greetings,

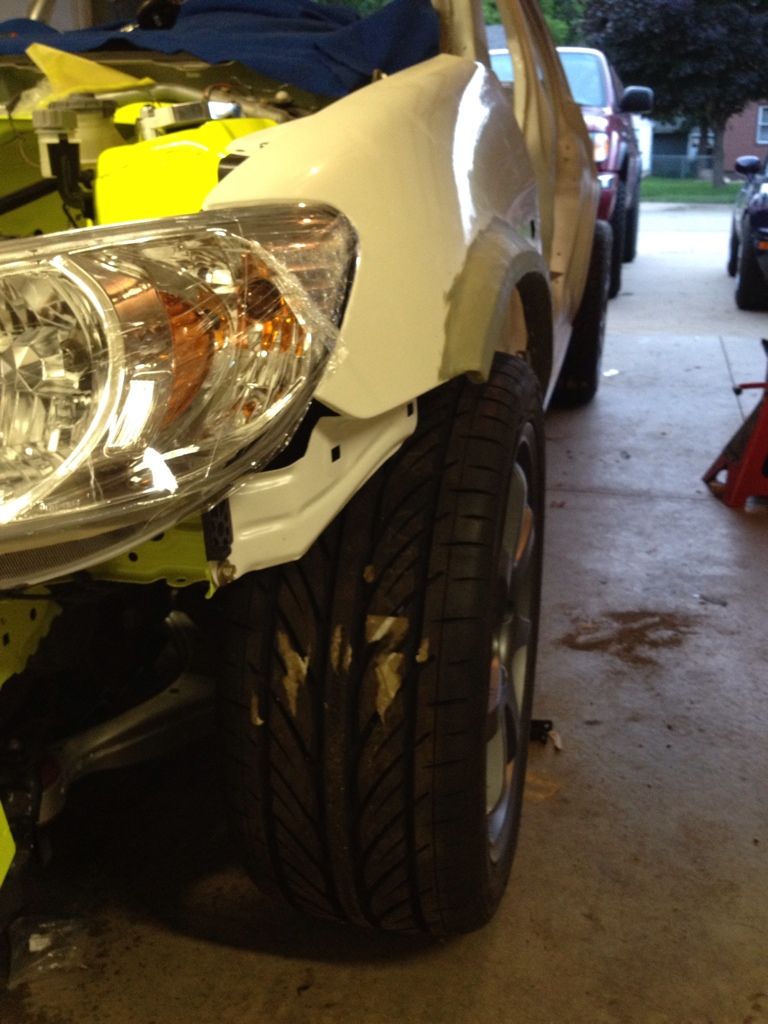
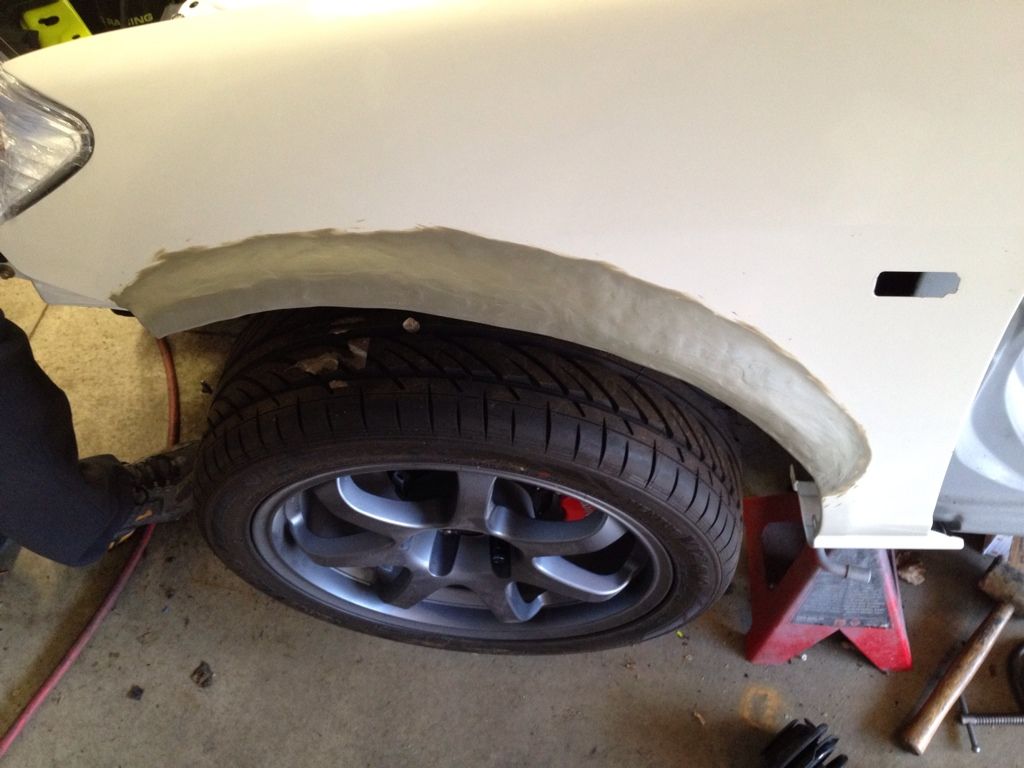
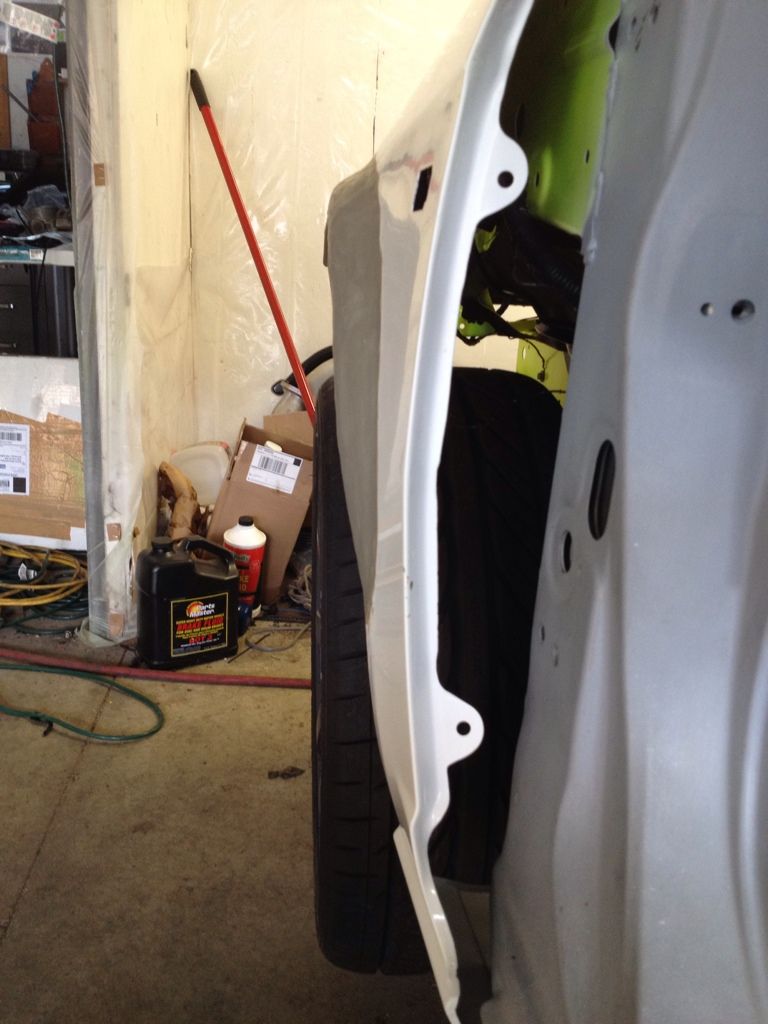
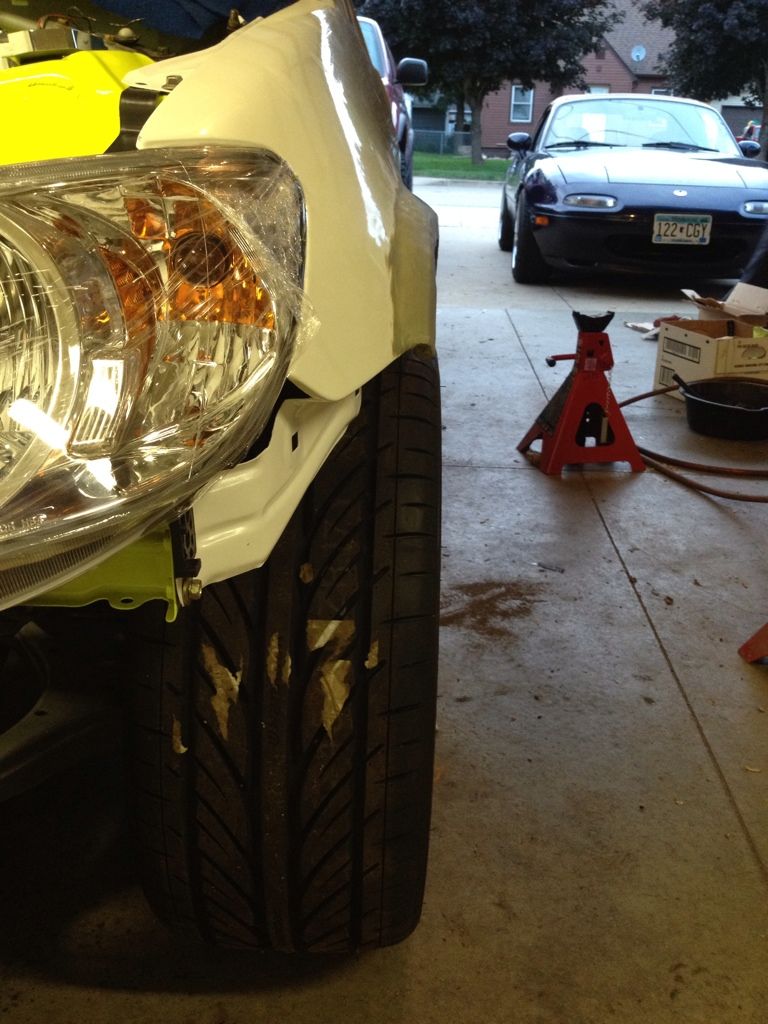
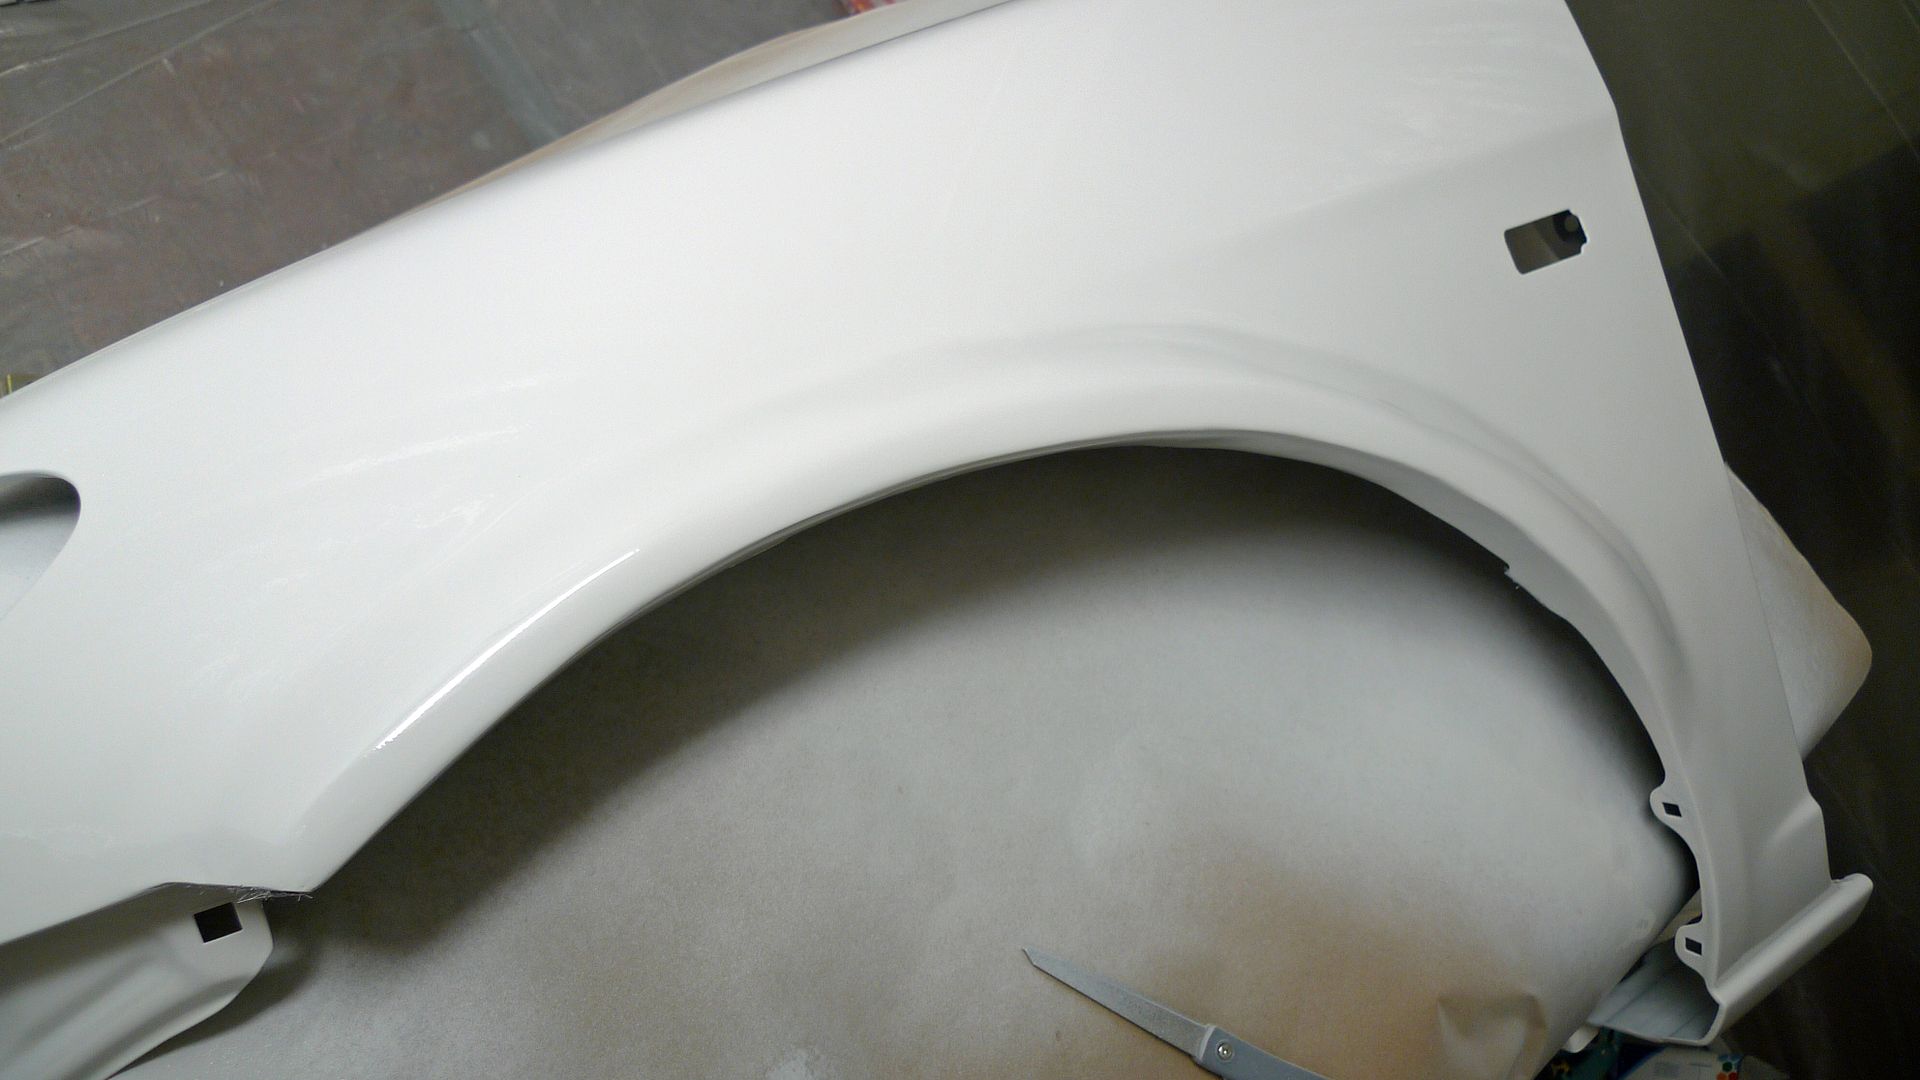
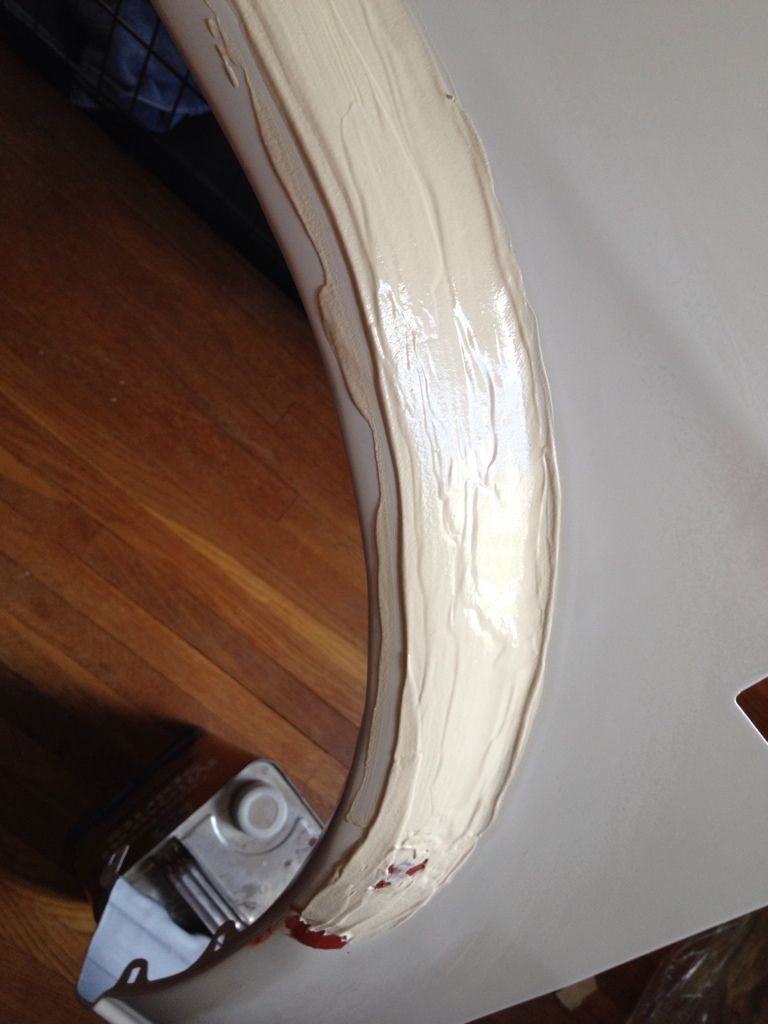
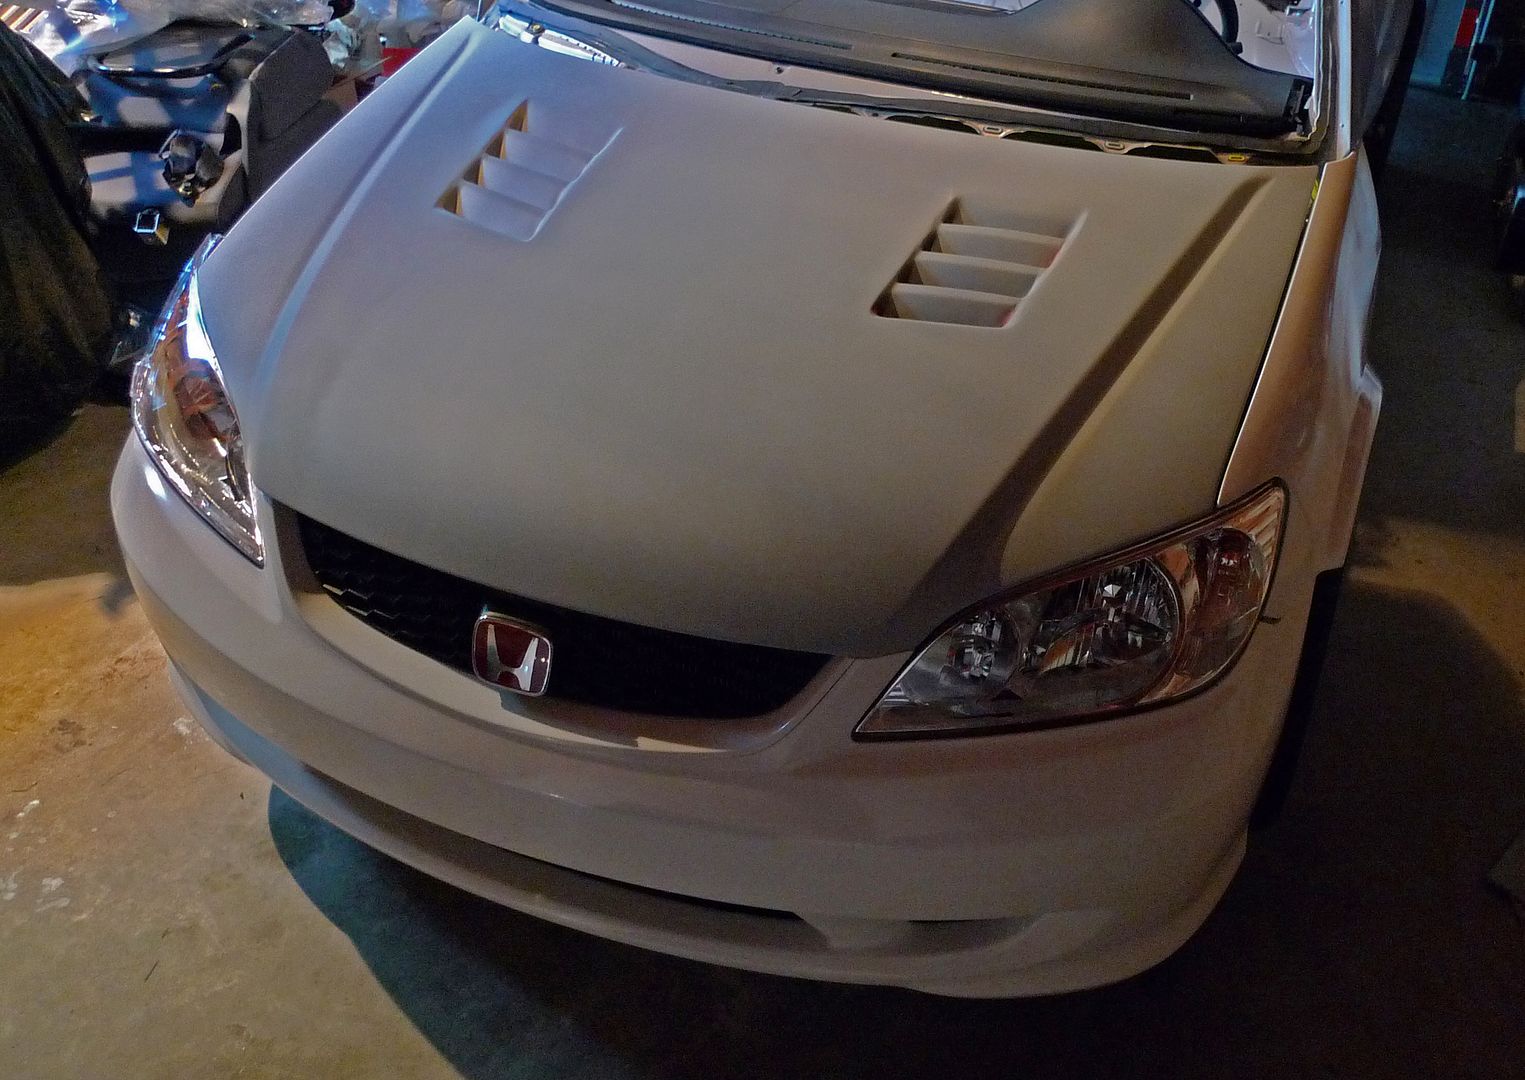
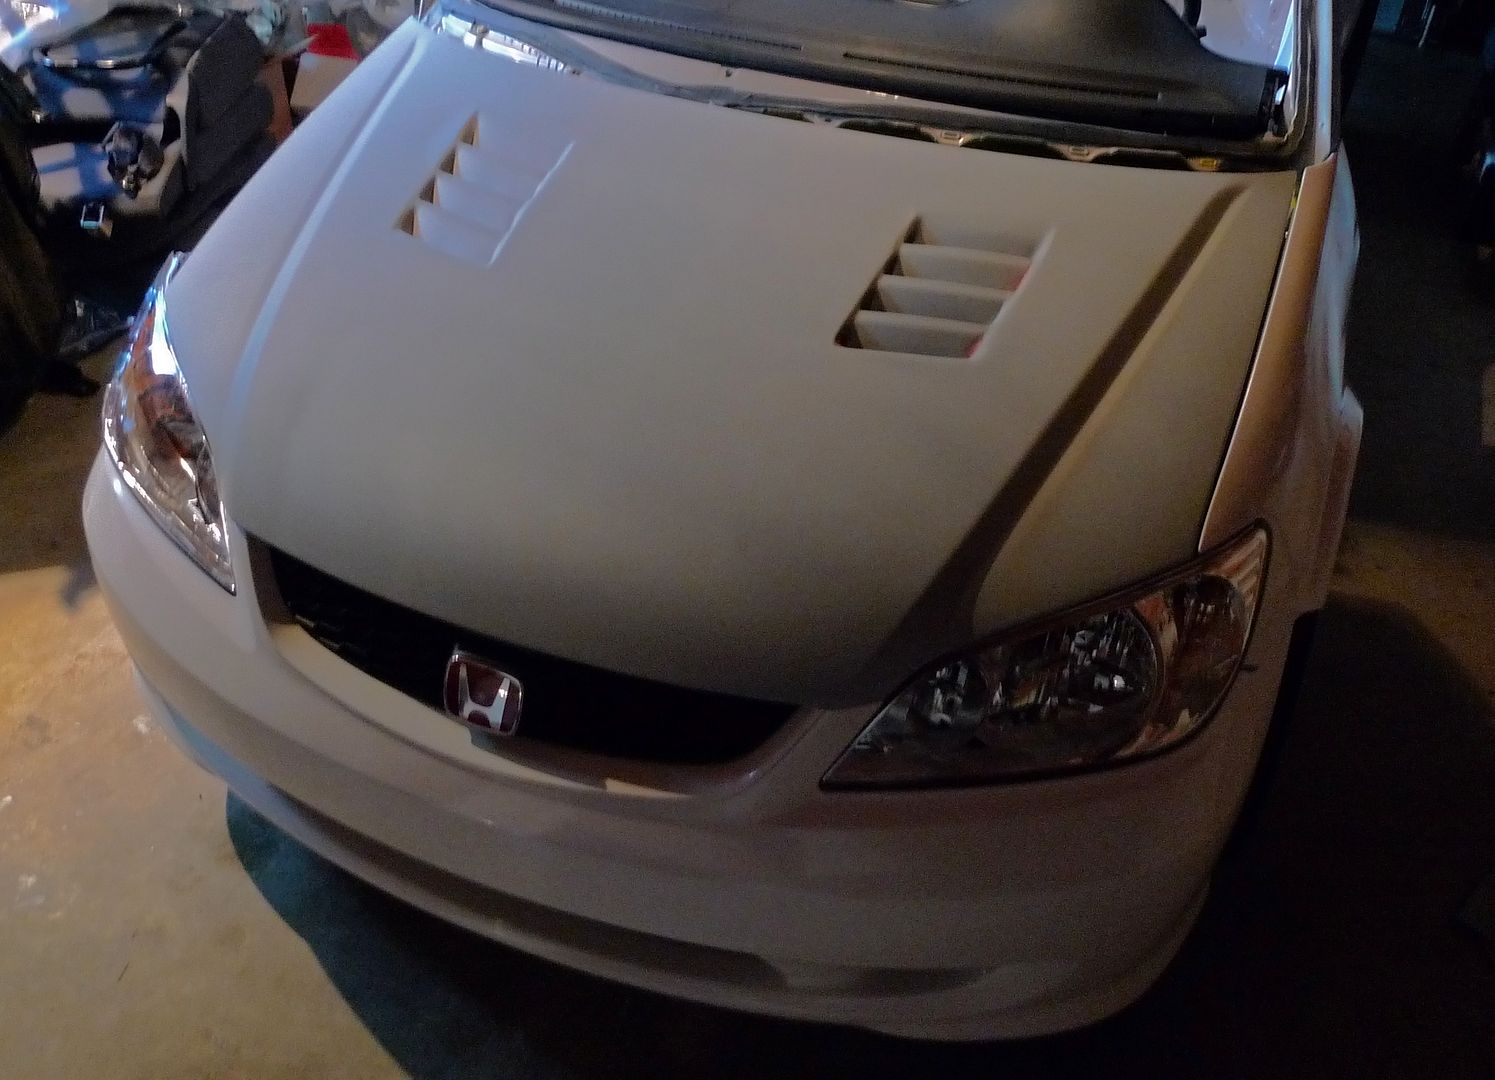
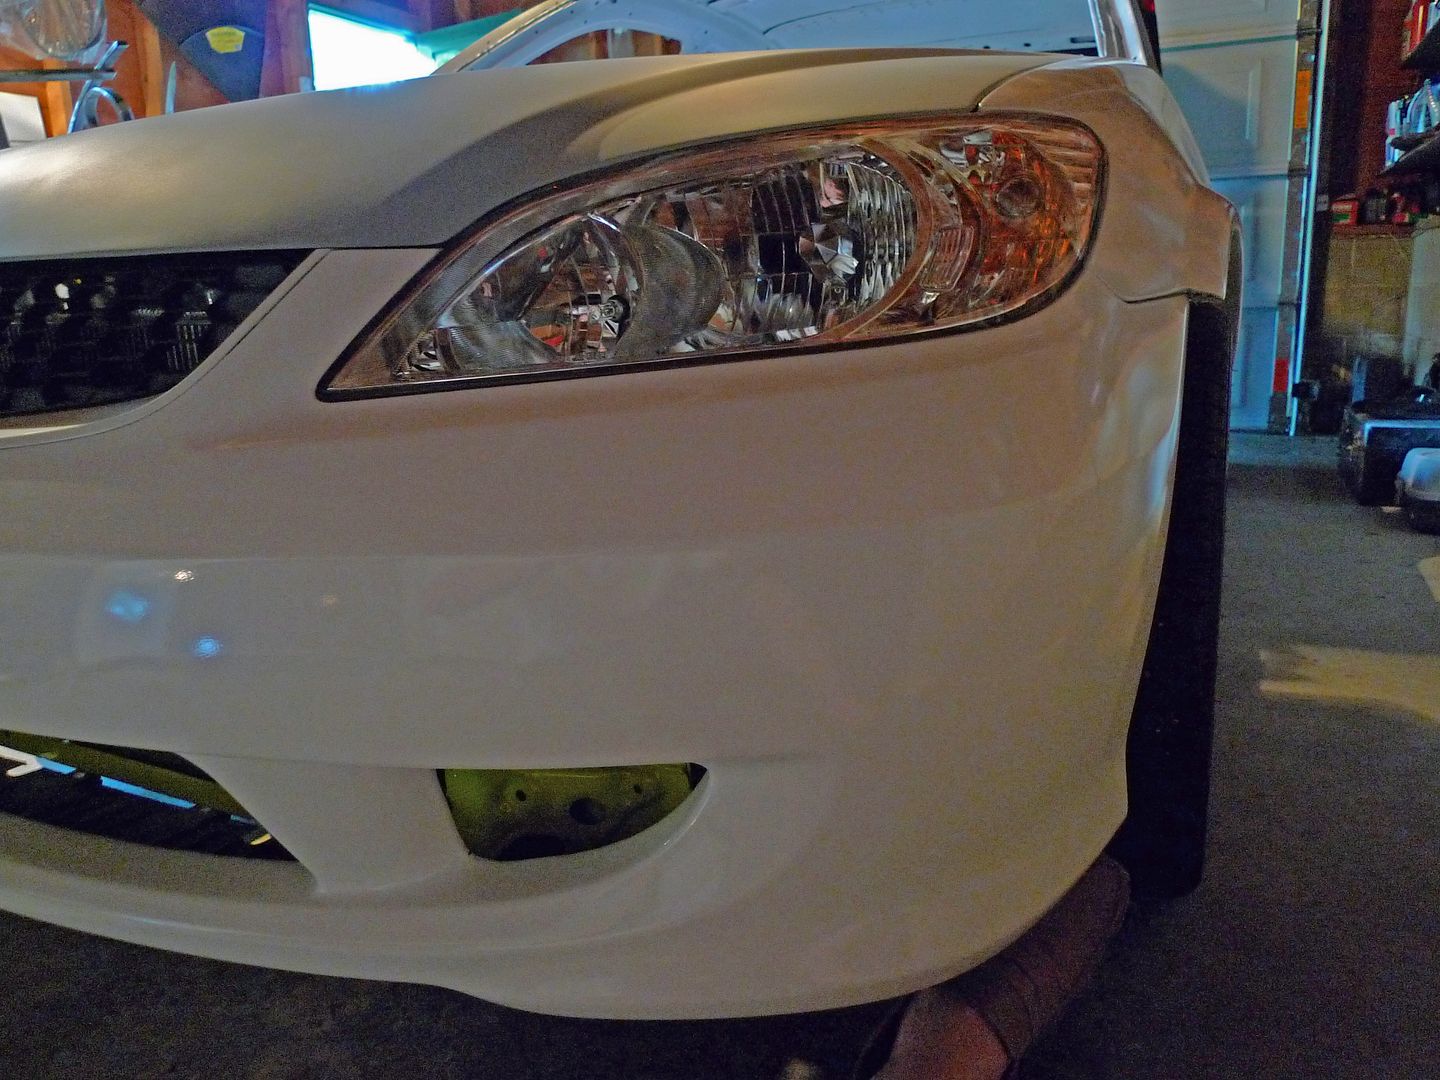
I am attempting to make one piece flared fenders. I used plasticene (sp?) clay to mold the flared lip on the fender…but I’m starting to realize that I will never be able to get the plasticene smooth enough to serve as the final plug.

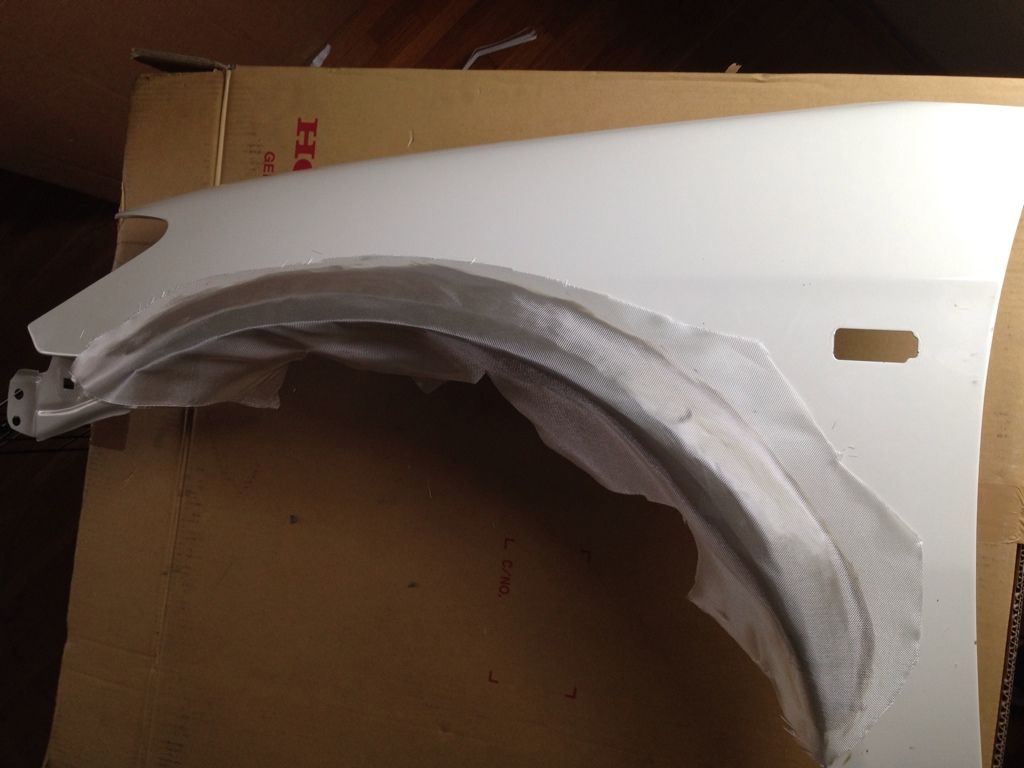
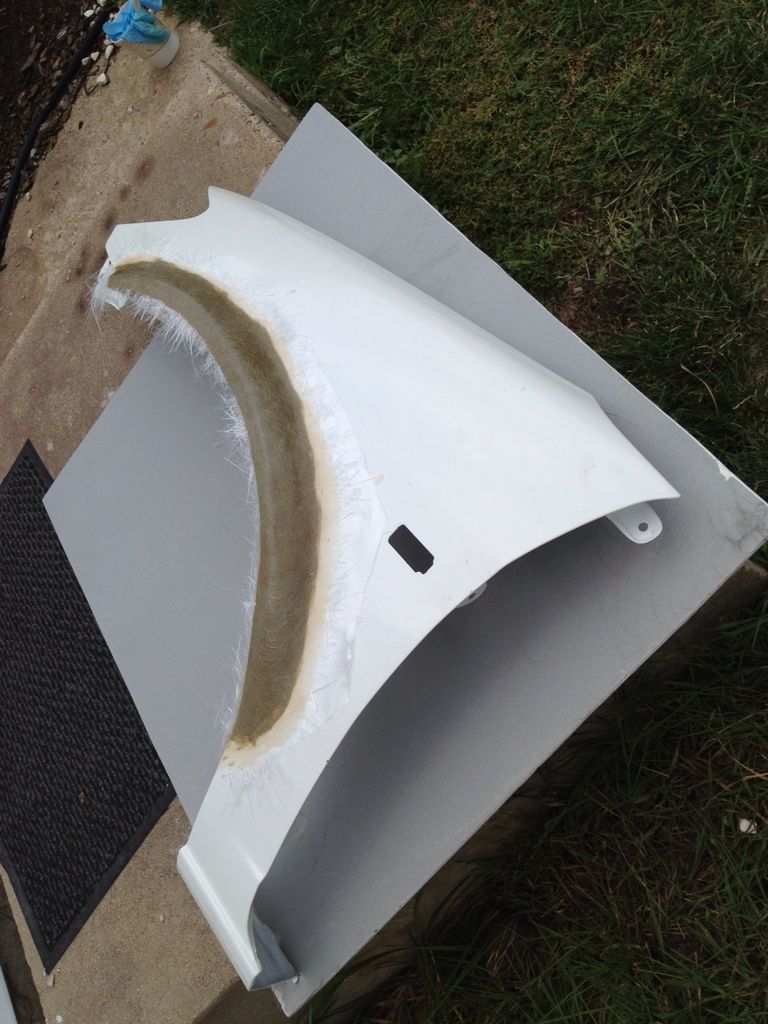
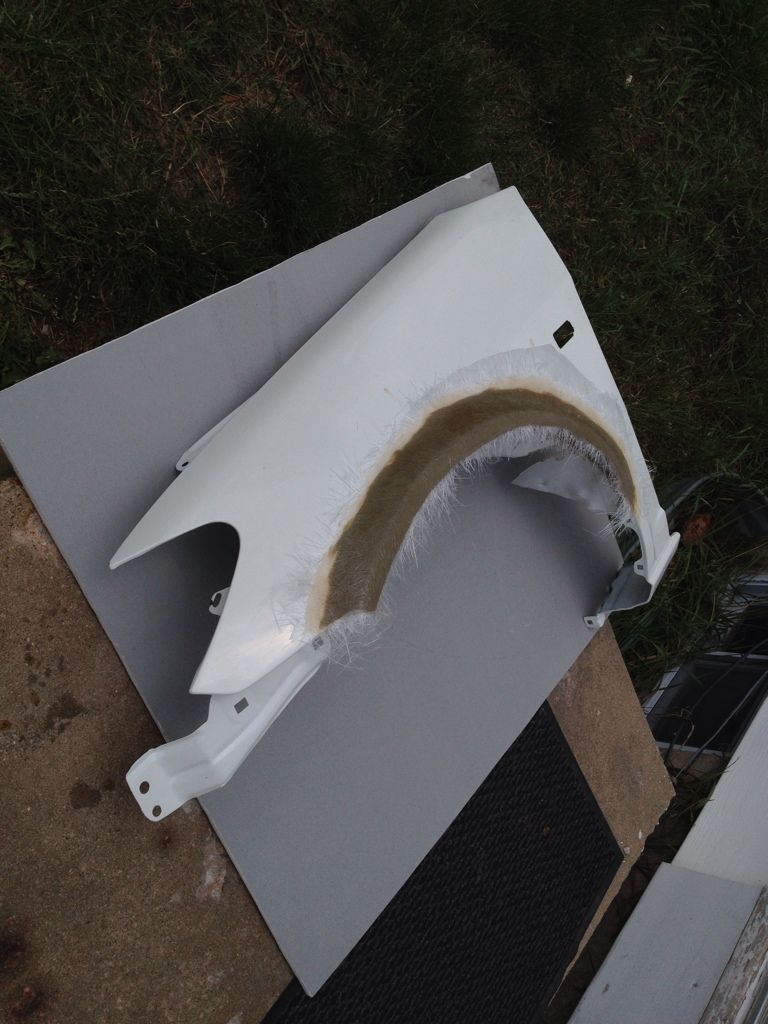
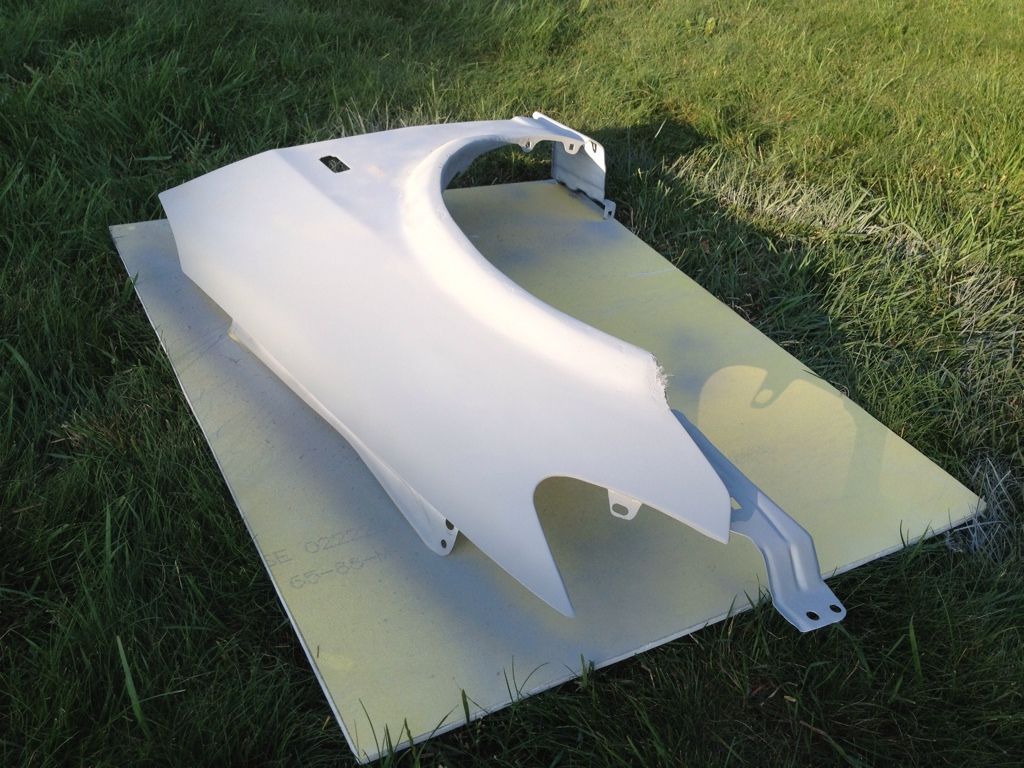
So what I’m thinking is laying down a thin layer of woven fabric / resin over the plasticene fender flare and blending / sanding this into the rest of the fender…this will be a much easier surface layer to sand and shape than clay. Once the plug is finished, I will make a 3 piece mold of the entire fender and produce parts from that…

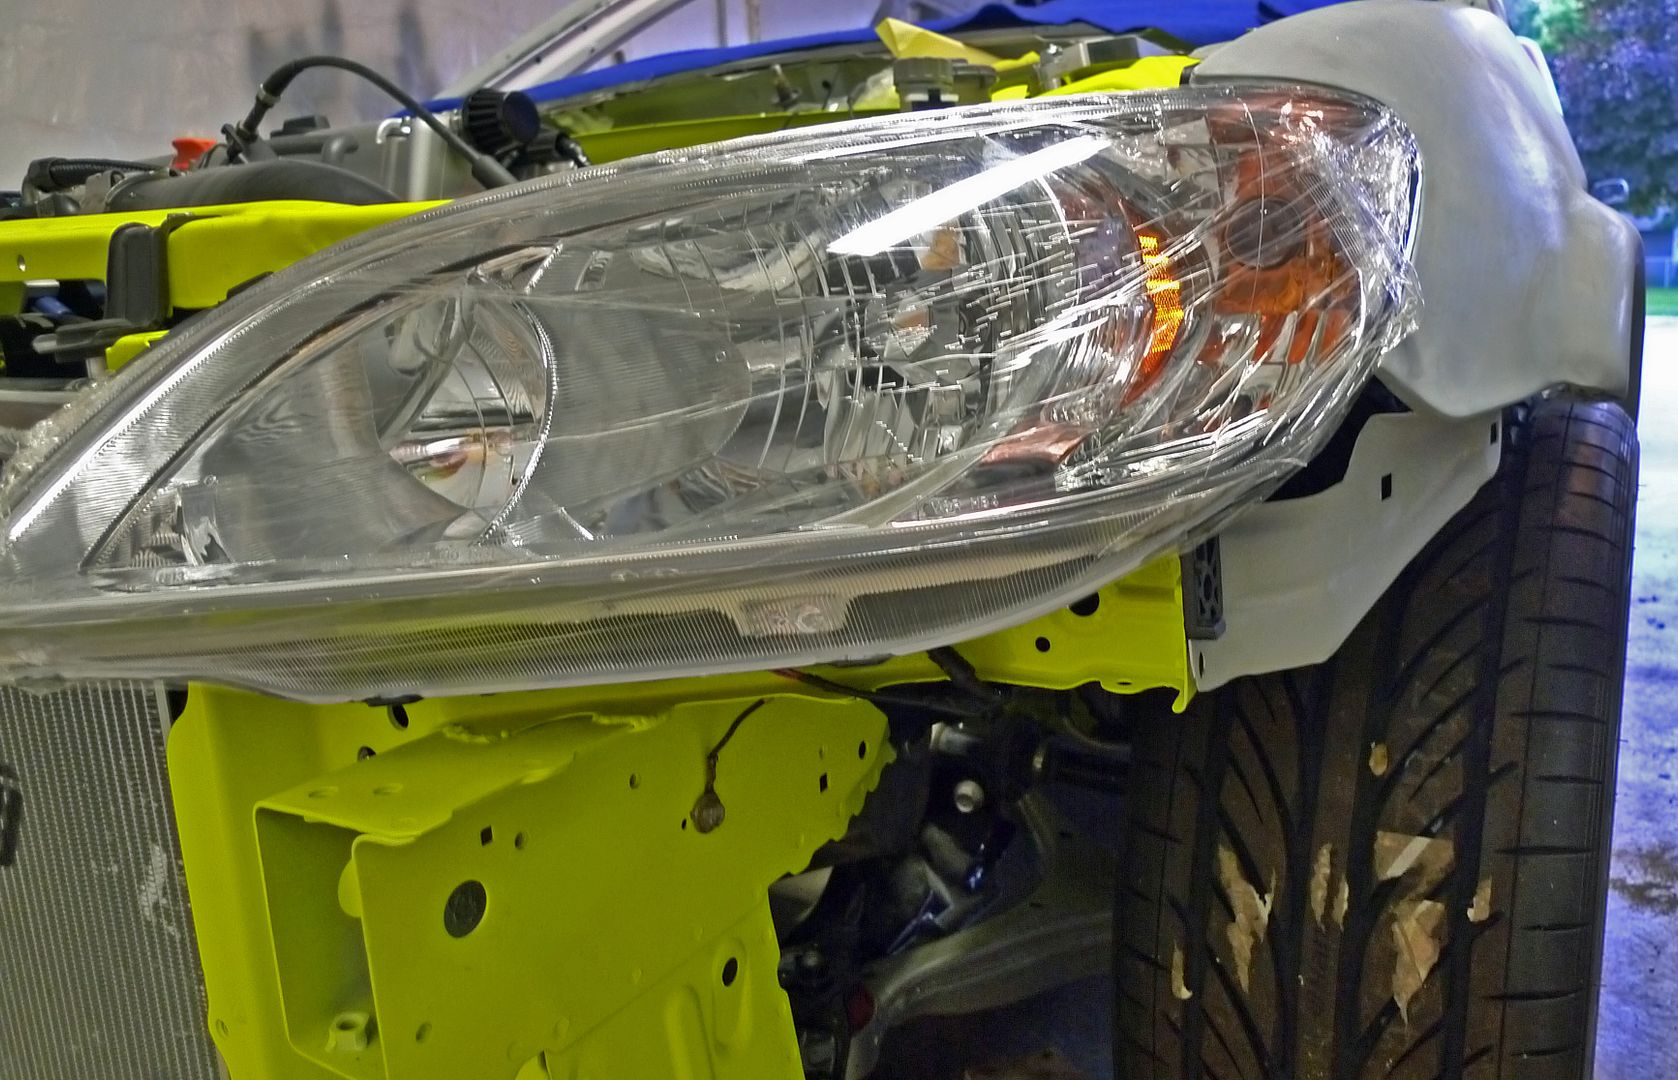
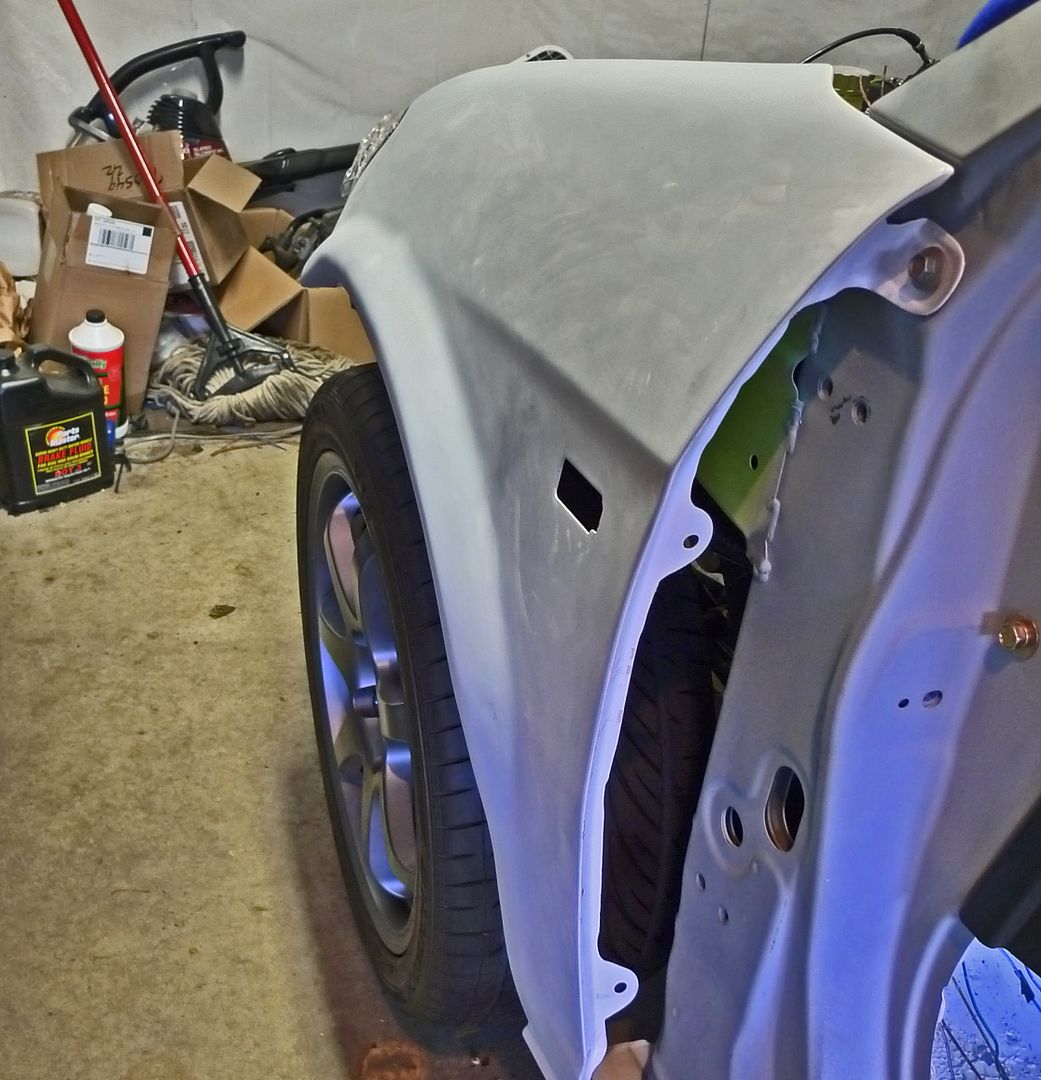
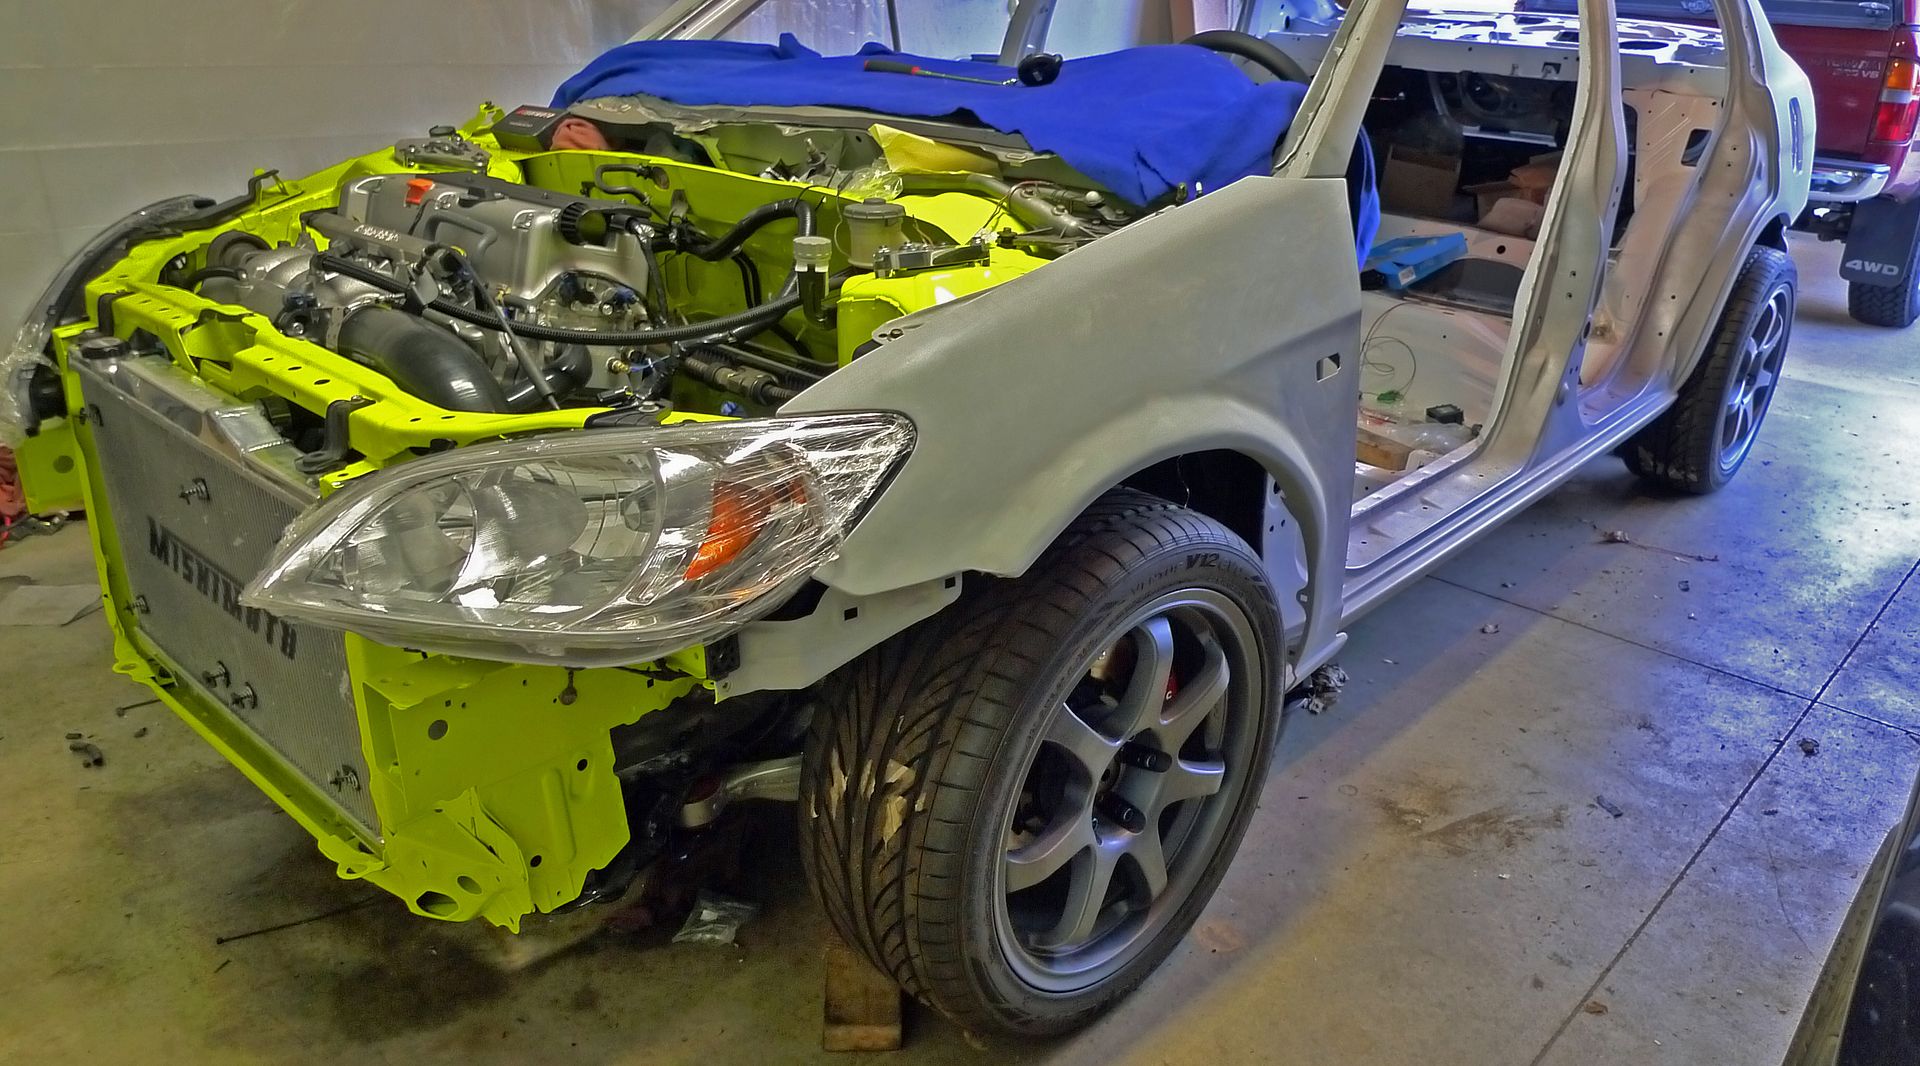
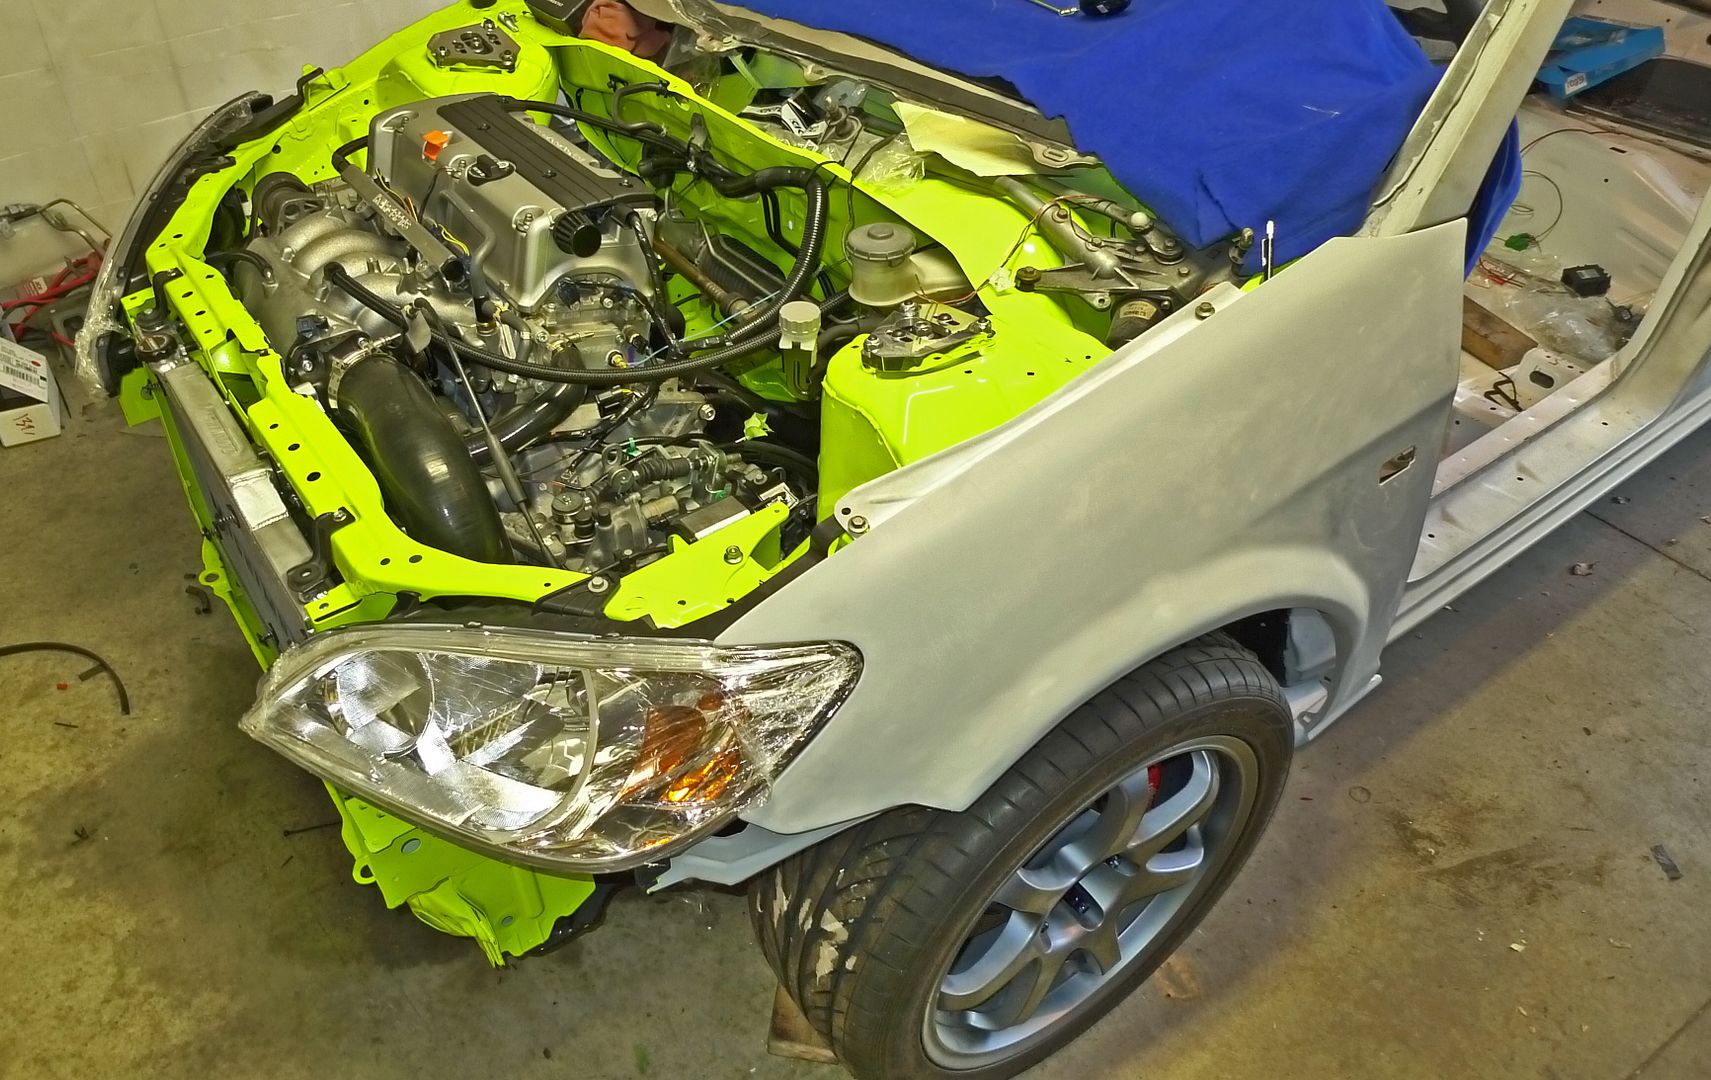
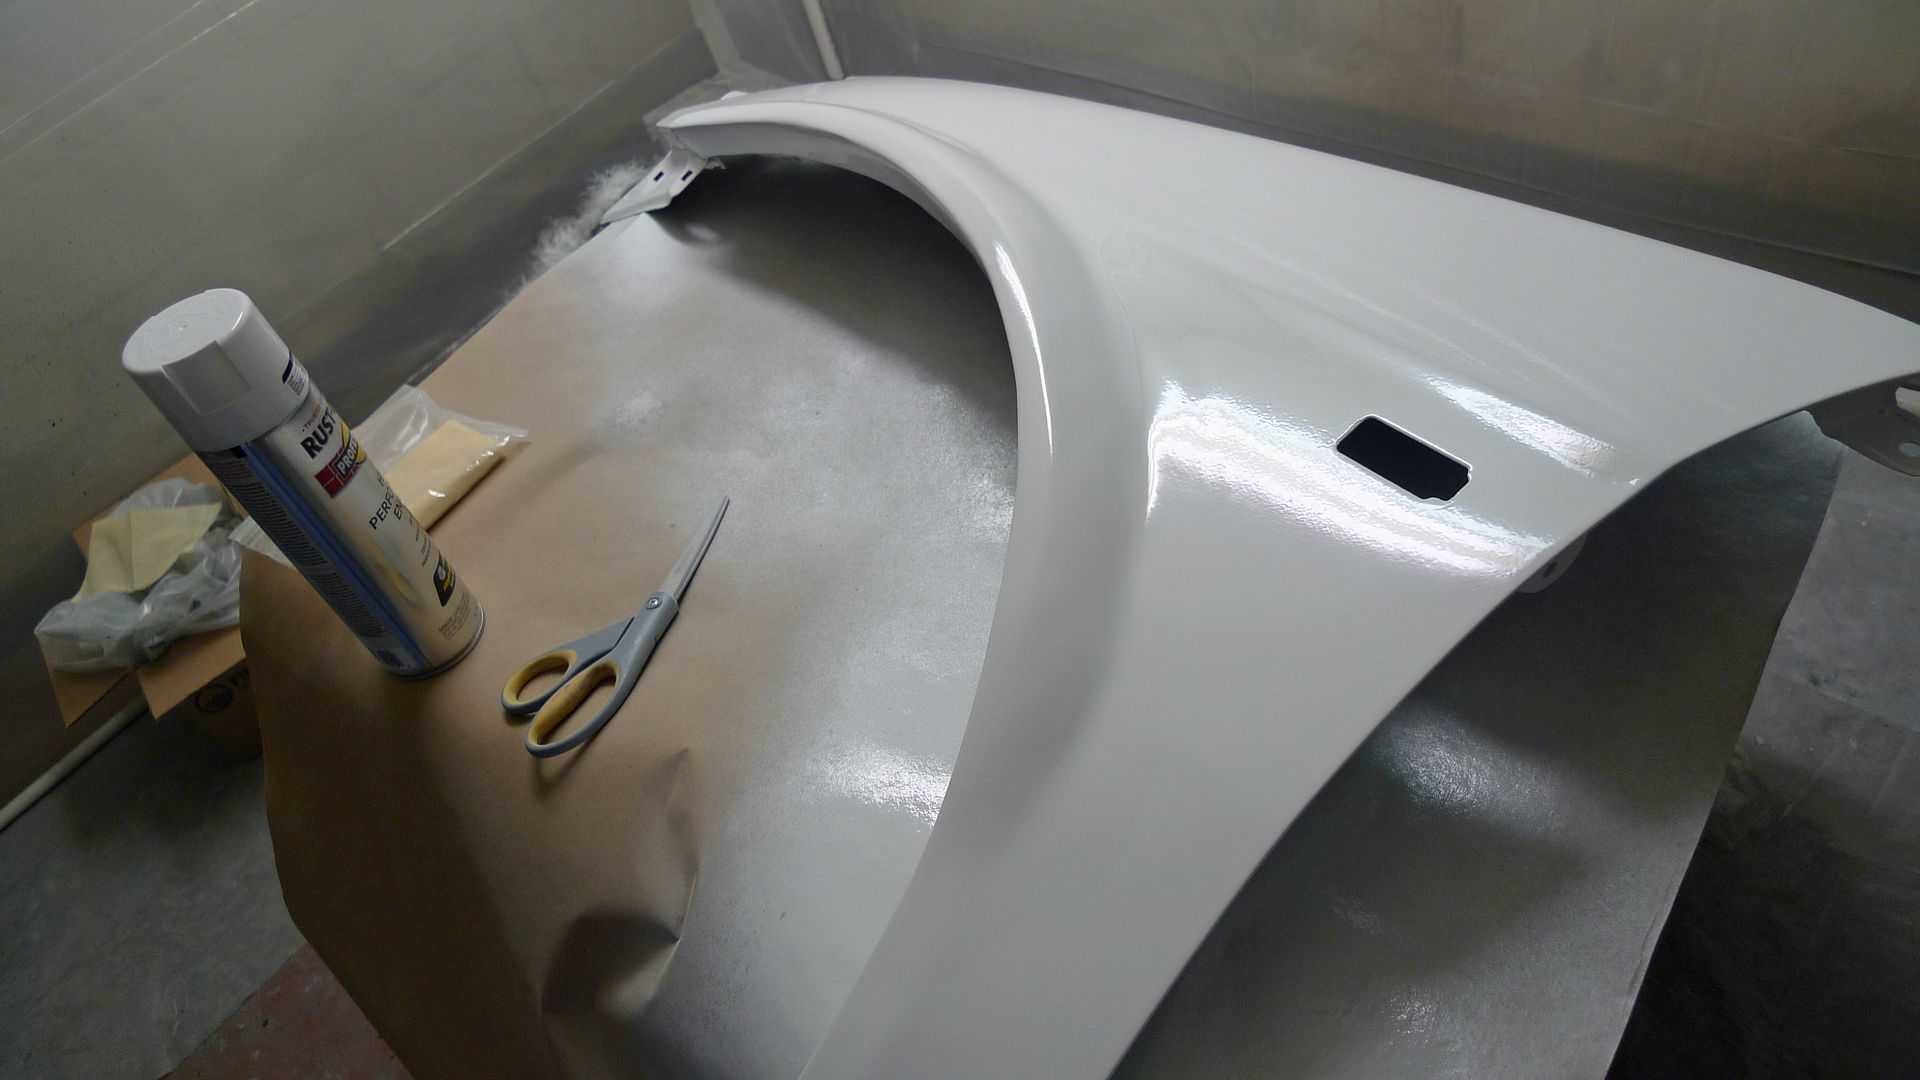
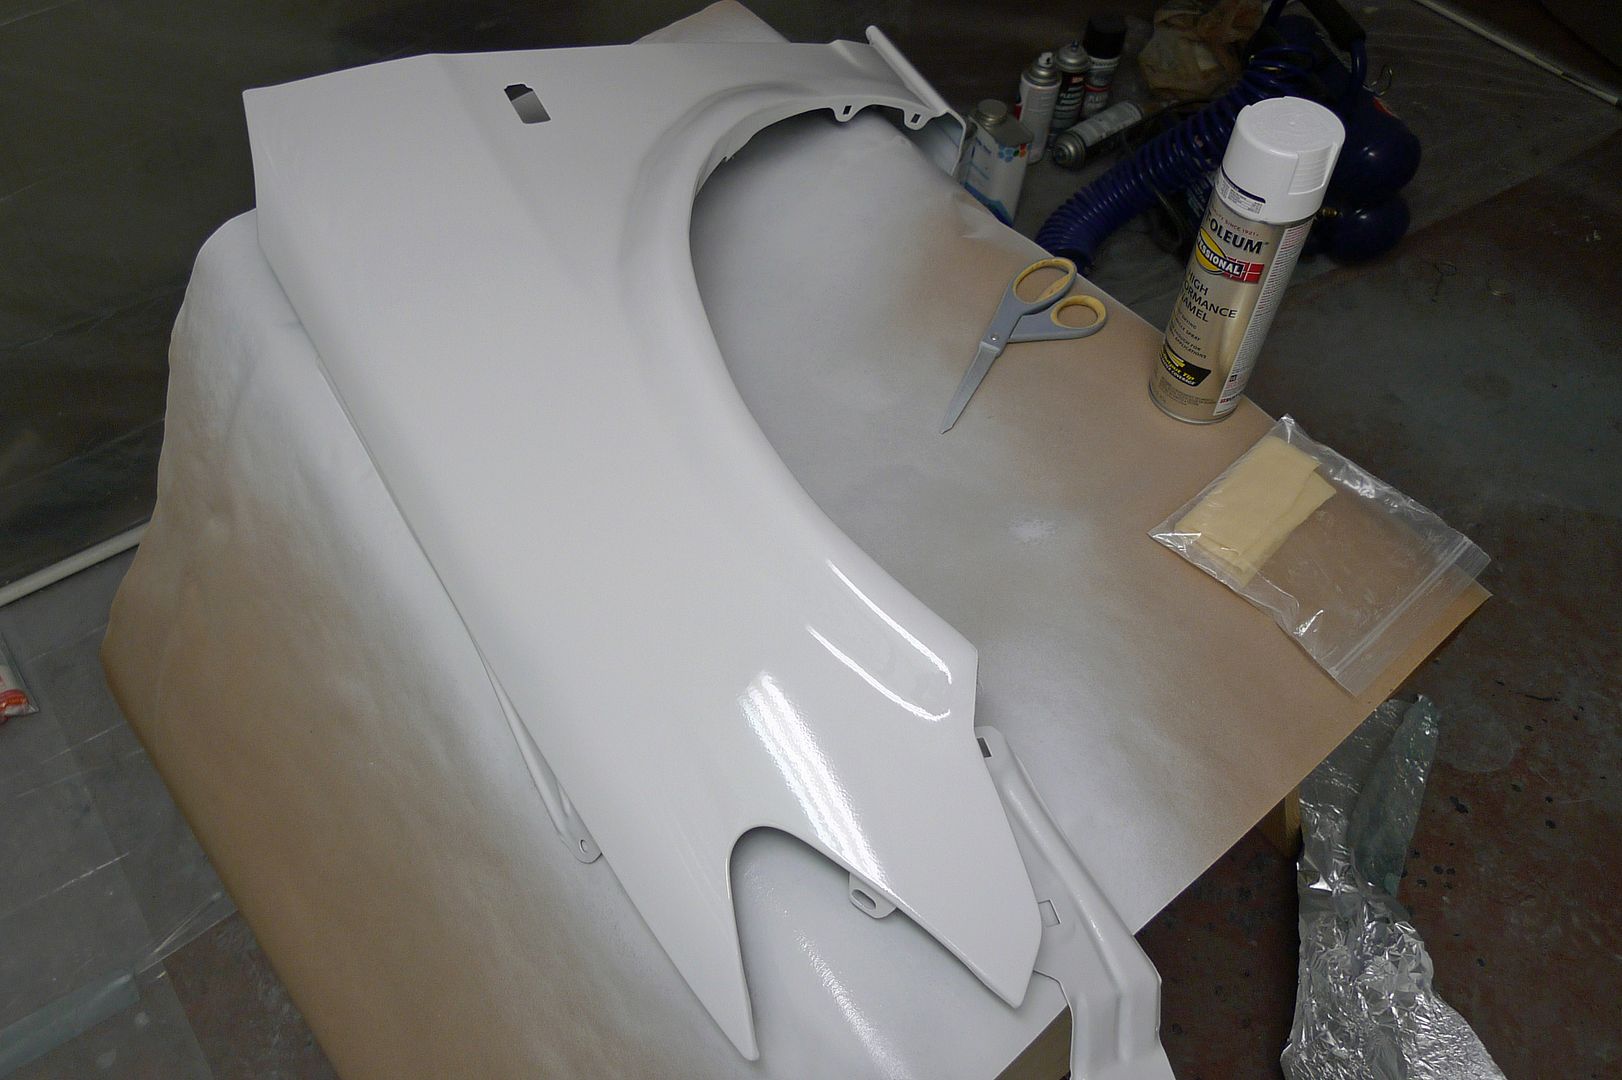
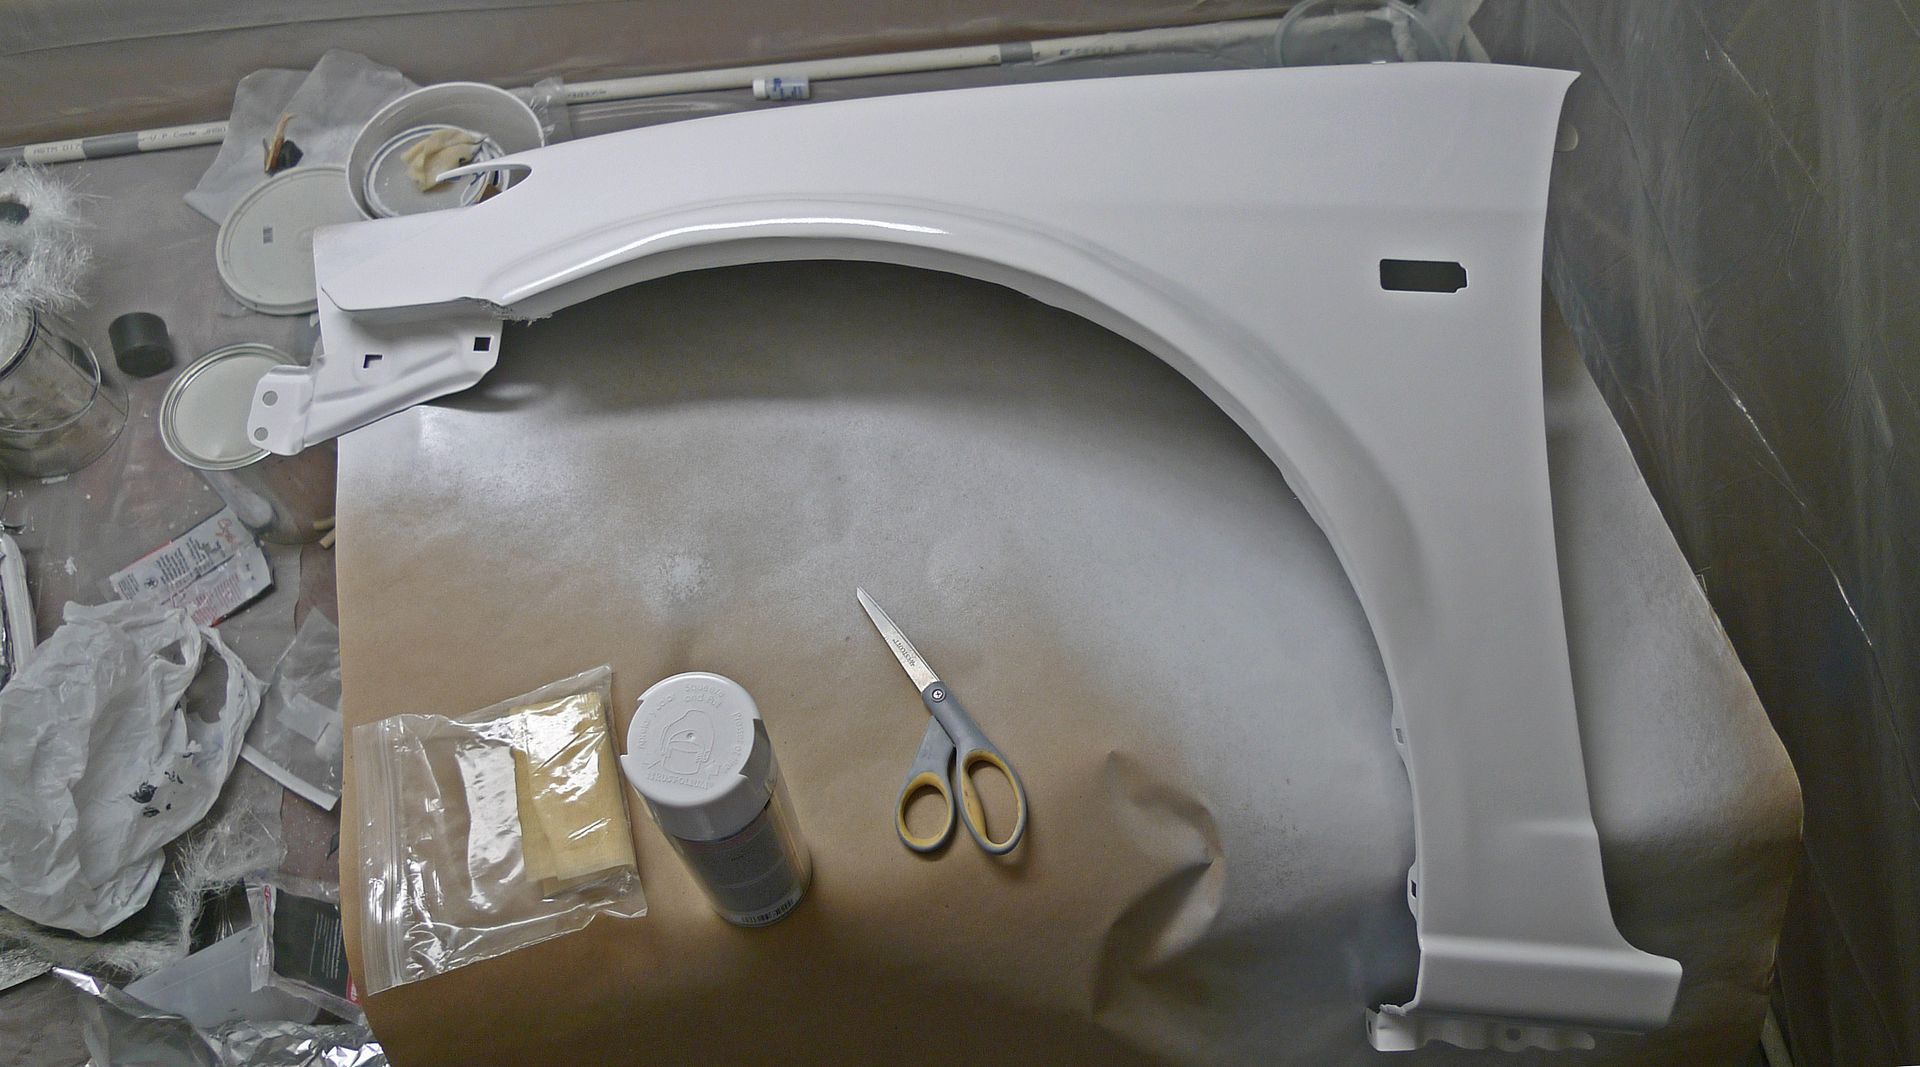
My concerns with this approach include lifting of the surface “glass” off the plasticene during mold making. Here are some pics of my progress:

I think woven fabric would be a better surface layer than chop strand mat, would you all agree?

Some more pics…

Does not really matter. Add some glass and epoxy, I would say a couple of layers of the thin glass you show, and fair things up.

Another solution is to use gypsum / plaster as a medium to get the shape. Can be added to the fender several times, is easy to sand, and holds paint.

Thanks for the reply!

I laid down a layer of 3/4 oz chop strand mat. This should give me enough surface layer to do some final shaping and smoothing.

After rough blocking and primer:

Some more updates…
My car needs an alignment bad…it’s got some positive camber but not quite as much as this picture would suggest:o

Your getting close!

What kind of car is it anyhow?

This is for a fully built 04-05 civic.

Thanks! I am getting close, but now I’ve noticed some slight dips that will require some finesse to fill. I’m wondering if pourable foam would work as a “dip” filler? Maybe a glazing compound? I’m just thinking that something easily sandable would be the best choice…?

Here are the latest pics:

I know it’s a little late for your process, but I use drywall plaster for all the shaping. What I usually do is rough shape some expanding foam to provide the volume, then apply several layers of drywall plaster for sanding and shaping. The plaster is much easier to sand than bondo/body filler, but just as messy with the dust.

Not too late at all…any particular brand? After you shape the plaster, how do you seal it? Just prime and paint?

I took your advice and picked up some plaster:

Marked out some trouble spots:

And spread a thin layer of plaster at a 2:1 mixture:

I’m sure the plaster will work but how long it will hold up before cracking or lifting I’m not to sure about. It’s a iffy thing as a sub to body filler but good luck

I only need the plaster to survive long enough to mold the fenders.

The plaster will hold for molding, just be careful accidentally flexing the panel. I picked up the DAP premixed stuff, too lazy to mix the powder with water! Once it’s cured, I hit it with 500 grit. 500 grit takes it off fast enough and leaves a pretty good finish for painting.

Thanks for all the input!

Finally got the driver side fender all finished:

You need to do something about the inner fender holes and the side marker.

Easy way to do it on the back end is having a small dot in the mold that locates the holes center.

Shave all the holes smooth. Make the mold. Take the plug and “de shave” the holes and side markers. Place in mold and take a scribe and outline the side marker cut outs and center mark for the inner fender and fender bolt holes

Hmmm…I’m not sure I follow you. Do you have a pictorial explanation:confused:

Here are some pics from tonight:
Loaded the car up on a flat bed…the toe is so far out of whack that we could barely roll the car:rolleyes:

These pics also include the fiberglass hood I customized with louvers:

And in this pic you can see how much further the fender sticks out than the bumper…I will have to add a flare to the bumper as well:

Basically you need to transfer all the holes from the fender to the mold. Then also transfer a pattern for the side markers.

If you placed a couple layers of aluminum foil tape on the backside of the holes you could plug the holes with plaster. Then when you make the molds peel the tape and pick out the plaster from the fender holes. Place the fender in the mold and you can trace the holes with a scribe. Basically a fine scratch on the mold surface. If will leave a slight mark in the composite surface. Then you can drill the holes and have perfect location.

We do this on molds generally for trim lines and fastener locations in tooling.

Hope this better describes the process.

Yes, that makes things much clearer!

On a side note, I just bought my friend’s air compressor and picked up a cup gun to spray the gel coat for the mold. I hope to get started late next week.