Bridging

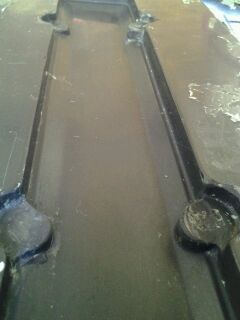
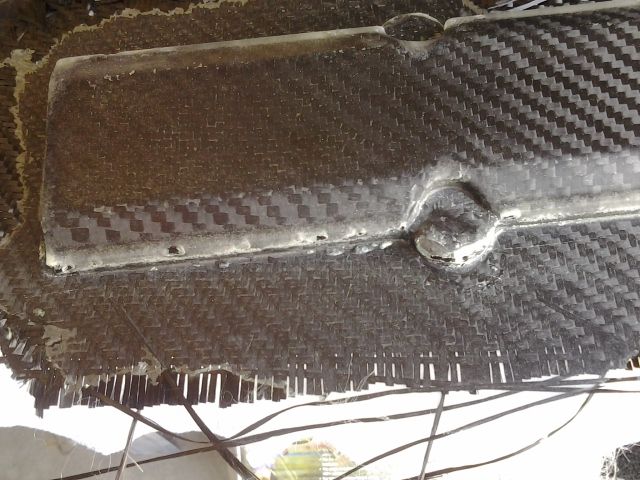
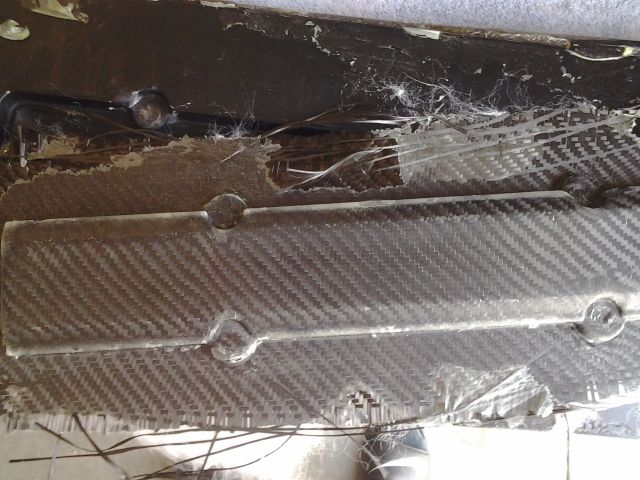
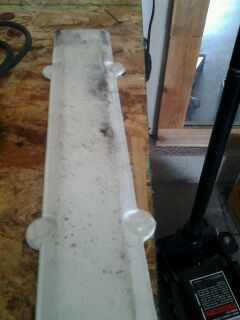
Howdy guys, so I have been making some automotive parts and they have been turning out good half the time and the other half im getting bridging. My mold has some 90 degree angles on it and thats where im getting my bridging. I have since come up with using a silicone incert to help get in those tight corners and angles and it has helped but not all the way. I have a slight vac leak every time that i cant seem to find (wet layup and vac bag’d). could that be the cause of my problem?

I ask this because I pull 20" of vac then drop the vac, try to find the leak then pull vac again. i do this about 4-5 times… I think im answering my own questions here. ha ha thanks guys!

Why do you drop the vac to find the leak?

Just to double check the couplers are on properly, re-arrange the bag, things of that sorts. should I just leave it plugged in all the time?

Yes.

Are these cosmetic “bling” parts or structural?

If they are structural you can fill those corners with lengths of carbon tow. This will build a fillet of sorts for the fabric and eliminate the bridging problem.

Dropping vacuum to rearrange the bag makes sense, but after that, do a full pull again, the leaks will make louder noises. (so are to be found easier)

Yeah these are cosmetic parts. Im using 2 layers of 2 X 2 twill with Epoxy. I think I may have had just bad bags with a pin hole in them or something, becasue I cannot hear the leak. I could use tow and throw some in the corners too, on the under side of the part that they will not see to help fix that?!

May be a leak in your mould. Bridging can only be eliminated by working more correct.

Well Im using a envelope bag, so thats why I think that is why I think its in the bag. I will try some new bags today and see if that fixes it. Ill also check all my fittings and make sure they dont leak as well.

Since you’re using an envelope bag you should check the rear side of your mold not to have a rough surface which may damage the bag, cover it with a piece of cloth to protect the bag, the second I would check is the connections and last the bag for holes.

About bridging you have to place the first layer very carefully and push it in the corners, begin with a light vacuum, enough to be able to move around the bag and cloth and when you’re happy proceed with full vac.

Ok, I will try that as well. I have been using that silicone insert that is a positive of the mold and I thought that would have taken car of my problems , but not yet. I cant pull too much vac out here in Utah because we are almost a mile high. the most ive seen was 22 inches.

Thank you for all the advice guys I really appreciate it.

car designers and sharp corners…

I got rid of most bridging by cutting the fabric in (or just around) to the corner. Then applied a second piece(about an inch or smaller) in to the corner(or overlap the first piece). Same with the second (12K + syntactic) layer. (only two layers in most body parts)
That way the materials don’t have to move around a lot, and in multiple angles. That way you can really push the fabric into the corner, without pulling it from another corner. And it makes the corners (stresspoints) a bit stronger. This is offcourse a lot easier with stable materials like prepreg. (or wet layup on baking paper :wink: )

K so yesterday I did a wet lay up with reinforcements/extra material in areas where bridging commonly accured, I then used my silicone incert and vac bagged it, useing brand new tube vac bag (which is now my new favorite) then pulled vac but I still have a slight leak so I think it might be in one of the fittings that im using. I left the pump on for about 4 hours. everything looked good so far. Im going to pull it out of the mold here in a few to check the results. Few things that I did differntly is i never let the vacuum drop all the way to 0 and I didnt use PVA, just a simple wax.

Well the results of yesterday didnt turn out so well. there was still alot of bridging and i F’ed up my mold and broke the tooling gel on a couple of corners, so i was fixing that last night. Ill post up a pic and see how you folks would attack it. Im thinking since its just a cosmetic part i might just do a wet lay up.

Did the part stick? Are you using epoxy? I cringed when you said that you eliminated the PVA on your last pull.

Yeah im using epoxy. yeah that was a mistake ha ha ha i thought something in the PVA was helping it to bridge, but i guess not. Mold should be ready to rock by the end of the day after sanding down… Pictures will be posted shortly.

Yeah im using epoxy. yeah that was a mistake ha ha ha i thought something in the PVA was helping it to bridge…

Epoxy releases can be more tenacious than VE or PE. There is quite a bit of advice out there against using PVA. The outcome is very often like you experienced. What works with some resins doesn’t work with all resins.

So after a few more tires, I still suck!!! Ive tried it even using a infusion technique buy not using any breather cloth on the inside of the mold just on the out side, and letting the pressure of the vac to push it to the outside, although I can only get 20 inces of mercury today (im guessing cuz of the weather) the part still come out like xxxx. Here are some pics of my last failure and mold.


Usually, whenever I get some bridging, I get some resin rich areas, not holes.
The problem is not there, I suppose.

Anyone got any other suggestions? Im thinking I might wrap some popsicle sticks in Mylar and wedge them down on the sides because of the 90 Degree bend on the mold. i thnk that will help get in those corners. Also I am going to check my couplers today to see where my small leak is coming from.

That is just an ugly shape to do with a hand layup. If that shape where truly designed for composites it would look differently. Almost all those sharp corner are unnecessary.

I’m not sure what to tell you. Infusion may work best…but you’ll still have lots of resin in some of those corners. Make sure that your bag isn’t bridging, work it into position with very little vacuum, and then apply full vacuum.

Here is how carbon tow can be used in the corners with a hand layup (45 psi bladder assisted).