There was a similar thread on another forum.
Causes are plenty, solutions are plenty as well. Probably a combination of solutions will get you rid of the bubbles.
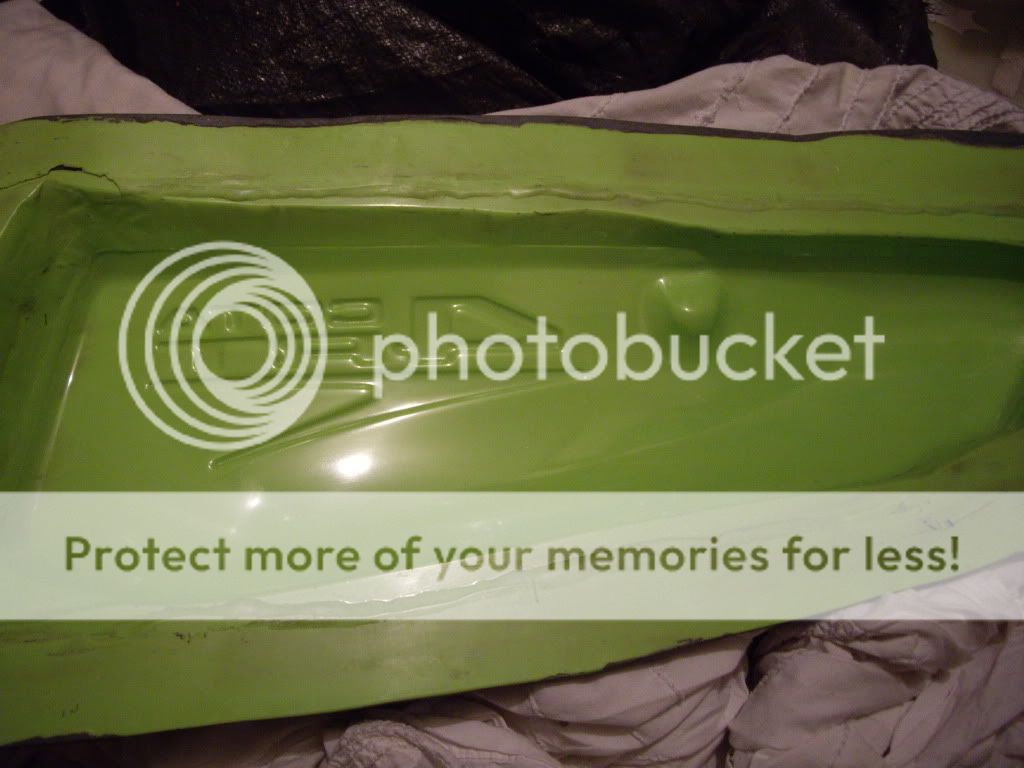
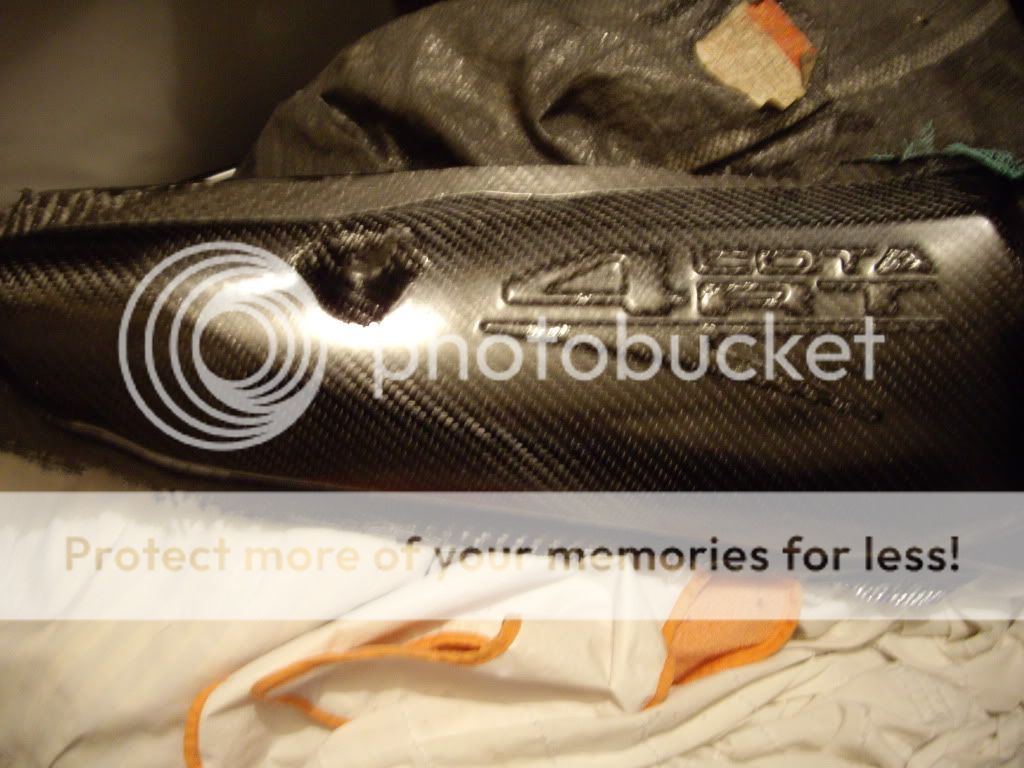
The bubbles can develop because of low capilary action in that area (that is always where the bubbles form)
-indeed work the fabric so it enters the lettering more. Apply a very, very light vacuum, then work the fabric with a HDPE stick. Apply some more vacuum, and see if there is anything that needs correcting.
-use a different mold release. This can cause bubbling as well.
-turn the mould in a different position during infusion
-next one is tricky: infuse with the following stack:
fabric
perf film
inf medium
Dahltexx SP2 (resin barrier)
inf medium or breather
Infuse with a lower pressure than normal (say 80% vacuum)
After infusion, apply a vacuum on the breather, as high as possible. This will enlarge the bubbles, drawing them through the membrane. I made some parts that way, they came out perfect. Lots of layup though.
 ">carbon parts :: IMGP1673.jpg picture by drtcmm - Photobucket
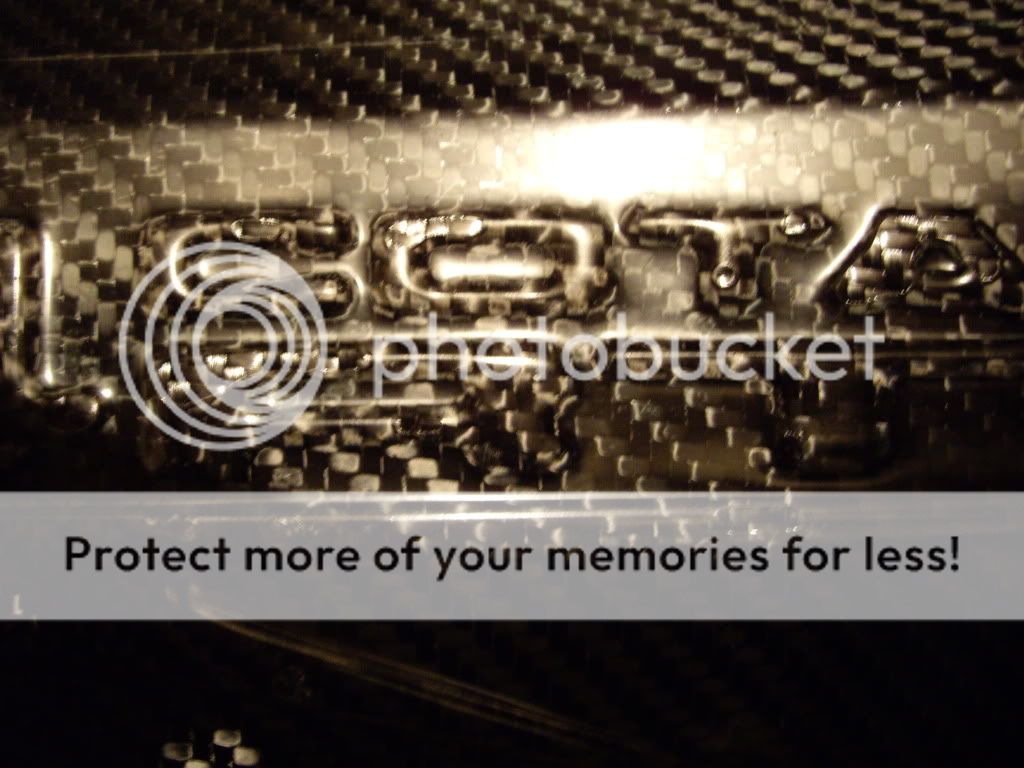 ">carbon parts :: IMGP1675.jpg picture by drtcmm - Photobucket