Surface ready for mold? straight on = swirl marks.... from angle = mirror finish

So i just got done wet sanding, cutting and polishing (first time) and im not sure if the surface is ready?

Im using duratec primer and 50% gloss additive
wetsand 320-800-1000-2000
meguiars mirror glaze fine cutting cleaner
meguiars scratch x
meguiars 204 polish

now from a top view the part, it looks like i can see the sandpaper strokes and swirl marks… but when i look at it on an angle it looks like a mirror… feels like glass too. is my plug ok to start the mold?

I’m guessing since it is a “primer” and not paint, it appearance isnt as solid looking as if it were paint? am i correct?:confused:

You can buff the Duratec to a high gloss, but only if you did every step exactly right.

A guide coat or guide powder can help you with that.

In this case, I think one or 2 steps were not perfomed well enough, which now leaves you with some scratch marks. The swirls should buff out with a swirl remover.

At this point I would probably just make the mould, and give the mould a good buff. This will get you going.

Should I have started with a more coarse compound? or did I not finish with a low enough compound?

To answer your question it all depends on what you did in the beginning while sanding. Basically the concept of wet sanding, polishing, buffing is to get a smooth surface and each step leads to another. If you mess something up such as sanding to deep on the first grit sandpaper you use you need to pay close attention to the next grit you use and take that down.

We’re not sure how rough you sanded because the swirls you see or sanding marks could be from the very first paper you used. But in my experience your first compound wasn’t aggressive enough or you didn’t put enough elbow grease into it. I megiuers diamond cut compound #85 as my first step. Then I had some Menzerno products left over from years ago so I used them to finish. I found that the biggest thing you need to do is make sure all the swirls and marks are out with the first compound you use. After that it seems to me like they all look the same…

maybe i left out a key importance…

I sprayed about 4-5 layers the first time and wet sanded with 320…(25% gloss additive) after i finished i realized i sanded too much. so i cleaned it off and resprayed another 4-5 layers.(50% gloss additive)

thats when i wetsanded from 320-800-1000-2000 then buffed.

now i’m thinking the second time i painted it, the opacity wasnt as much so its showing the fine scratches from the first 320 wet sand. I also called fiberglass supply and they think its because i sprayed the duratec in 2 different directions (left to right and up to down)

im not really sure… i went at it with the polisher again and began waxing… and honestly i think its just the primer. its looks like the swirls/scratches are shadows from under the last layer… I guess i’ll find out in the mold! ill buff the mold if need be.

320 to 800 grit? That is a nasty jump. I would go through more grades.

Anyhow, make the mould, and polish that up if it needs be. At least what is a scratch now, is a bump in your mould, which polishes out nicely.

I’m about to start the same procedure (first time too) i’m using a 2 part filler primer (MEGAX)

How many coats do i need to give it? do i need to leave to cure then add more coats?

will be wetsanding with 320, 600, 800, 1200, 2000 then Mirka polarshine T10 compound.

Why start with 320? That seems a bit extreme. I always start wet-sanding primer or paint with 1000 grit.

If you can get some 3000 grit 3M Trizact pads and a palm buffer/or drill then you can knock any deep scratches away pretty quickly then move onto cutting compounds.

i use 320 because im horrific at painting… i dont apply any pressure and let the 320 glaze the high spots lightly, i do it for a few passes then move to the 800 where i got to town smoothening it out

I use duratec for all high end finish. Our sanding is in two stages. First is dry, that is from 240-320-400-600-800. Then we check the surface and then wet sand from 400-600-800-1000-1200 Then we use duratec’s polishing compounds 1000 then 2000, which give a finish with no scratches under a lens. The key is to count the sanding strokes, and in wet sanding you should do as many strokes as it takes by 400 to remove all the earlier scratches. Then you use the same number of strokes plus 20 with 600. Then go with 800 with at least 20 strokes. Then use at least 20 strokes with all subsequent grades. Never jump over 200 grit size for subsequent paper.

Another thing is to use copious amount of soap+water in a spray bottle to wet the surface. When you change the subsequent grit, you need to clean everything from older grit. NEVER apply force. The water between the paper and surface will hold the sand paper with vacuum that gets generated between the paper and surface (there’s no air there). The paper will stick on the surface with sufficient pressure and do its job. The strokes are just to guide the paper on the right area.

Its a bit more work but you’ll not be sorry with the quality.

I totally agree with Nash…
Although , to get it perfect mirror I use a guide coat between paper sizes. Make sure you have no scratches of the previous paper size before you start the next.

Tim

Tim,

Guide coat works very well in dry sanding but not in wet sanding. You need other strategies such as alternating color layers etc. But its doable. Carbon black guide coat will dissolve in water when you do wet sanding. We do mostly wet sanding once the surface has a high gloss topcoat on it. The dry sanding is done on the base coat.

Again, in my experience there is no short cut if you want quality. I’ve never had any success from power tools during wet sanding, they’re too hard and will destroy anything hopes of getting high quality. This is for duratec coated master plugs. On harder surfaces such as tooling-gel coated molds, festool like tools could be made to work if you know what you’re doing. Only at the polishing stage do we use power tools.

Nash.
Why do you say guide coat don’t work wet sanding ???

Using guide coats on ANY type is surface is a must when getting a flat mirror type Finnish.
The best Finnish you will find is on street machines or show cars. Blocked and sanded clear coats , using guide coats in-between , wet sanded… I grew up in a panel shop…
I guess every person has a different opinion of perfect.:slight_smile:

Tim

Three reasons, the first: guide coat is usually used to to fair the surface and not to remove scratches, at least in our work, I don’t know if someone would use it to remove scratches. We use guide coat in the dry phase, not in the wet since at the wet phase we’re within a few tens of microns in the precision of the part and we don’t have any surface imperfection. In the wet phase we’re trying to get rid of the marks of prior sanding to get a perfect surface.

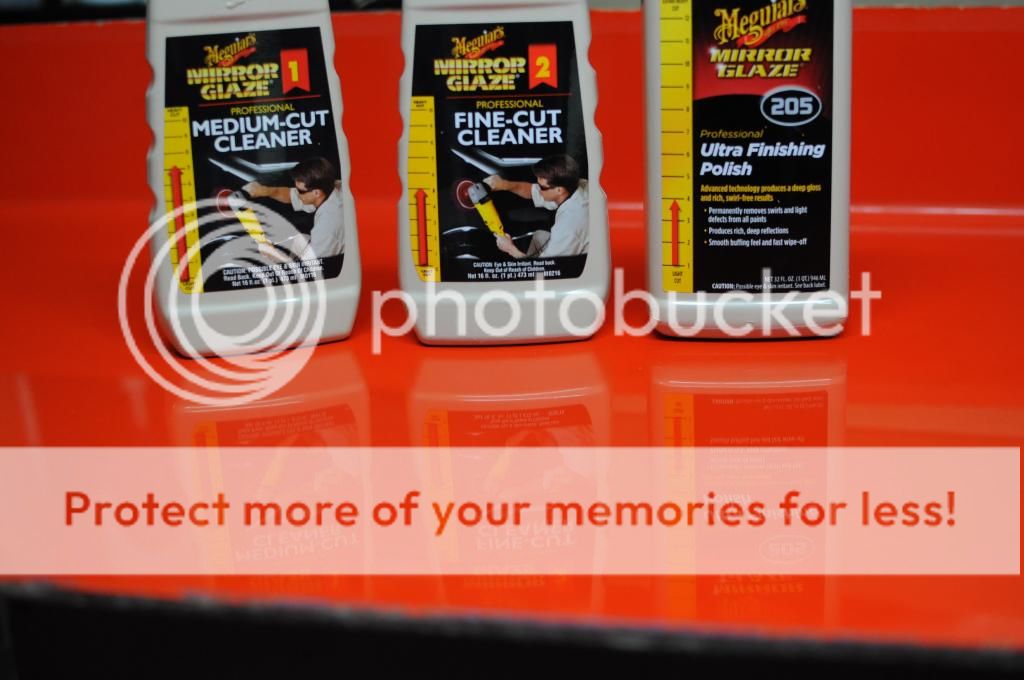
The second: We use a very simple method to get an accurate layer thickness, we spray evenly on the entire surface based on material/surface area. Then both the base coat and top coats are sprayed in at least three layers of alternating colors (white and black). The topcoat has a layer of transparent on it too. When we sand, we know exactly how deep we have gone based on the color that emerges from the sanding. So we don’t use dusted type of carbon black guide coat. Our process itself guarantees the thickness and guides the sanding correctly.

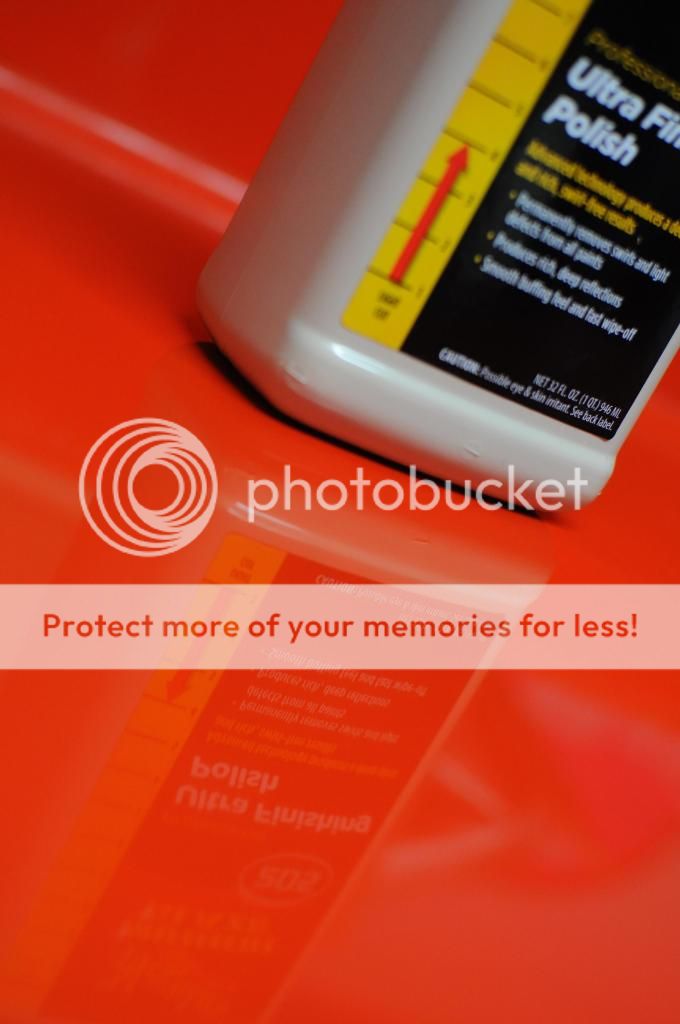
the third: In wet sanding we use copious amounts of water and a bit of liquid soap in the water. This is to wash away any grit during sanding and also as a lubricant. Thus, if we’d botched up the dry sanding and wished to use wet sanding to fair or correct the surface and used carbon black as guide, it would get washed away with the first pass of the wet sanding paper. Mind you we’re not making small parts. I’m attaching a photo of the smallest part we have, this is a structural part which is not seen from outside. This is not an aesthetic part but we still have a close to mirror finish on it. It is black in color and the blue on the sides is the color of the door, the light blue is the sky and the green is the grass next to our facility’s fence. Here we stopped sanding at 800grit and its polished with duratec 1000 paste. Unfortunately, I’m not at the liberty to share other photos of the parts, but this should give you an idea of mirror finish on a part that will never see the light of day. On the actual surface parts you could easily comb your hair in the reflection. On this part you’ll see a reflection of the outside of our facility.

Hope this helps.

Thanks Nash…
Love to see a close pic of actual surface part…:cool::smiley:

One of my MDF plugs…

Tim

[ame=“http://www.youtube.com/watch?v=7jU4DJUh3o0&feature=youtube_gdata_player”]WARHEAD 60 BUILD NO 9 - YouTube[/ame]

Tim,

Thanks for posting your video. Your mold looks very nice indeed. In our case the mdf didn’t work out. About a few years back, I too machined a plug out of MDF, it was infused with epoxy to get the top surface sealed. For small size molds this could work, but for large size, the plug warped and broke away from the underlying steel structure. MDF is indeed very inexpensive, machines well, but does warp unpredictably for large parts.

Currently we use high density foam.

If the unavoidable Mr. Murphy leaves us alone for a while, around April 24th-29th, we should be displaying our aircraft at the show of Aero Friedrichshafen. At that point you’ll be able to see a lot of material on the plane on our site.

Indeed sometimes MDF can be problematic. It also depends on variations in temperature and moisture. In that respect tooling board (such as Rakutool) is much more predictable, and comes in a range of densities. The higher densities do not even need surface finish.

So i finally popped the plug out of the mold today and it looked pretty good! came out fairly easy ones i broke the seal…

now im still having trouble getting it to a 100% mirror shine…
from a <45* angle, reflections are near perfect.

im using these meguire products and the finish is okay. there are some swirl marks which im assuming its from using really crappy ryobi buffing pads (using a cheap buffer while my new one is in the mail)

theres very very little orange peel (it reflections look slightly blurry/mid resolution vs ripply). At this stage, do i just need to start with a more aggressive compound? or go back to wet sanding?

this is the mequires stuff im using im using…

Some pics of the surface finish as it sits right now


last one looks a bit hazy… i dont think the mirror glaze was completely wiped off… also, is the last step buffing dry? when i wiped the mirror glaze with a microfiber towel it still felt like there was a layer on there still…

Buffing does not remove orange peel. That is only done with wet sanding.

Buffing brings back the shine. It is up to you to decide whether the orange peel is acceptable.

As for the polishes: follow the advice of the manufacturer. Also use good (and the right) pads. These do half the job.

thanks herman.

I ended up doing a test patch and with 800-2000 grit then used my friends buffer with his solutions and worked like a charm mirror glass!

thanks all!