Sump guard accidental overlay.......

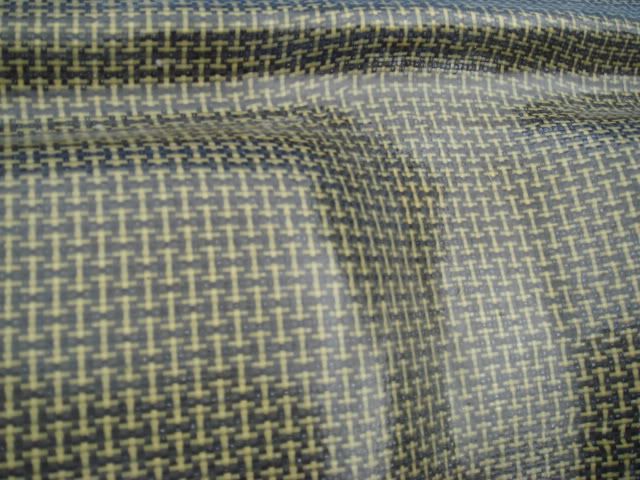
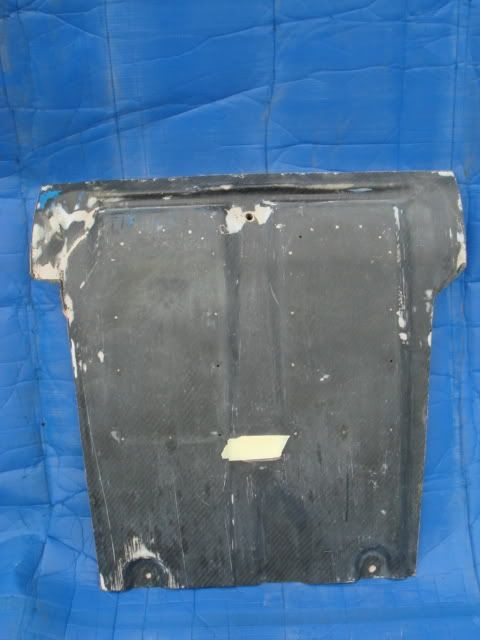
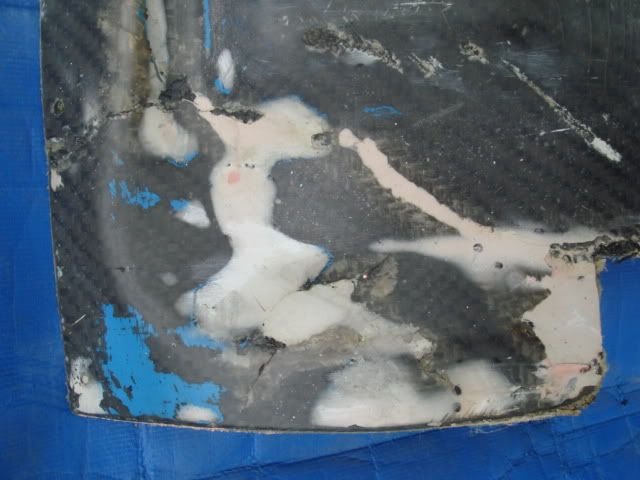
I recently had a guy bring me a sump guard he had from a rally car he is re-building, it had taken a few wacks and was in poor condition. On closer inspection what I initially thought was Aramid (because of it’s yellow colour) turned out to be a FG woven roving which was either tinted by the maker or by the oil which had fallen onto it over the years. It was given an outer skin which is either the same tinted black or more likely Carbon fibre, it looked like it was bonded and coated in Polyester and full of air bubbles:

I vowed to do better!

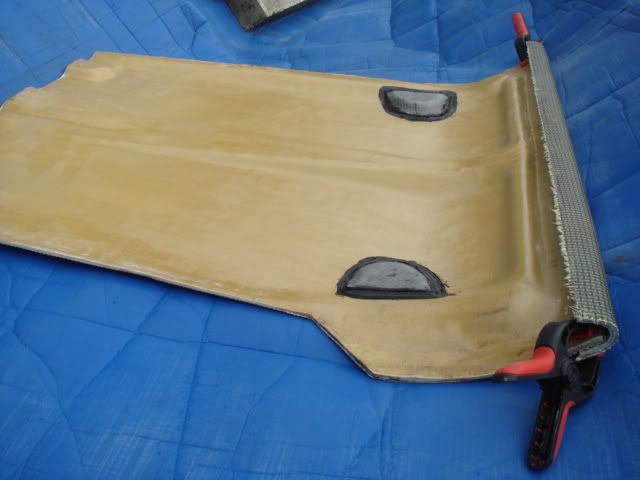
First off I cleaned and de-greased the best I could, then held the floppy (but still attached) broken bits together with glued on splints, filled it and rubbed smooth:

This is after I demoulded it, some bits came loose, but it doesn’t matter now - it’s only fit for the bin.

I then took a mould from it.

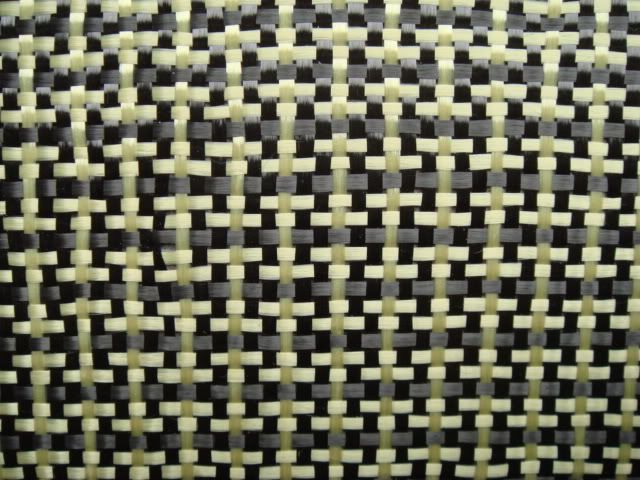
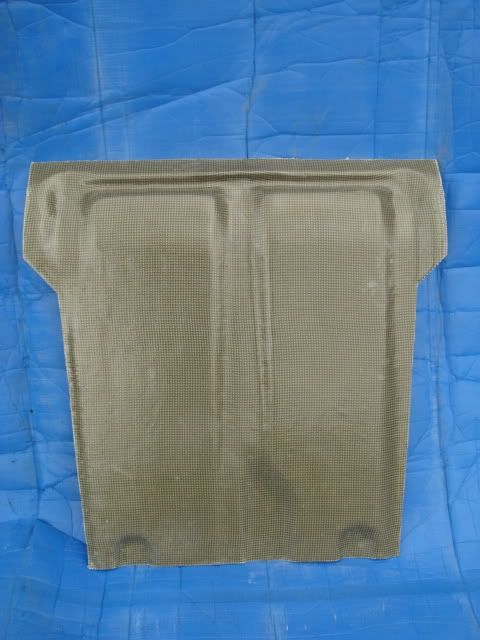
To make this from the thin Kevlar I have was going to take ages and cost a heck of a lot in order to build it up to a good thickness, so I elected to go 50/50 woven FG/Kevlar to keep costs down. I’m guessing you can get much heavier grades of Kevlar??

Here I made my only mistake, I still dunno why I did it as I’ve been working with various chemicals for years and know all about incompatability issues.

I brushed out a gelcoat of Polyester and proceeded to lay up using Epoxy…
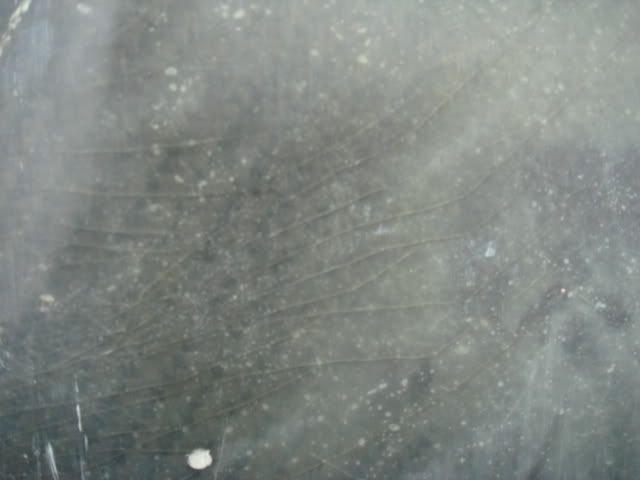
I can only assume I was having an off day, The part came out fine, but soon started to blister and epoxy began to weep out from under the Gelcoat, I laid it out in the Sun for a month (!) whilst getting over what a nob I’d been and wondering how to get around it before picking it back up again, getting out my blowlamp, scraper and burning/scraping the gelcoat off.

I also reckoned it was a bit too thin. I sanded it, washed it with water and Acetone before commencing with more layers, this time it was an overlay! I picked up some tips on here and the Racing Comp forum and in the end it came out just fine. The seperate lip at the front protects the lower part of the bumper and was used as a good place for advertising on the original works cars, I made a simple mould for this from a length of MDF moulded to suit the profile.

All in all It’s turned out quite well and I learned a few more important lessons and tricks.

It’s going to get some metal skid plates riveted to the underside of it.

The core is as described earlier, 50/50 kevlar/woven roving, I finished it off with CK and a few coats of resin to give it a bit more rigidity and for aesthetic value.

I love working with Carbon-Kevlar!

Very nice, i like the kevar/carbon mix

Just a question on your gelcoat issue…Im going to be using a clear gelcoat on my parts and follow with epoxy, the gelcoat doesnt say if its polyester or epoxy, it just says: Ortho-NPG as its chemical type. Is that compatible? :confused:

personally, all the epoxy gelcoats i’ve used are very thick (like, auto body filler thick). Also i never had problems mixing polyester gelcoat with epoxy, of course the gelcoat will have to dry first. Some say totally dry, some say let the gelcoat b-stage. A little testing will show you what to do.

evodelta does carbon kevlar conform easily to curves?

I think that some polyesters will be compatable with Epoxys and some not, only on asking the manufacturer or the outlet will you be sure. I also think that letting the poly gelcoat fully harden will increase your chances of success, it often does with incompatable materials - once the carrying solvent is long gone it will take to different coatings easier.

The sumpguard was left outside and initially it just showed some cloudy patches where it was delaminating, later on it began to weep out, if you have ever seen the resin bubble out of pine wood before you will know what I mean, it hadn’t set and was very sticky. Then it began to blister a bit here and there - the sun won’t have helped because of course I hadn’t put any UV stabiliser in.

Aga, CK is really nice stuff to work with, the way it is woven (and the Kevlar content of course) means it conforms to the shapes really well, I had no problems or special procedures with laying this down - the woven FG was just the same though. Pure Kevlar (or more accurately Aramid) is even easier.

The downsides are that it is not as stiff as CF (although in this situation it is a bonus, you don’t want a corner getting hit and snapping off), cutting it requires special shears and trimming off to a good finish is very difficult as it goes fluffy at the edges (see earlier pic of seperate front piece where I had just sawn it down with my power saw). I burn off the ends, then add more Epoxy and sand again, another way is to use a margin of an easier trimmed material around the perimeter.

I think it would be good for engine piping because of its flexibility, although personally I don’t like the use of composites in pressurised (turbo) applications.

wow, amazing job! I made a part the other day that was a tester part for thickness and I ended up making it too thin myself. I am going to trymy first layover on it to add thickness. Hopefully that goes well