Suggestions for in line resin and vacuum flow control?

Hey folks,

I’m currently infusing with max vacuum pressure and max resin (both vinylester and polyester) volume. Basically, I’m letting the pump run through a 3/8" tube and various sized infusion side lines.

I’d like to be able to cut off vacuum or infusion without having to rely on a spring clamp. (Which doesn’t work as well as I’d like.)

I’d really like to be able to shut off and hold vacuum on both ends so once I reach the gel stage, I can clamp and walk away.

Right now, I’ve been leaving the parts under vacuum with a spring clamp on the resin side.

Thanks,
Alan

I typically use the Vise-Grip “locking pinch-off tool” it works extremely well. I have also used the Vise-Grip “locking sheet metal tool”.

Alternatively you could buy cheap, disposable ball valves with barbed fittings.

I have a reusable Vac. Manifold with O-Ring taps that hold Vac. you can control either end or side of your infusion - also a Vac. line tee’d into your resin feed line to use at the end of full infusion to reduce excess resin - see pic.

Hope this helps?

John Hayes
www.bladerunneroutriggers.com

I am not really sure if I understand what you try to accomplish. I presume you want to infuse, then apply vacuum on both the original vacuum port(s) and resin inlets. Am I right?

In that case rig a T-piece in your resin line, with a hose from T-piece towards your catchpot. Clamp it off during infusion. After infusion, clamp the resin feed, and open the pipe to the catchpot.

I sell very lightweight hose clamps for randomly clamping hoses. See page 13, 4th picture of this PDF: http://www.brandscomposiet.nl/products/documentation/n/B43%20Vacuummaterialen.pdf
See if you can get them locally. They work like a charm. My experience is that hose valves (the cheap ones) leak with vacuum at times, and vise grips are heavy and can cause problems that way.

You are infusing at full vacuum. That is a good thing. Consider bringing back the vacuum somewhat (say to 50 mbar or so) to allow eventual airpockets to implode.

Thanks guys. I think I’m going to try using the cheap ball valves and see what I get.

Basically, I’ve had the bag lift a few times during clamping attempts, which obviously introduces a ton of air, plus I’d like to be able to shut off the pump and keep the part under vacuum. Running a ball valve also allows me to use a funnel for feed, instead of having to try to clamp off if I didn’t mix enough resin and I need to stop (or slow) resin flow for a second. (I can then fill the line back up with resin and force the air out of the line.)

Also, I’m not using a catch pot. I’m using MTI hose to great success.

Looks good. Infusing with the max vacuum is very important for good results. Stopping the resin flow during the process is not optimal. Also you must have a absolute tight bag.
If you work with the MTI hose you can ( and I would) leave the full vacuum run until it is cured. Theoretical you can clamp the vac line because your part should be tight.
If you have to clamp the resin feed because of mixing new resin use ball valve but do not close it, slow it dow so that the resin front is still traveling.
The resin feed with a spiral tube in the middle is good.

I think I do see a couple of spots which need rework.

Make sure your bag is 100% perfect, and that you draw a very high vacuum. This, in combination with MTI hose, should make even those last spots disappear. Perhaps some spots are due to bridging, put even more effort in fiber placement. (your product is quite complicated, consider creating it from several pieces of carbon fiber, instead of 1 piece. This also might solve the fiber distortion.

No idea how you will finish the part, but if your mould is top quality, you could use an in mould coating of some sort. This leaves just the trimming as a post moulding operation, reducing labour and cost.

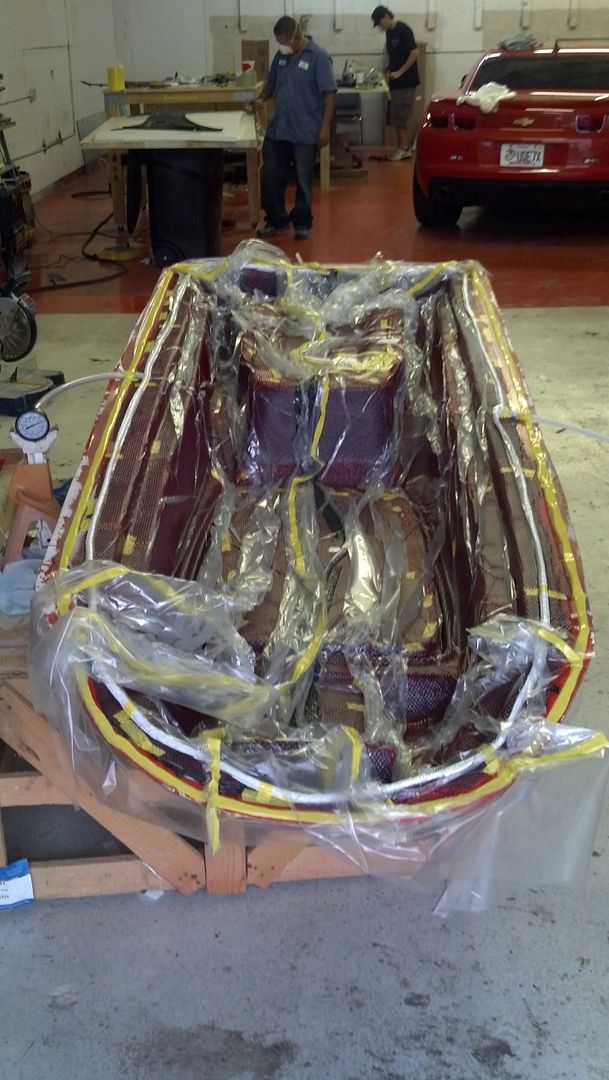
This go 'round is essentially a prototype in preparation for a greater production run. Unfortunately, the mold provided by the client was built with wet layup in mind, so the flanges weren’t optimal for our infusion needs. (We need him to remake the mold completely, honestly.)

We infused with max vacuum, but the amount of pleating in such a complex and deep mold make finding leaks nearly impossible at this point. The MTI hose goes a long way toward helping the part stay air free. (There weren’t many (if any) areas that had air in them other than in places that get cut off anyway )

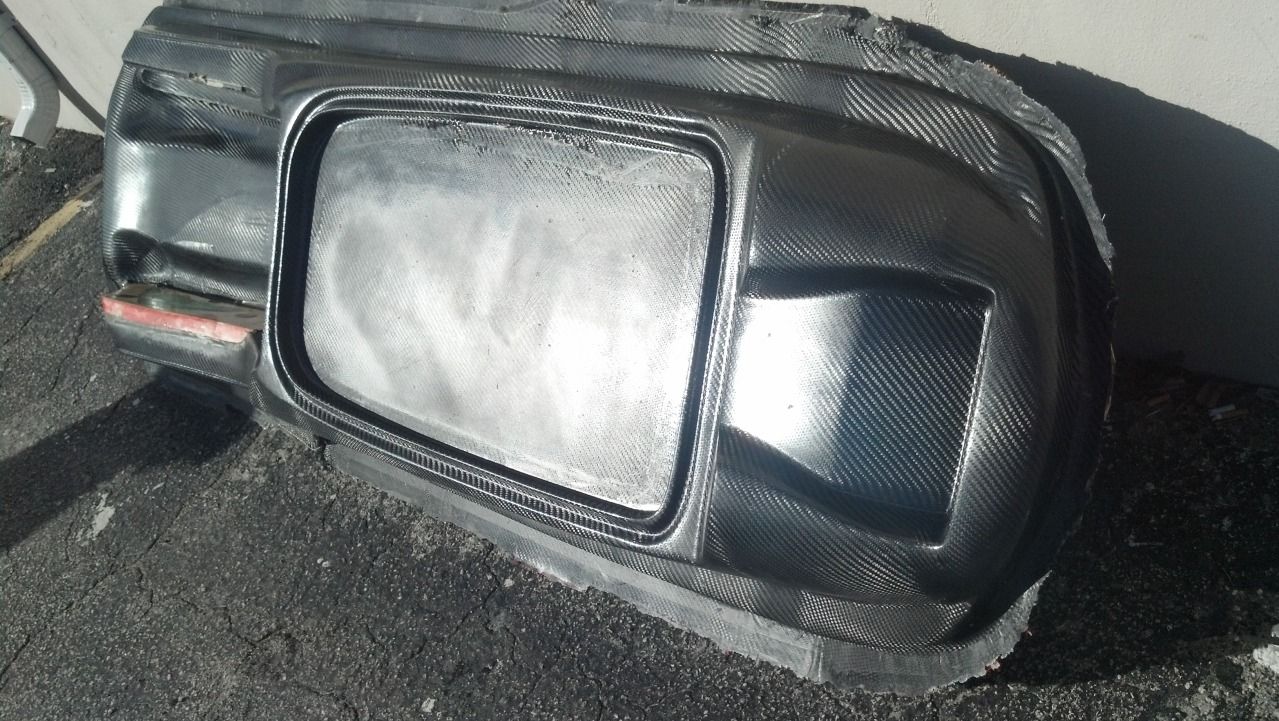
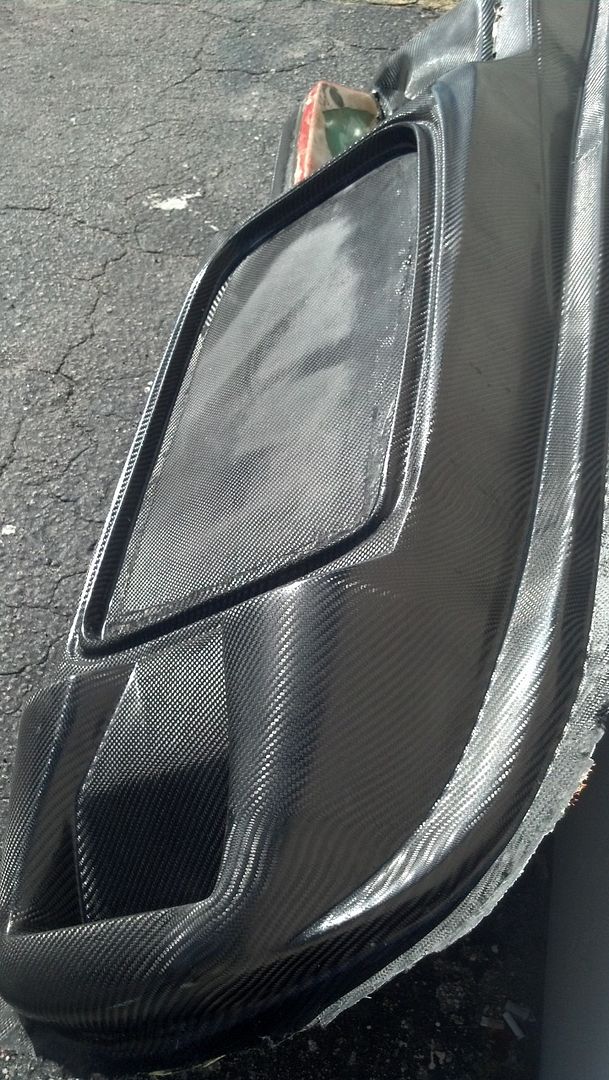
Also, we’re going to lay down the face layer in pieces on the next build, just as you suggested, to elevate the visual qualities of the weave. Once we get the clear and the vinyl graphics on this completed ski, it’ll clean up the line share of the distortions that are now visible.

Also, most of the middle of the ski is either cut open (big oblong section of the front) to provide engine access, or covered in carpet and pad (squared off section out back) for the rider to kneel/stand on.

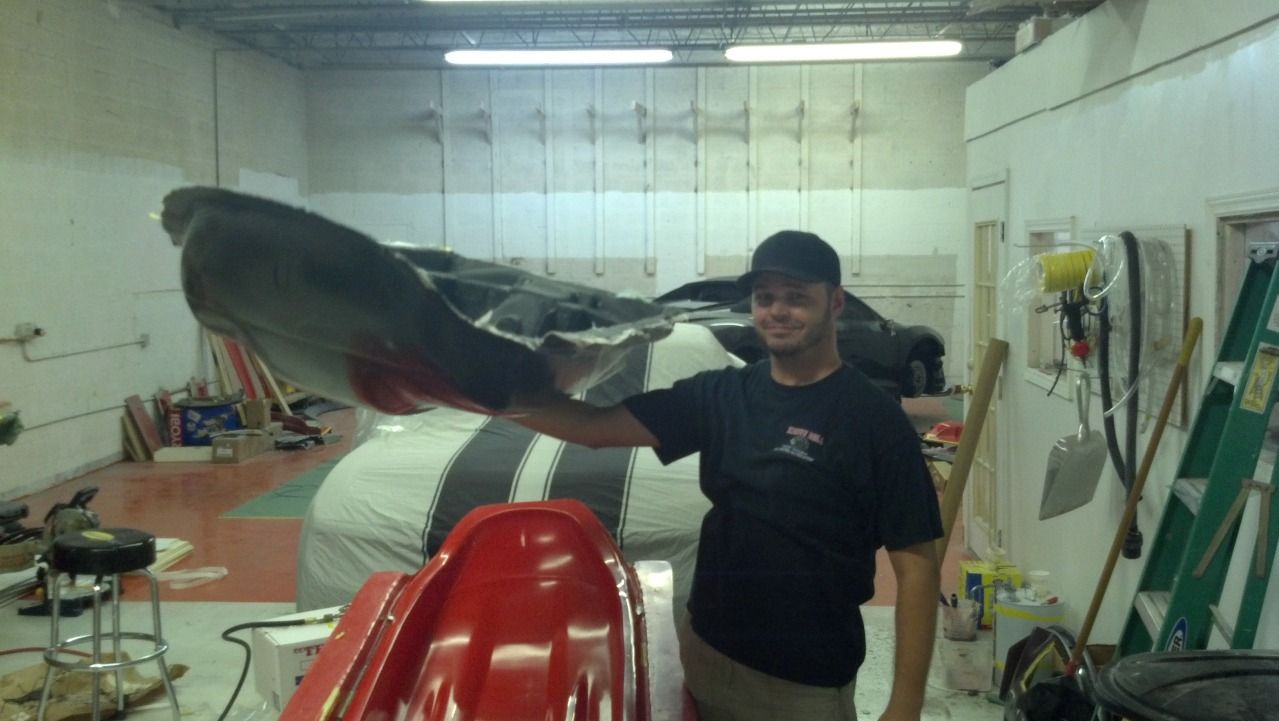
I’ll post pictures once we get the ski assembled.

I’ll post up the bottom in a second. :slight_smile:

Some of the pics below look like they have dry spots, but it’s actually just PVA. (We didn’t PVA the top, just the bottom.)