Rear spoiler 3 piece mold making of

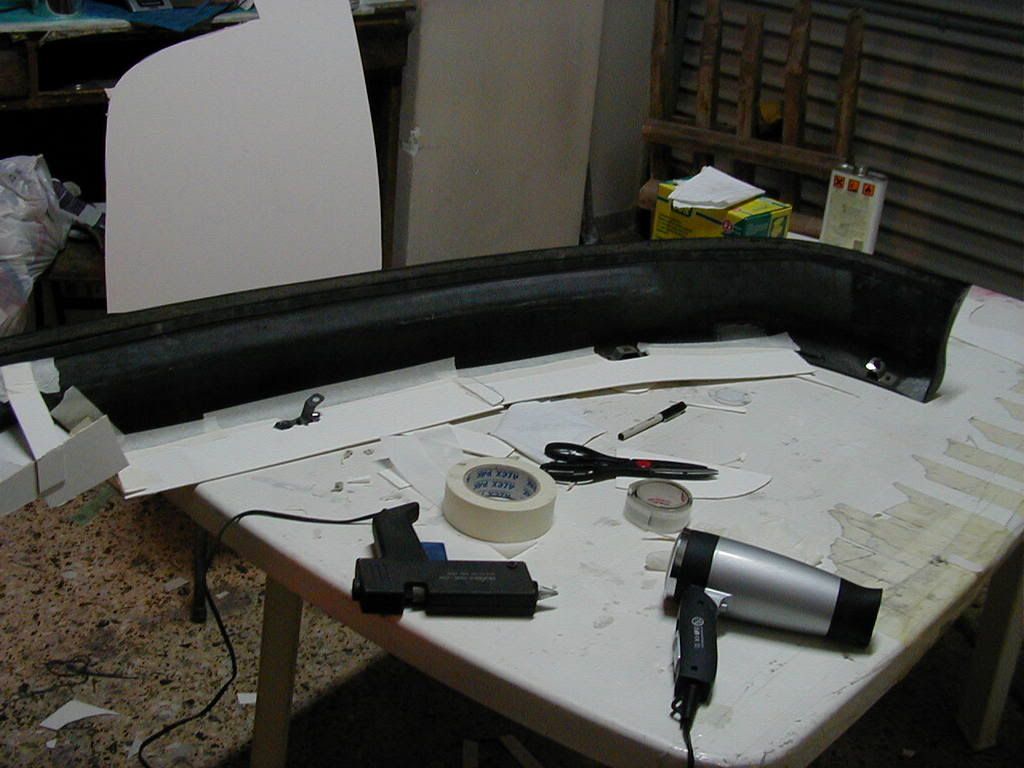
Hiya folks! i’m gonna be doing a 3 piece mold of the rear spoiler of my glanza, and thought i’d document my mess. It’s by no means a tutorial, (that would mean i’m a master LOL) but more of the start of a discussion. So, everybody feel free to advice me, ask me, or make fun of my dirty workspace. cheers !

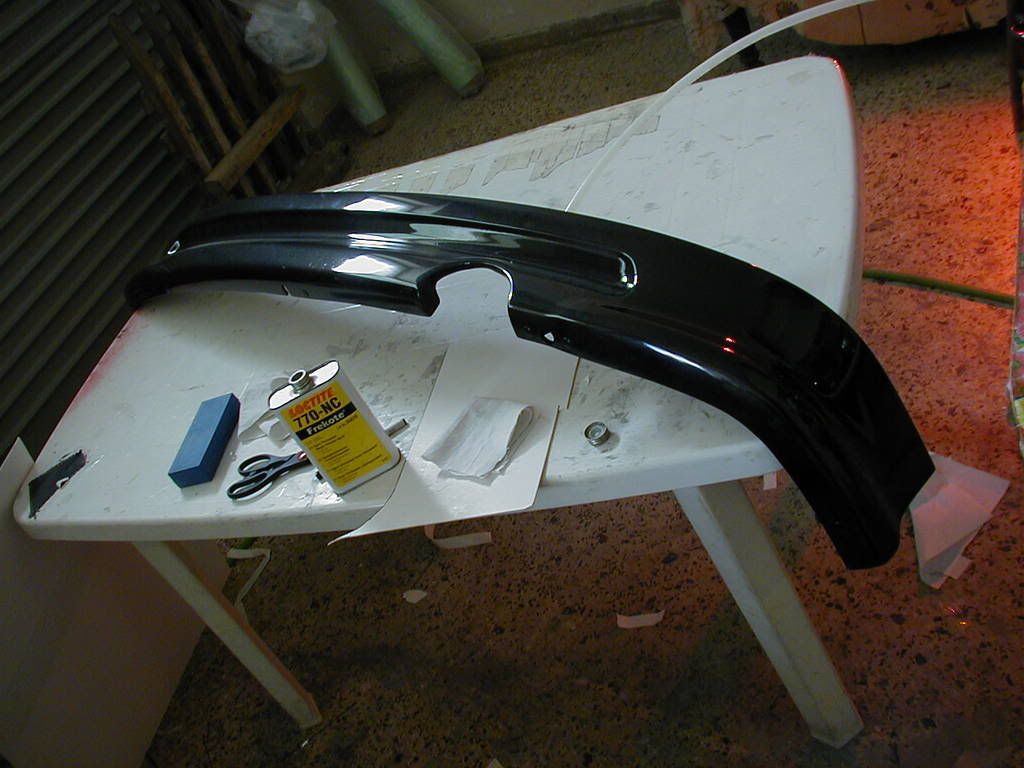
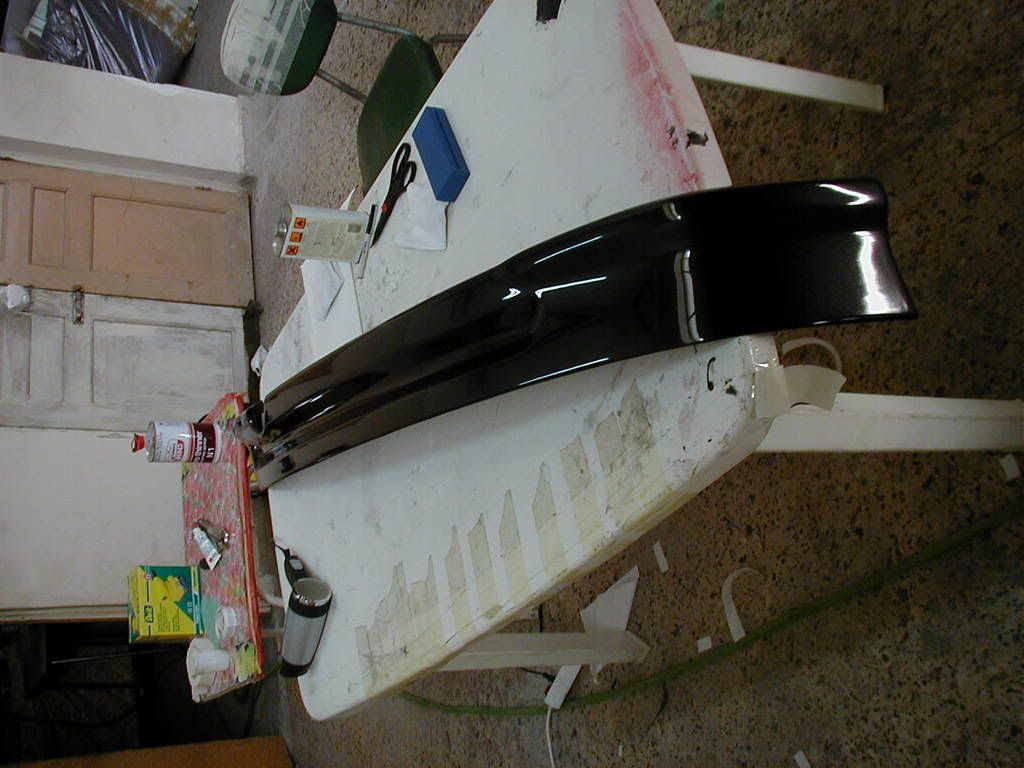
So, this is the OEM spoiler (or lip, whatever) we’re trying to copy. It’s been painted and has been sitting for several months.After a good wash, i applied 4 coats of frekote, with 15-20 minutes in between…

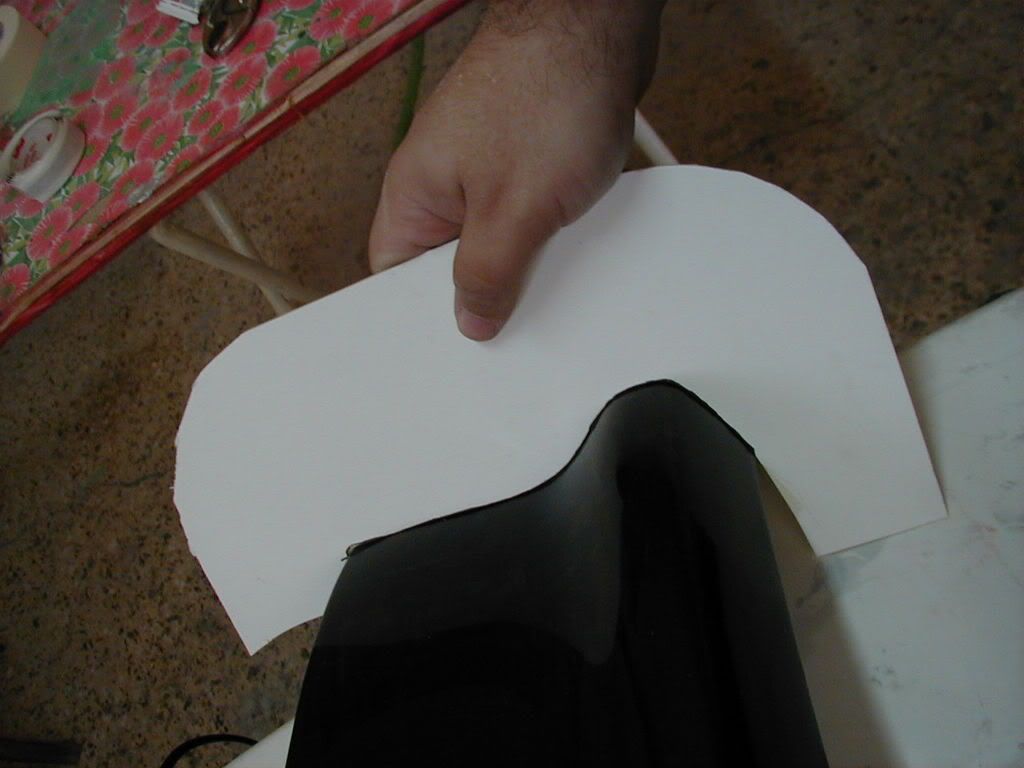
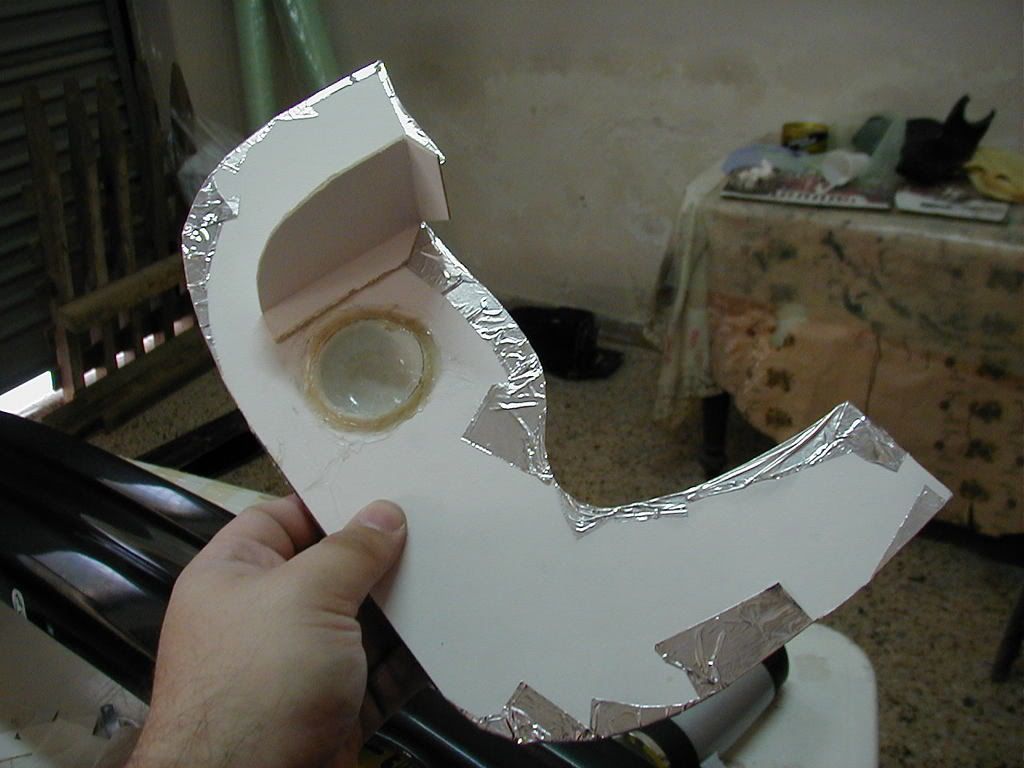
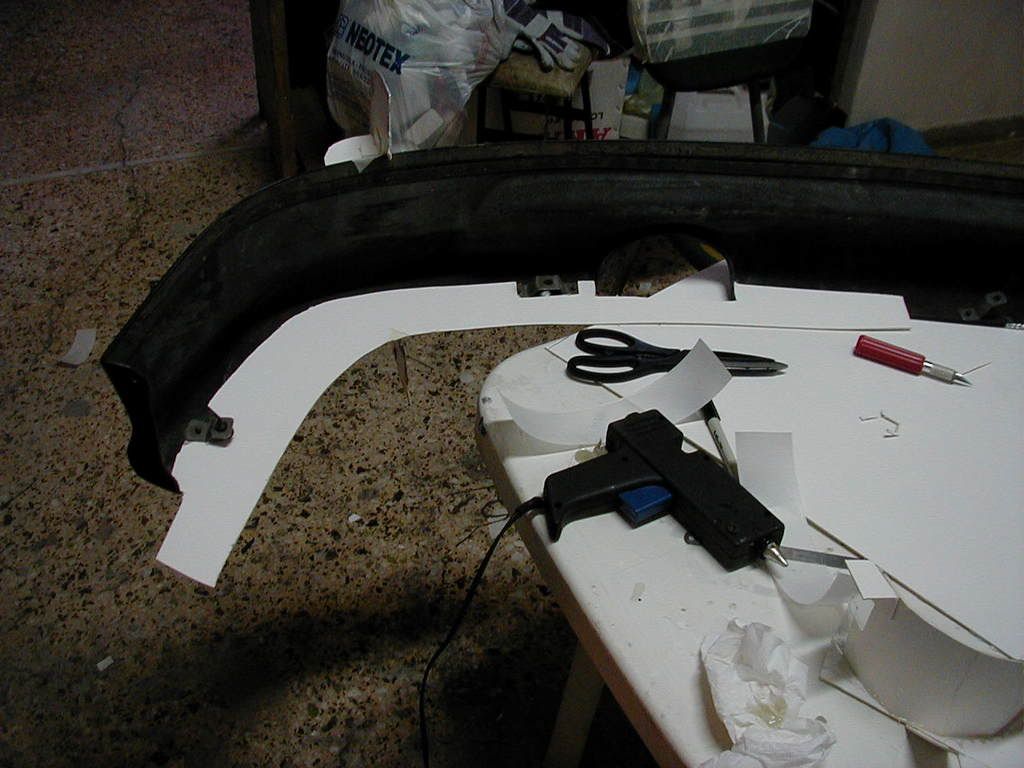
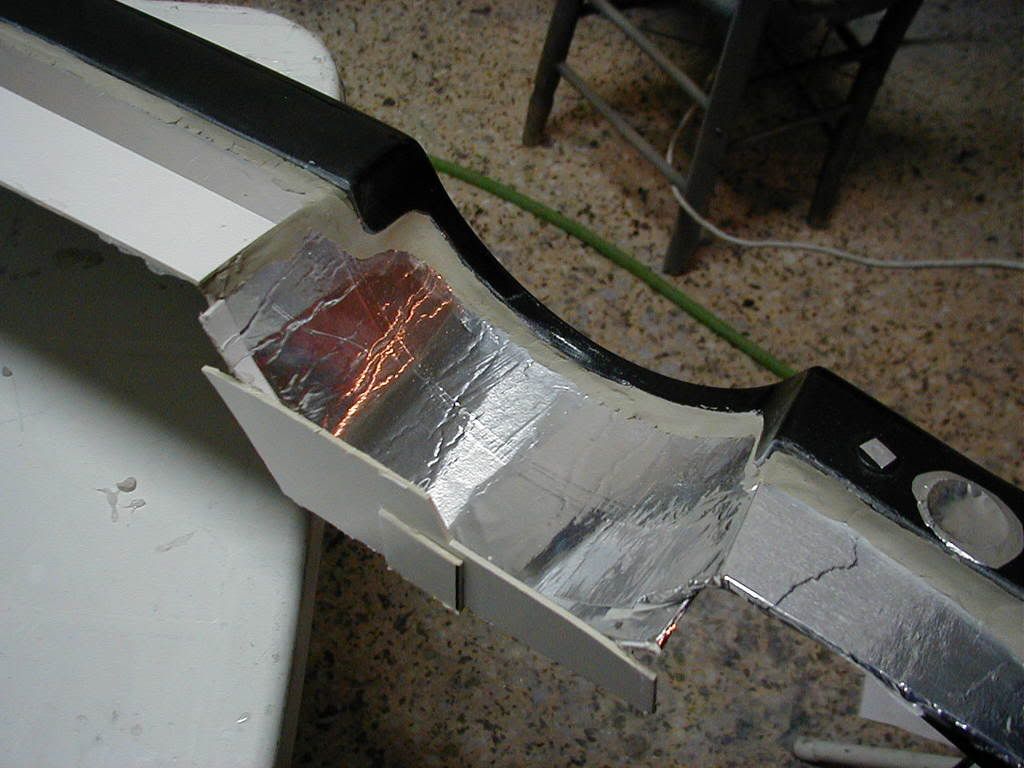
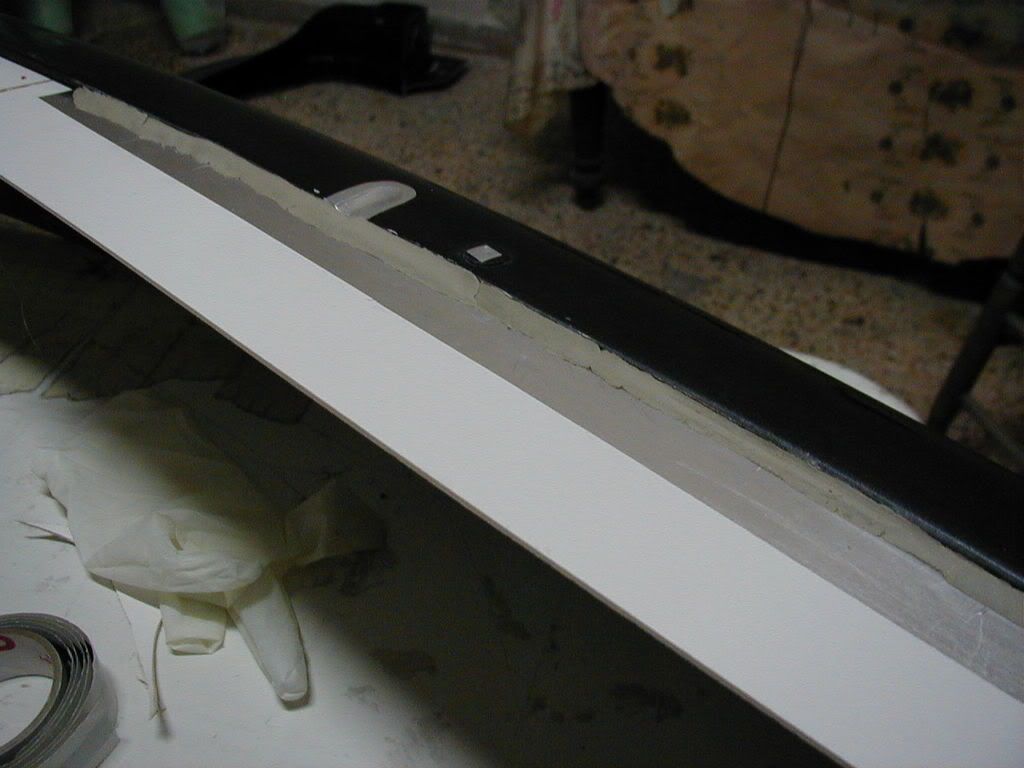
using a long piece of clay, i copy the curvature of the item on a piece of thick cardboard to make the flange. i decided to make the mould 3 pieces, because of the way the spoiler wraps around the bumper, and the hole for the exhaust.

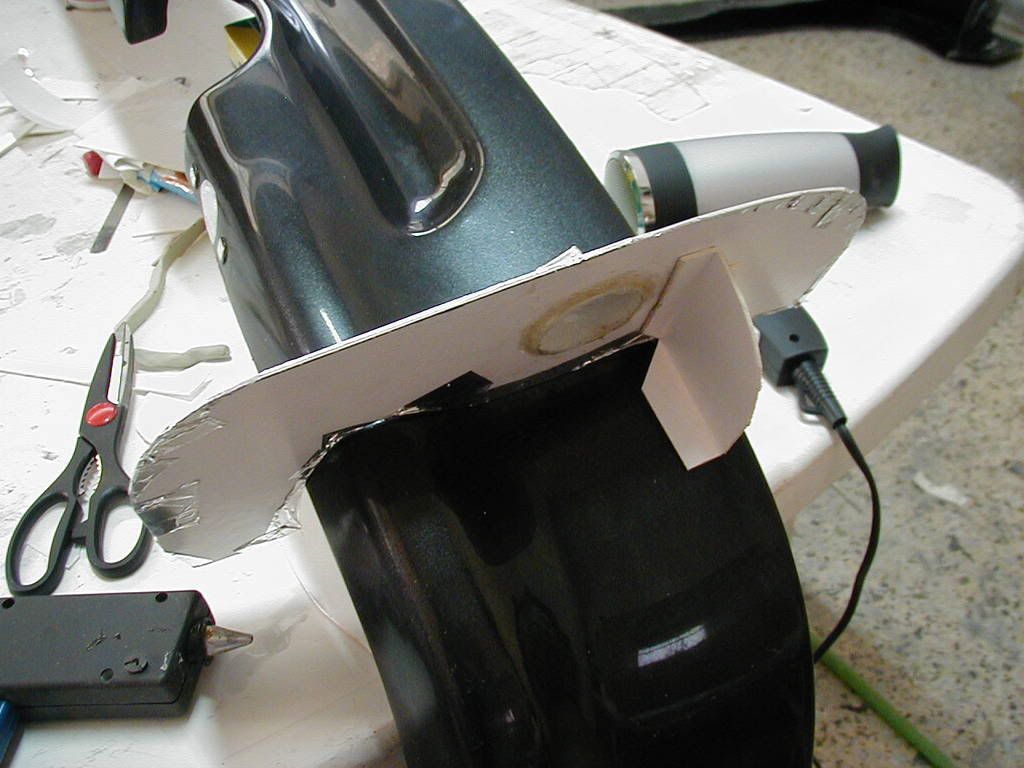
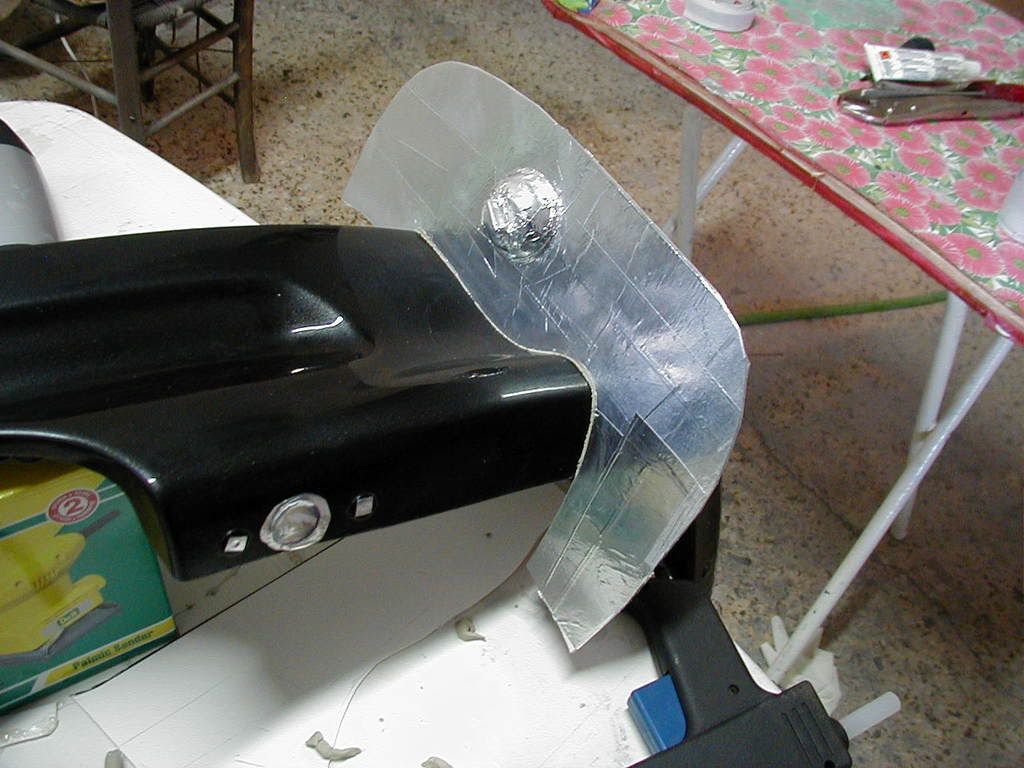
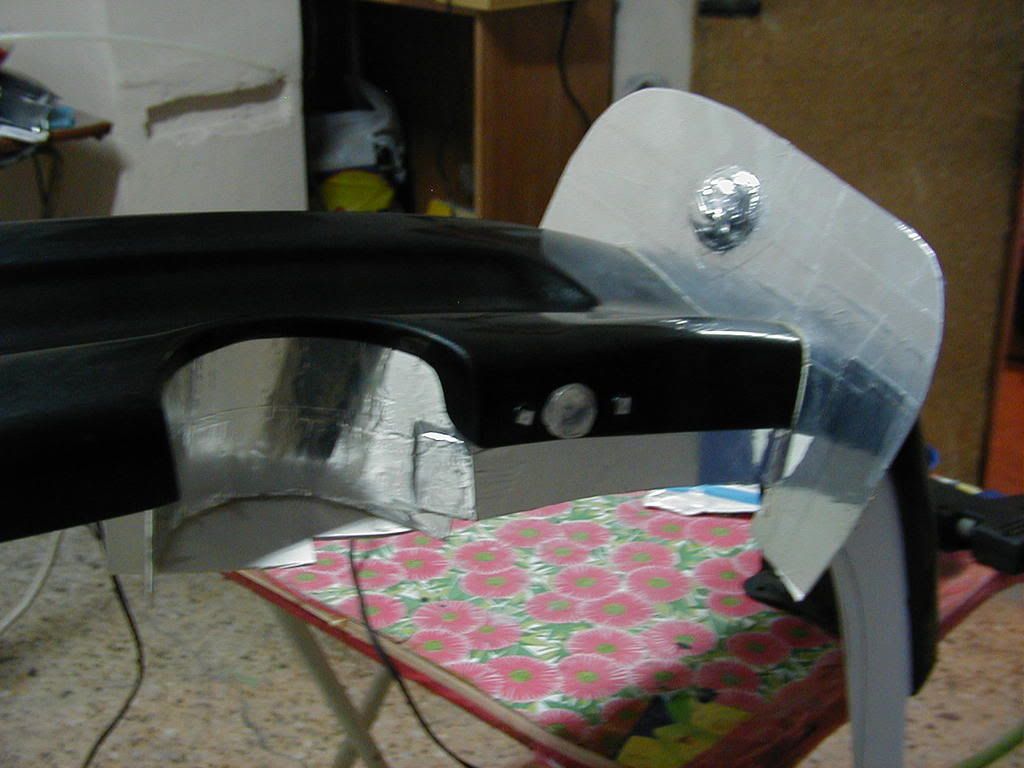
i added a plastic cap on the flange, to make an “extrusion” that will make the two pieces fit together.

and covered it all with aluminum tape.

making the flange stand up to brushing resin and fiberglass on it…

i stuck the plastic cap on the flange using hotglue, cause when polyester resin shrinks, it might trap it inside (i think the hammer and chisel will get to work)

using a macaroni made of clay, i stuck the flange on the plug, then removed the extra clay

flanging the rest of the plug…

the exhaust hole was a bit complex to flange, leaving the minimum space between the plug surface and flange surface… this “step” that is created and has to be filled with clay, makes laying reinforcements on the mold harder, so i try to keep it to a minimum. When that is not possible, i try to make a “slope” so the fabrics don’t have to make wierd angles.

more flanges…

adding aluminum tape and clay

does anyone know if frekote is worth using on clay? or just a waste of material…

so, i ran out of aluminum tape! we continue tomorrow. hopefully i will apply gelcoat on the center section, but i dont think i will hang around, so i will apply fiberglass on tuesday.

let me know what you think everyone :slight_smile:

yea, using freekote on clay is unneccessary and will not do anything. you might want to consider doing a test to ensure that the paint on your plug will work with the freekote, you dont want to stick your plug. you could of gotten away with a one piece mold, and putting flat removable plates on both the ends.

Nice bit of info Hojo!

So you use the flat plates as a part of the plug during the molding process. And then use them again as a part of the mold?

Today i finished flanging and claying the mold, and came up with the following idea: to avoid clay sticking inside the mold, i covered it up with aluminum tape aswell.

by then , the plug surface had 5-6 layers of frekote applied. so i thought i’d do a test. i applied some tooling gelcoat and stuck a piece of fiberglass to help me remove it when it has cured.

result: disaster

the clearcoat and paint peeled away , burnt by a chemical reaction… i thought maybe epoxy won’t react to the clearcoat etc, so i put a bit of epoxy for test purposes as well…

i tried applying a type of PVA i have , but it won’t stay applied, it gathers in drops and doesnt make a nice surface… what can i do?! :frowning: 
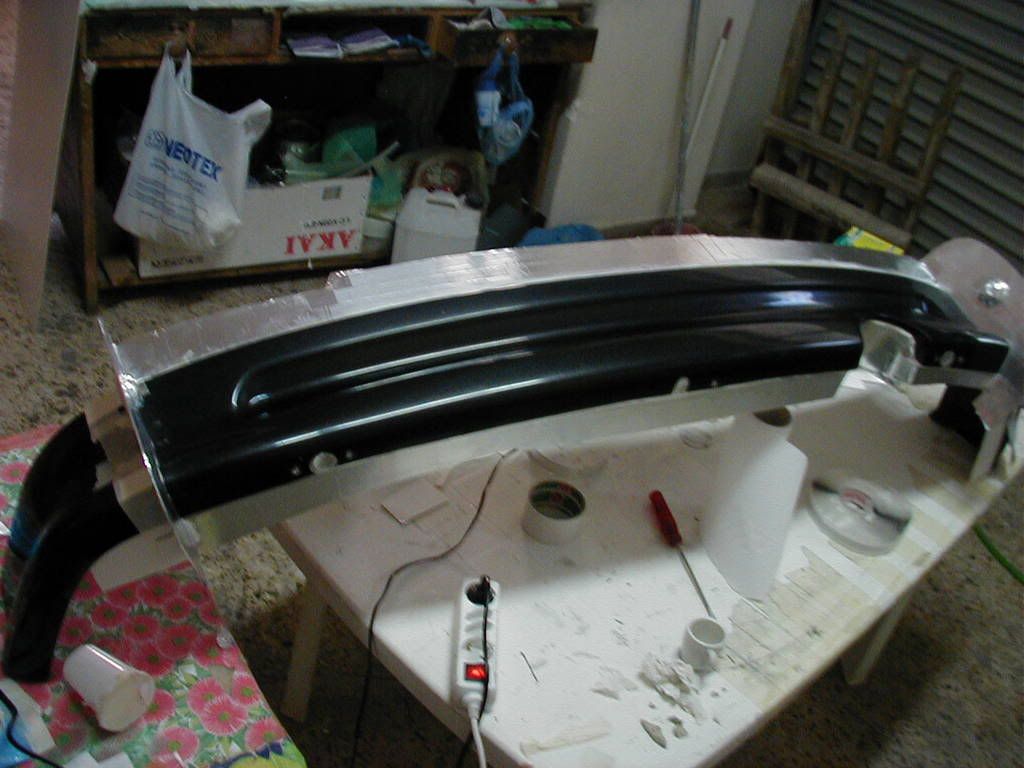
i know wax won’t save me, frekote wont work, this shitty pva (it’s a clear one, not dark green) wont sit down… im truly at a loss… plz halp!

The way I did my front lip mold was I put a flange on the very end of both sides and molded it. then I cut a flat carbon panel that was made from uni carbon prepreg and used double sided tape to secure it to the mold every time I made the part, after I would remove and pull the part. I used the prepreg panel because my mold was high temp, any piece of metal woul work fine too. The key to doing it right though is to be sure your flange on both ends are at the right angle/pitch so that it wraps around the back side of the bumper correctly.

if you spray the pva first in a few layers as a dust coat then it won’t repell on the surface, then after you can apply a thicker layer that’s all wet out and looking nice. It will release even better if you wax first and then spray on the pva, but be warned it will repell even more with a layer of wax underneath it. So make sure you do a few dust coats properly before you spray heavier.

How many layers of frekote release did you apply?

i ordered last night some sprayable pva and its got a “priming wax” along, to be chemically compatible. i used 5-6 layers of frekote…

770nc = epoxy gelcoat

actually on the info sheet i got from loctite, it says the 770nc is for use “without gelcoat” whatever that means… i used it on a polyester mold with a polyester gelcoat for the product, and had no problems…

did you also use the sealer, I am of the understanding that you need to use the sealer along with the release.

as far as i know, the sealer is for use with porous surfaces like wood and plaster… anyway, finding this can was a miracle, its not like i have a choice of the whole range… the loctite dealer wants to sell me a 5kg minimum!! :eek:

It is probably best to use the sealer regardless of porosity. It might be that extra barrier of protection between the surface and the tooling gel coat you need… might be worth a try.

you should definetly use the sealer, the only surface that woulnt need it is glass, even metal should get sealed. How old is your 770nc? becareful with old semi’s, there shelf life isnt long after being open. 770nc is a highslip release agent which is usually used for prepreg and infusion that dont require gelcoats, high slip release agents are usually not a good idea for any gelcoat parts because you have a high chance of pre-release of the gelcoat

i got the bottle in my hands just a week ago, i dont know if anyone has opened it… anyway, does anyone know an online shop where i could get this range of loctite products?

awrite i got some good news! remember the epoxy test i did on the spoiler? it came out sweet, did nothing on the paintjob. so i guess its something in the polyester gelcoat (styrene?) that burns through the paint.

So, i went and bought an epoxy mold resin, which is DAMN thick, and supposedly DAMN strong (the good book says equal to resins containing aluminum and steel shavings) anyway , i did a test with it as well, and it also doesnt affect the paint. So, took about 450 gr to do the central part, then started adding epoxy resin and woven roving (started with 100grm, then 290 and then im going 380 to build up thickness)

So, im going all out… it will end up in tears of joy or sorrow…we’ll know at the end of the week…

Good to hear you worked out you resin issue. Looking forward to seeing this project finished.

i gotta build up fiberglass on the center section tomorrow… i think woven glass (around 290gsm) doesnt wet so easily… i guess my epoxy resin must be real thick…