Racing seat

Hi all

I’m planning to make a carbon/aramid racing seat by using infusion process. I’ve made a sample version out of glass fiber with following spec:

  • Visual layer: 200g twill
  • 8 layers of 430g/m2 biaxial ±45° and 0/90° to upper back level
  • 6 layers to shoulder level
  • 4 layer to head level

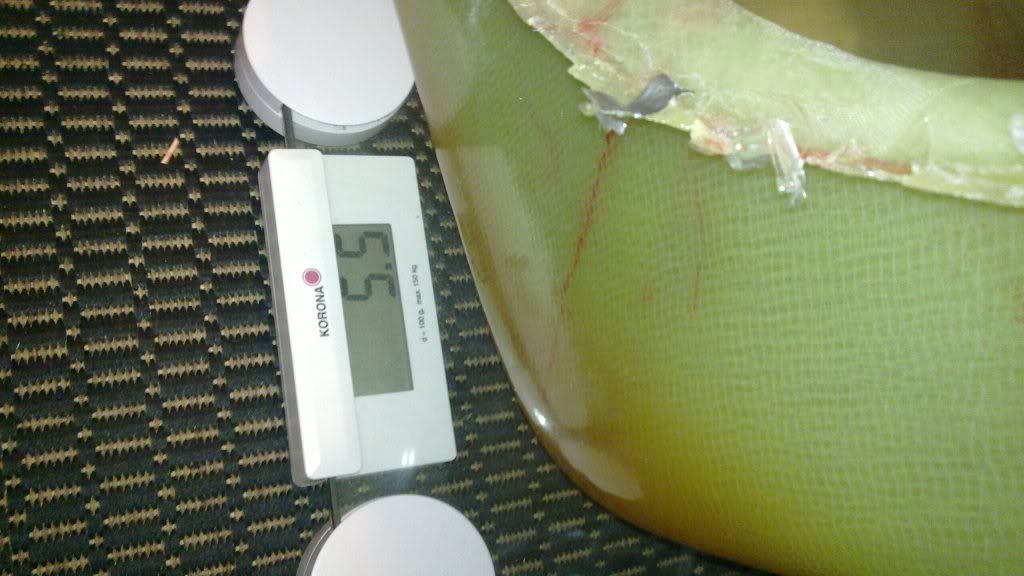
In addition to that I’ve added extra layers to sides where mounting bolts are inserted. Number of layers are 13 on sides. In other words target was to create more rigid frame below the the shoulder area and then lighten a bit when it comes to shoulder and head are. Thickness varies from 1mm to 5 mm. Weight of the product, after seat belt openenings are cut is 5,1 kg and as unscientifically measured seat is rigid. More rigid compared to original FIA approved seat. Fiber-resin ratio is pretty much 60/40, which should be ok.

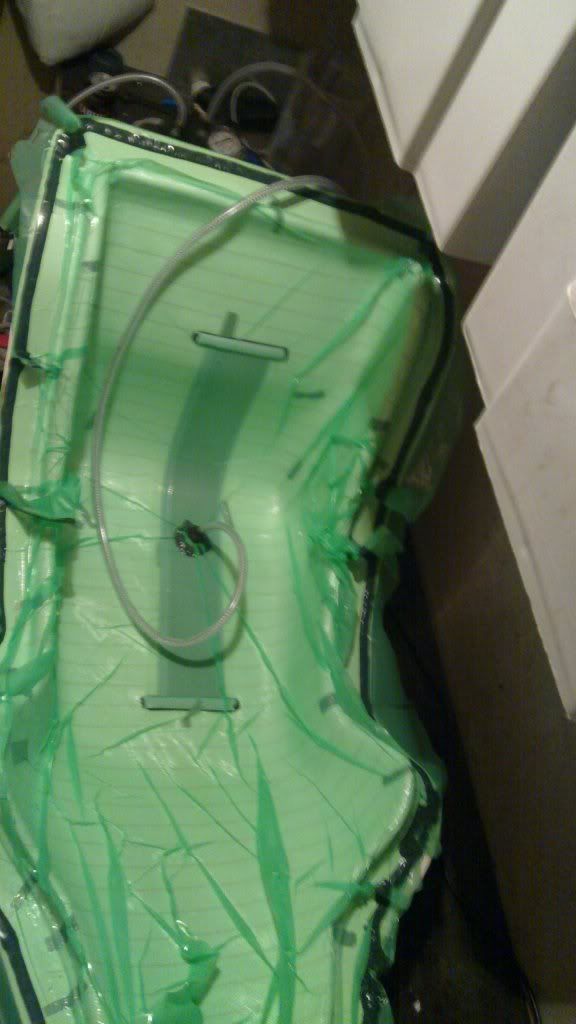
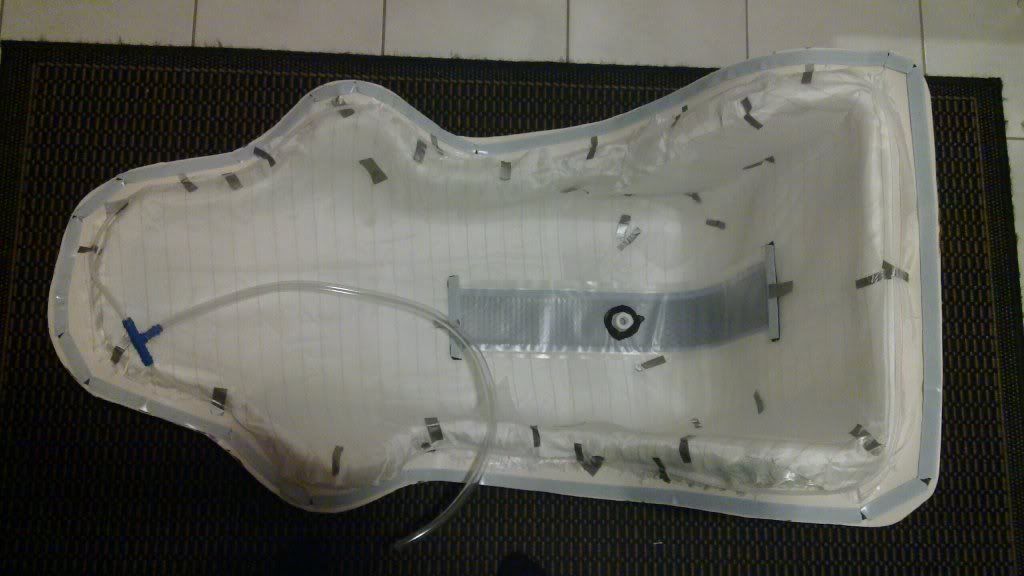
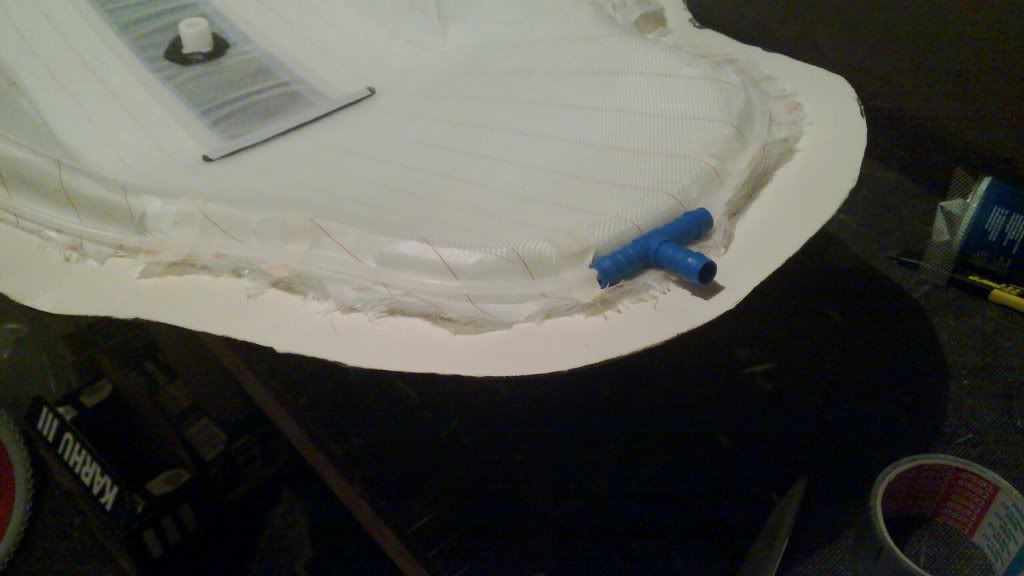
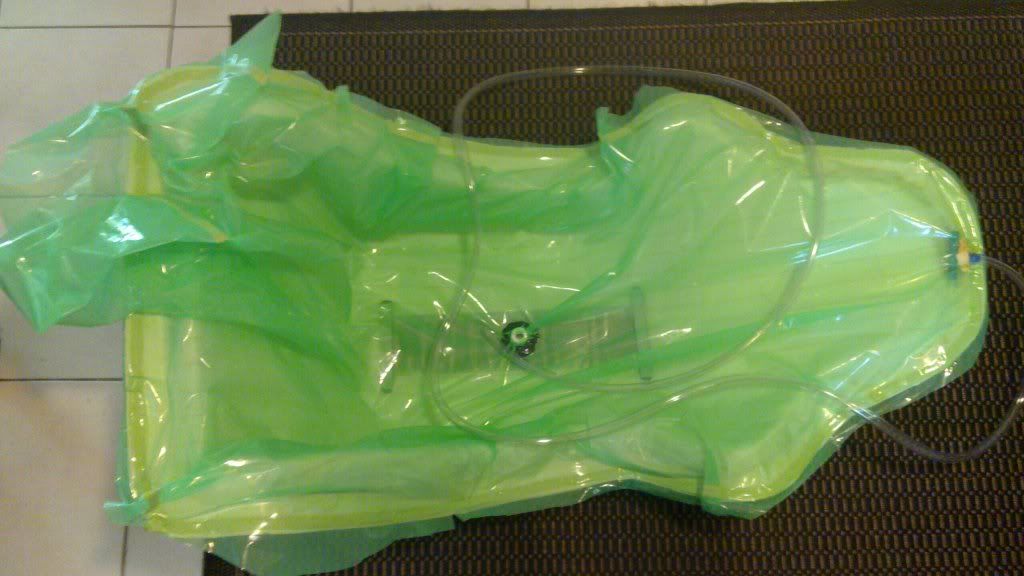
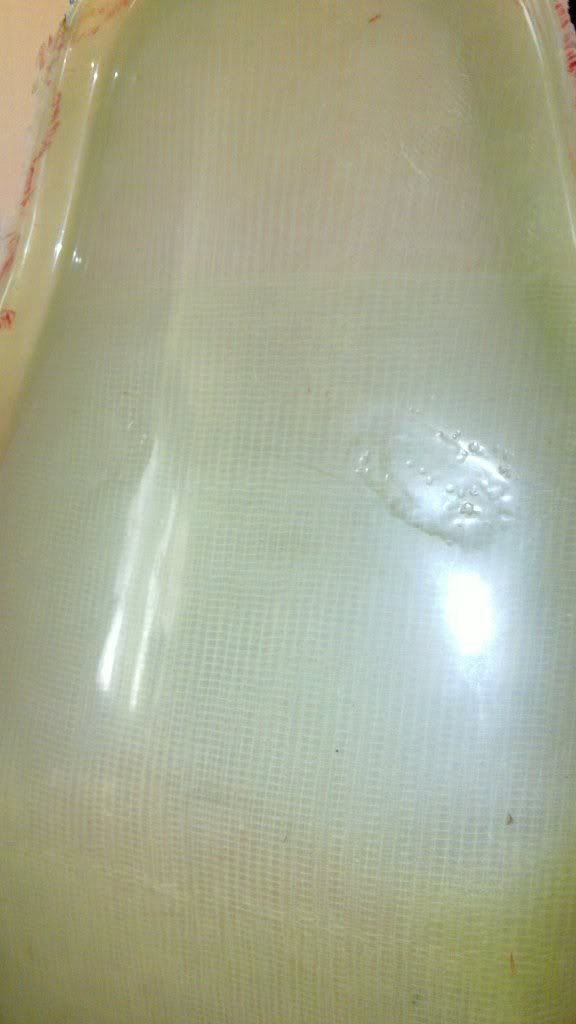
I blemished the first version due to loss of negative pressure. Bag had a leak. Second version was success exept small dry area on right side of the seat but it can easily be fixed afterwards because area is dry only on outer side. Most probably only visual layer.Secondly I noticed that there was a tension between mold and laminates meaning that extra resin was accumulated on the sides of seating area. You can see this from the pictures and they appear as red area. This happened because I used spray glue to fix every ply to mold. I’m planning to use sand bags or similar to avoid this with the “live carbon version”. Should not be a problem.

Resin I used for the first, blemished version, was Gurit SP Prime LV 20.This stuff is designed for resin infusion purposes and has very low viscosity. Infusion for whole seat took about 15 minutes. DOwnside is the very long post cure requirement. Because of this I tested Gurit Ampreg 21 for the seat that was finalised succesfully. Infusion took about 45 minutes due to higher viscosity. I’m planning to go back to the Prime LV 20 when it comes to carbon version any. Resin was fed to the mold with spiral tube that was fixed around the mold and air was sucked out of the bag from the center of the mold by using product called VMS2 from Richmond Aerovac. System works nicely and only air can escape but it doesen’t let the resin out. Basically you don’t need resin trap at all with this system

So, next step is to go live with carbon version that has one layer of aramid/carbon. Related to this I’d like to ask you fellows about amount of material that should be used and structure itself. If we assume that glass fiber version is rigid and safe to be used, how would you structure the carbon version so that it would be as light as possible and as rigid as glass version is? Some say that you would need about quarter of carbon to achieve rigidity from glass

Cheers
Heikki

You would need about a quarter of the carbon for in plane tensile forces but if you cut down the thickness by a fourth your bending stiffness will reduce dramatically, something especially important for a race seat. I would suggest a layup with a core or fiberglass in the center with carbon fiber on the outside. This way you can get some more thickness with the stiffest strongest fibers on outermost layers.

I second the motion to use some sort of core for the reasons stated above…

Aren’t you having the whole mold concept backwards ? Shouldn’t it come out finished side where you sit instead the back, that’s how I make them anyway.

On the contrary, at least in my case. Outer side will be painted with car paint and clear coat. Just a light sanding is required before painting. On the other hand, with this approach i’m able to laminate more layers if required. In addition to that internal part shall be covered with upholstery so you cannot see it when seat is ready.

Yes, this part I already figured out when I made a sample from carbon. Can you suggest any suitable core materials on top of glass that can be used in this case. Material should adapt to seat’s form and it should be applicable to resin infusion process. Target is to achieve light and rigid result.

Yes, this part I already figured out when I made a sample from carbon. Can you suggest any suitable core materials on top of glass that can be used in this case. Material should adapt to seat’s form and it should be applicable to resin infusion process. Target is to achieve light and rigid result.

DDCompound does a great job showing how to make a seat.
http://www.compositescentral.com/showthread.php?t=6530

Would you use a core if you was using just carbon and bin off the grp?

I would use 3D Core when using a core in infusion. It is very light and you will get a stiff laminate. Lantor Soric is also very interesting because it is very plyable. But is is quit hevy when infused.
When you infuse with a core and different layers of fabrics you have to calculate your resinflow when you want to infuse from the part lip to the center using the VSM2 because your vacuum line has to be placed where the resin fronts will hit. Thats why we reccommend to place our Product the MTI hose around the part. And the MTI hose is the original one :slight_smile:
When using 3D Core or Soric you dont need a flow media.

Thanks DDCompound

I’m planning to test MPI hose and I can see that at least HP-Textiles has it in their portfolio in Germany. As mentioned earlier target is to create rigid but as light as possible part so it is essential for me to understand best technique to achieve this even though we had to put resin infusion aside. Do we get any improved results if first layers are infused and let to dry. Then we would add core material and rest of the layers of carbon as hand laminated and then vacuum bagged? Any saving on weight, what do you think?

I guess that if I used Lantor Soric (http://www.lantor.nl/index.php/id_structuur/10599/soric.html) I would safe resin weight compared to glass

H

Thanks DDCompound

I’m planning to test MPI hose and I can see that at least HP-Textiles has it in their portfolio in Germany. As mentioned earlier target is to create rigid but as light as possible part so it is essential for me to understand best technique to achieve this even though we had to put resin infusion aside. Do we get any improved results if first layers are infused and let to dry. Then we would add core material and rest of the layers of carbon as hand laminated and then vacuum bagged? Any saving on weight, what do you think?

H

I have made several parts in one shoot. First layers, than core material, than inner layers. Infuse them all together. At the 3D Core you have to work with a vac level of less than 20mbar to be sure that there will be no pinholes in the center of a honeycomb. Working with soric is no problem. You should always degas your resin.
Reduce the flow speed when working with 3D Core and there should be no probs. If you make your part in one shoot you can also be sure that the core is bonded perfect to the surfaces.
Send me a pm with your adress and I will send you a sample.

Thanks a lot. That Soric stuff looks pretty interesting - at least for this case.

If I used MTI hose for the next version of the seat, does it require any particular setup or is it good enough to avoid dry spos by just placing the hose 360 degrees around the mold? Just like in this tutorial video [ame=“http://www.youtube.com/watch?v=aF3ll_h9EAw”]MTI Membran Tube Infusion, resin infusion, vacuum infusion - YouTube[/ame]

Resin feed also from the center?

H

Here you can see reddish/brown areas within the seat. This was caused by tension in the fabrics and pressure did not manage to press layers thoroughly to the mold. Lesson learned and net time I’m using sand bags or similar to pres layers down firmly when I glue fabrics to the mold. Highest temperature I measured during infusion for red areas were 102 celsius degrees. Not good

BTW, mold facing surface does not have a single pinhole. I’m not sure if it’s because I used 200g twill “visual” layer as a first layer…anyway, turned out quite well for a newbie. On the other this may mean just good luck

I would place the Mti hose around the mould and place the resin feed line in the middle, there should not be any problems. You made your infusion without a flow media? I always work with a flow media, but you can try it just like the last time.
Normal the 102 C is a little high but should be no problem. Sandbags won’t help, you have to drape you fabrics more accurate. Fibres can not be stretched!
Space between the layers can also force a resin race track and infusion faults.
The pinholes ca be a problem when you work without degased resin and a sandwichmaterial or different ammount of layers.

I used only infusion mesh on top of peelply but it is not in place in the pictures. You’re correct about more accurate work when it comes to placing fabrics

H

Accurate work is next to a stable vacuum one of the most important things.

there are two ways to learn things: one is to listen people who know and another way is to test by yourself, fail and learn :wink: