right ive fixed all the problems i had and now im ready for a test,heres pics of what ive done so far,each item has a little spray glue on for the sake of this experiment,its all bagged up and holding a good vacuum,1st problem is ive forgotten to give it a resin inlet line! im guessing i can release the vacuum,slit the film and tape a pipe through it? or am i better lifting an edge and sliding tube in there and sealing it with more tape or 3rd option remove film and do a new film with pipe attached??i also added a small patch of breather under the vac fitting,dont know if this is correct?
have i done anything else wrong??


You might want to rethink the breather cloth under the vacuum fitting…it might get soaked in resin and cause you problems. I usually use some peel ply and flow media to ensure that nothing will block the vacuum line.
you can get away with the slit and the taping of the hole. Next time just use the perimeter tape as half of the seal on the line in.
I wouldnt worry too much about the breather this time around. Just make sure you dont get all crazy with the resin. Ive learned that almost always, you can stop letting resin in after you have 60-75% of the part wet out and let the vac pull the resin and make the part less resin rich.
One thing youll see happening with too much resin is that once it hits your vac line youre going to kinda lose some vac on the part. SO DONT GO RESIN RICH!!!
Best bet is to weigh out your cloth next time and make enough resin to have an extra 20% for error or cranky parts that wont wet out right away.
it is done…i had to do a new film nd insert the pipe thru the side,sealed ok eventually.took about 5 minutes to infuse cause i didnt have the patiance to warm the resin or mould enough,sorry baz!now its just a waiting game…


not sure if i should have resin left in the inlet tube??

well ive debagged it and removed the peel ply etc.most of it looks good though there are a couple of dry looking patches,but hey,its only a test.


Looks good so far gtfour, looking at the infusion and the back side m8 i dont think thats dry patches and yes you want resin in the tube if not youv`e got a vac leak. Next time put a little flow media and peel ply over the resin tube and maybe set the vac fitting further back.
All in all i should think when you lift it it should be ok.
Baz
looking back at my old posts its took me 2 years to get to this stage!!
ok ok so im an impatient bastard! i couldnt resist a peek…
ignoring the bits that have ripped off cause its not dry and the mould wasnt waxed properly its basically come out perfectly  all the issues i was having with bubbles,dry patches,poor edges etc etc they are all gone,the only problems i have are easily fixed by more wax and leaving it to dry overnight but i will do another one learning from the minor issues i had with this test and i expect that one to be perfect…


CONGRATS!
One hint, make sure you have your resin feed cup lower than your part.
yeah it was about a foot higher but you cant tell from the pics.
the mold is now preped and ready to lay up again later today when i finish work,i will infuse it tonight and leave it until tuesday afternoon before popping it out,the mold is lovely now,looks like water its that smooth and shiney
i hope this thread is useful for others,i always use pics to explain things better and since most of the tutorials on the forum seem to have lost thier pics this should help someone…
ive just realised! all the damage isnt caused by the release at all,its caused by the glue i used! it was kinda blocked when i sprayed it and now i can see thats exactly what happened,i didnt use super77 just some normal spray adhesive,wont be using that again! the dry patches on the rear are also where i used glue to stick the peelply down.
Im so pleased your getting there m8, but i knew you just couldnt resist lifting it too early lol, dont lift it untill its set, youll find it pops out easier. When you lift a corner and it trys to snap back down then its ready. Good luck with attempt number two.
Baz
And thank you for posting your steps pictures. I hope to get things caught up evenually and shoot photos to fill in the gaps but it has been a rough year…which way is up?:rolleyes:
Very good job!!!
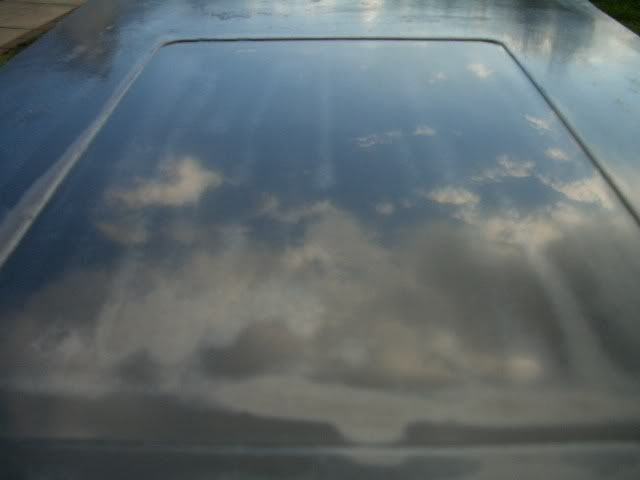
this is the mold now,you can see lovely british weather reflected in it lol
second attempt now drying,no glue used this time(tricky) and warmer resin,also vac port moved back and sitting on 3 bits of peelply.fingers crossed but i think this should be good


Looking good, now leave it alone and forget it m8, for a while anyway lol
i dont like the look of this!! it looks like air but its still holding full vacuum?!?


yes it does look like air, seems to be an air bubble in resin line. Must have a small leak around that m8. Fingers crossed. I have occasionaly noticed that this has happened when all looked good, but dont despair m8 the surface may be okay.
definately air. Those types of leaks sometimes won’t affect the surface of the part. If they are stopped in time. If that type of leak leaks too much, it can cause delamination problems for more complex molds.