My Infusion Failed, Need some Advice

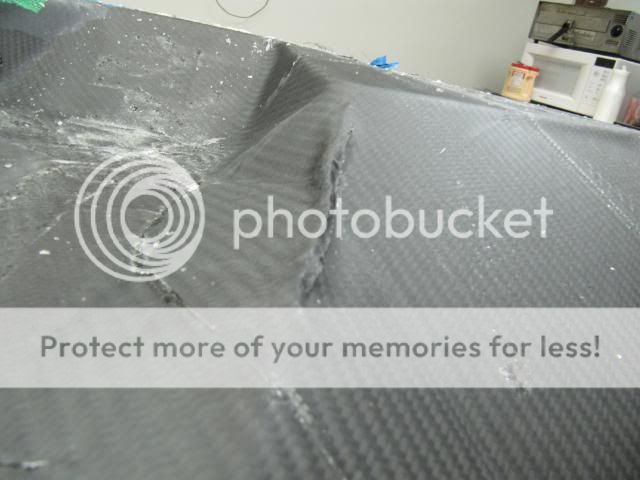
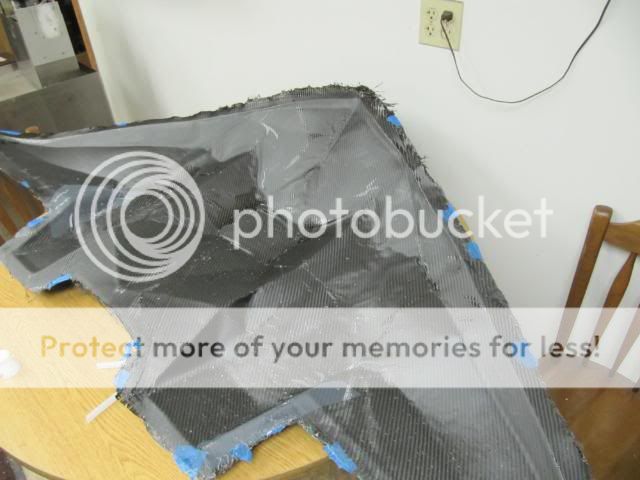
Hello. Even the great Nikola Telsa didnt get it right from the start at times…so My infusion failed. Here are the problems that occured.

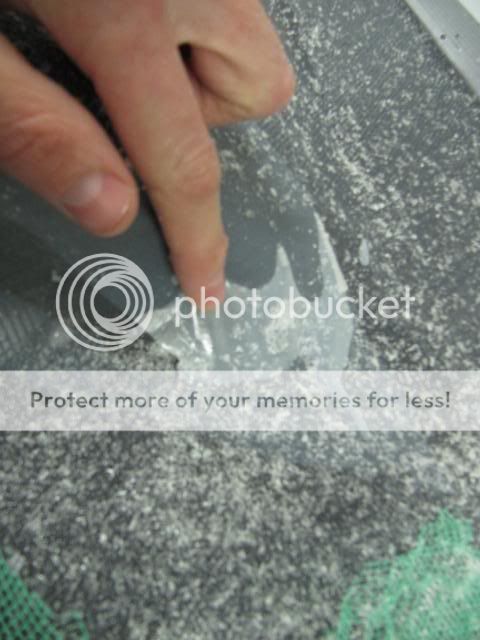
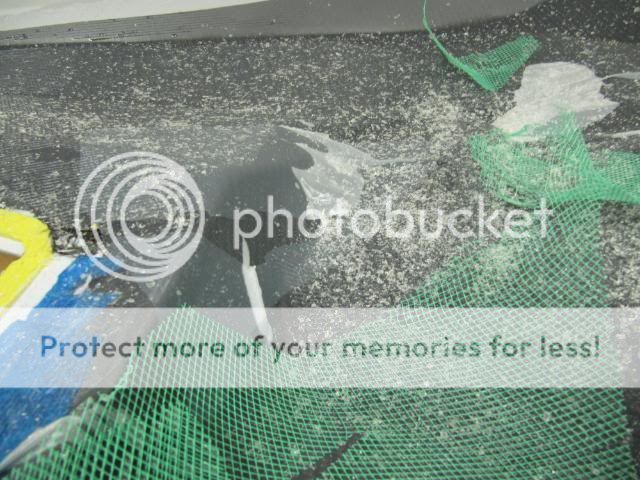
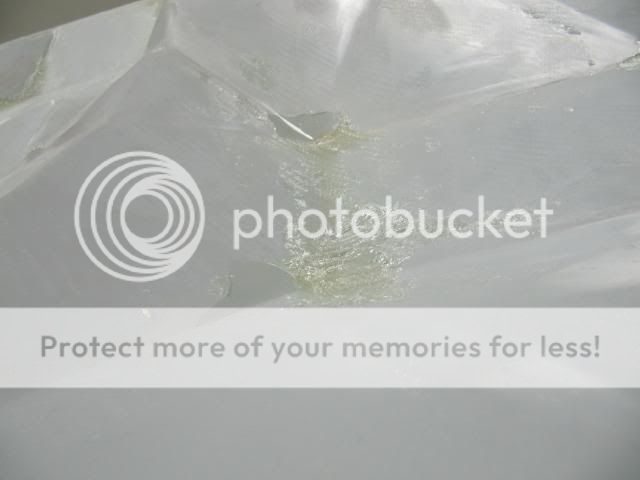
1st thing was I had bridging in the Peel Ply. I realize that I had bridging and ripped everything off and re-did the peel ply layer from scratch and I made sure that there was extra though it was still bridging in the some corners, see pic below.

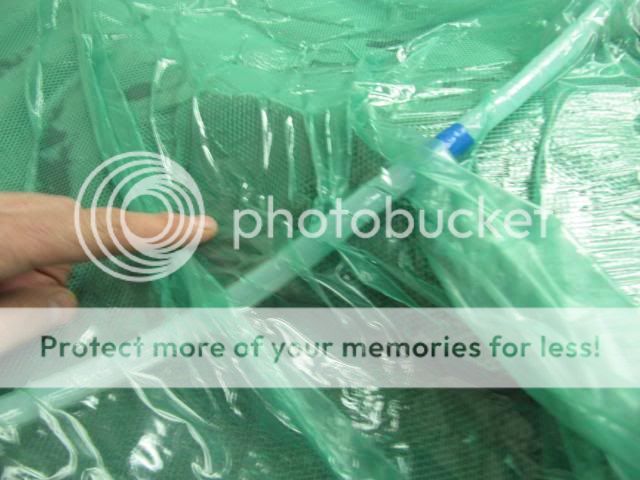
In the pic do you see where the spiral wrap does a U, in that recess I had bridging.

Any suggestions or advice about bridging in the Peel Ply layer??

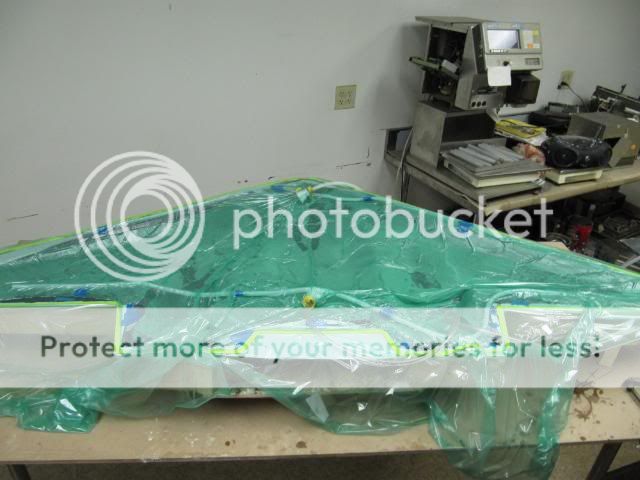
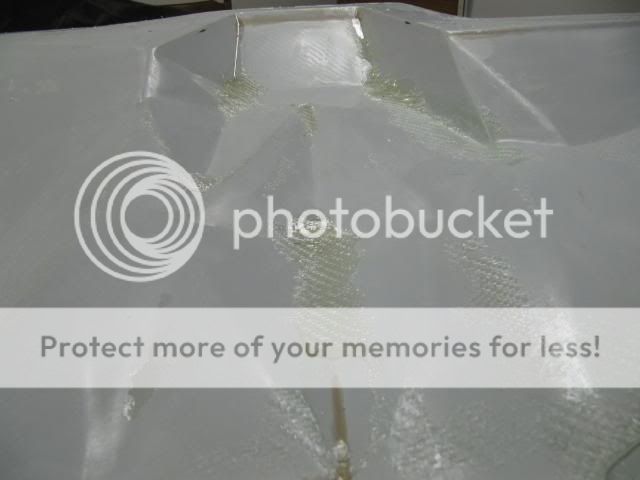
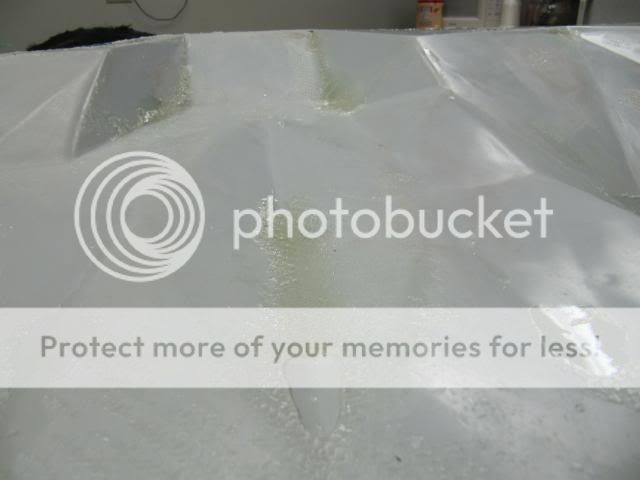
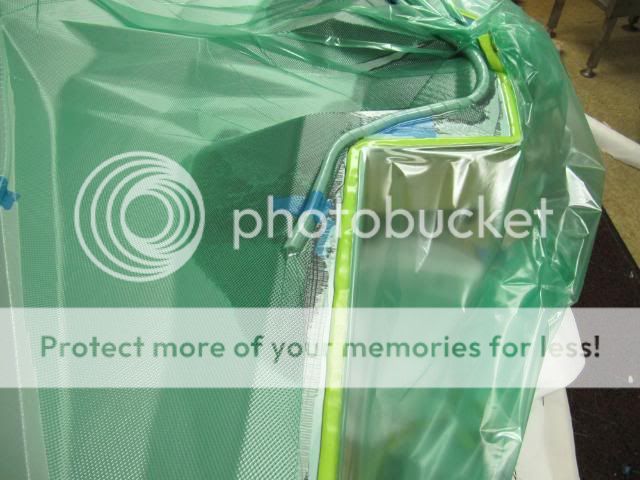
Secondly, I had a flow problem I tried to make the flow go from the back to the front. The resin went in great at first, though, it was not properly flowing to the very ends. I do have a second flow pattern now to correct this. I see where I error-ed.

Thirdly, why is it when I clamp off the feeder line, the out-flow line is still pulling resin thru the infusion. My guess it because I air still trapped in the mold. Correct me though, isnt the flow suppose to stop when clamping off the infeed line?

Those were the heart of my problems. I can post more pics if needed, it was getting late and I want to just call it day, so I skipped on the pics

More pictures would help. Mainly of the entire mold before bagging and with bagging.

For bridging, just make sure that you cut plenty of releafe cuts in the material. I don’t think you need spiral tubing, but like I said. More pics are needed. I have no clue how big your mold is.

Also, the reason the flow doesn’t stop right away after clamping the tube is because there is still more resin that is unsaturated into the fabric. You can only saturate the fabric so much. During infusion, there is a little bit of resin pooled over the top of the peel ply and it will keep flowing until there is no more free standing resin.

And also the Vf at the resin intake is lower (more resin) than near the vacuum port. This levels out once you clamp the feed line. The other option is to put vacuum on the feed line, that will pull quite some resin out again (without making the laminate dry, just more compact)

Pictures of the whole structure would help indeed. I see nothing now…

The first thing:
YOUR MOULD HAS TO BE TIGHT!

Lay all layers very accurate, bridging is not good.
Post a picture from the complete mould, that could help.

Bigger pleats

“spiral wrap does a U, in that recess I had bridging”

"The first thing that strikes me is your vacuum bag looks too small. It’s hard to tell how big your bag is but make sure it’s a good size bigger than your part and put more small pleats in along the flange at say 24 inch intervals and a larger pleat on all corners in the mould flange as well as anywhere there are large changes of shape in the mould next to the flange. The excess bag is taken up in these pleats but still allows the bag to be pushed in and sucked right into all the corners.

Peel ply, its important not to try and just use one piece of peel ply over your corners cut the ply into the corner then start another piece with a slight overlap into the corner on top that way the peel ply can slip as the bag is pulled down and cannot cause your bag to bridge.

Pleats, pleats, pleats. If you don’t want to make pleats thgn purchase stretchlon 200 bagging film. The only down side is your infusion will slow down dome. If you catalize at .8% instead of at 1% then you’ll have a few more min till gel time.

Hello. So I de-molded my failed infusion jus a bit ago. Here are the pictures of what happened.

What I have now learned is that—
1st: I put to much tape on the CF on its edge, making it cause to not pull down into all the corners and such.
2nd: Since the Peel-Ply did not pull down correctly, than the CF would also not pull down correctly

Where the Peel-Ply was bridging

Than I got all these wierd crinkles, These are from the fabric not pulling down right??

What do you guys makes on this? The peel-ply is still there, though it looks like it broke or something?

Here are pics of the pooling of the resin, ya it was bad.

I had to really pull out the Carbon Fiber and it was not solid! I did let it cure for 24hours though it was around 62F because I already gave up so I was like screw it, jus let it cure at mid-60’s room temp.

Last what do you guys make of this:

My Questions:

  1. I used 3 layers of CF 2X2 twill 3K. Should I use more layers? I’m thinking that I should put in some fiberglass middle layers to make the part more rigid.

  2. I used PVA Film #10 for my mold release agent. Should I be using something else?? I did wax the mold 3 times first than 1 layer of PVA?

  3. What are typical recommendations for cure time?

Thanks for support

Mold edges look way too narrow for my liking. Also looks like a lot of bridging of carbon fiber and vacumn bag. I know it’s tough but this is how we learn…

Yes, lot of bridging of the fiber (show the backside as well!). Next time:

Really careful placement of the fibers.
Really careful placement of the peelply, in several smaller pieces. (do you need a peelply surface?)
From the looks of it, you had much fun pulling the mesh from the peelply. use perforated film! (Airtech WL3900 MP22)
Use a large bag. I am not fond of the stretchy bags, but prefer a decent nylon film, 0,002 or better 0,003 thick. (50 or 75 mu). Make generous pleats. These pleats are also useful for bringing hoses in and out.

On laminate thickness:
3 layers of 200 gr/m2 CF (I believe this is 5.7oz) will give you some 0,5mm thickness (or 1/48"). Decide for yourself if that is enough. You could beef up with some layers of fabric or a multiaxial in between, or use Soric or foam. The latter 2 need very good care and fitment to prevent problems.

This is also where you see organic shapes are so much easier with composites.

Hello,
didn’t I send you a sample of the MTI hose?
You have to be sure that you lay down you fabrics very precisiuos, they have to rouch the mould everywhere. You can use spray adhesive to fix them.
The other things herman said, I would not use strechable bags. Make more pleats, they are not bad.
If you have MTI hose there place it around the mould and start infusion at the centre, place two layers of fabric below your resin inlet. Also degas your resin.

Thanks for the input. I will definitely look in nylon bag, these stretch bags are good until they rip. I micrometer my part at about .030 which is real thin, I’m looking at adding in a 4th layer, are you saying the fiberglass is going to be tough to contour to this mold?

I will PM you. What PVA do you use and how many layers of it? I ask because I am thinking about using spray, PM me with your thoughts and process on the spray! I cannot start the infusion at the center because I wouldn’t get flow to the very end points of the mould.

I use the PVA from HP-Textiles or Lange&Ritter, but every PVA should work. But you must not use PVA if you want to use sprayadhesive.
If an inlet point is not enough you can use spiral tube in the middle.
Blue MTI hose, yellow resin inlet with spiral tube.
B2.jpg
Your brake zone is very small for a normal infusion without MTI hose. What pot time does your resin have?

If you dont use PVA with spray adhesive wont the fabric stick to the wax and than to the mold??

My brake zone, you mean the flanges, they are 4-5 inches in depth. From what I have seen I thought those were big enough. These dont seem like they will be a big problem.

The pot time on my resin 175 mins. I will be flowing my resin from left to right in the mold next time. I cannot do a center inlet point because where ever the outlet is the resin wont flow over the entire mold. Unless, you are saying that I will be using the Blue hose as my inlet and the yellow as my take-up, than that may work.

No, if you have a good wax it will not stick , but may be it will also not tack the fabrics to the mould, test it.
The yellow line should be your resin inlet, why should that not work? May be your resin is not usable for infusion or your flow media ist to slow.

You could also feed the resin around the perimeter (blue in the drawing of DD) and pull a vacuum using MTI hose on the yellow line. That works as well, and is some 400% faster in infusion. I would feed on 2 spots, being the end of the “wings” so these infuse first.

Make sure you plug the MTI hose ends. In practice you can connect a tube to one side of the MTI hose (plug the other end), and lead that out of the part through a pleat.

Thanks. I did call AirTech and asked them advice on their spray adhesive and they said about 5 coats of wax a light mist of spray adhesive should do the job.

the MTI hose plan is not a bad plan. The problem that is I see, if I were to have to feeds line one on each end, is that the resin doesnt flow all the way around the blue hose. There are no fix’s once you start. I am thinking about it though.

I came up with an alternate plan in which I start by feeding at the very left side with three lines of tubing. Two going down the majority of the way of the flanes and the third going down the center half way. There is a second feed line, which just goes around the far recess to. There is one outlet line at the other end pulling the vac. n resin eventually out.

It seems you really have to direct resin to feed where you want it to go. That is at least what is taking place in this mold.

Thanks for all the help so far

Definitely give the MTI hose a try. Also, make sure you have a perfect vacuum. I use a spray adhesive because it really helps laying down the fabric and peel ply, but you must go very light with it. Good luck!

Interesting to see a couple of different views on placement of feed and vacuum I will add another.

Resin feed from tail to nose along the center line via spiral wrap.

Two vacuum ports one at each wing tip this would allow some control of vacuum to each side.