Molding my doors

Greetings all…I’m planning to mold the doors of my track toy and make cf lightweight versions.

One issue I’m running into is how to seal the trim around the window. I’ve wedged quite a bit of clay into the trim, but there are some very thin crevices where I was thinking 100% SILICONE caulk would work perfectly. Will this cause any issues after I lay down the gel coat?

The reason I ask is because I came across some fiberglass repair threads on a boat forum where they were talking about having to scrape the silicone out of the gel coat:eek:

FWIW, I will have 4 layers of wax and multiple layers of PVA between the silicone and the gel coat.

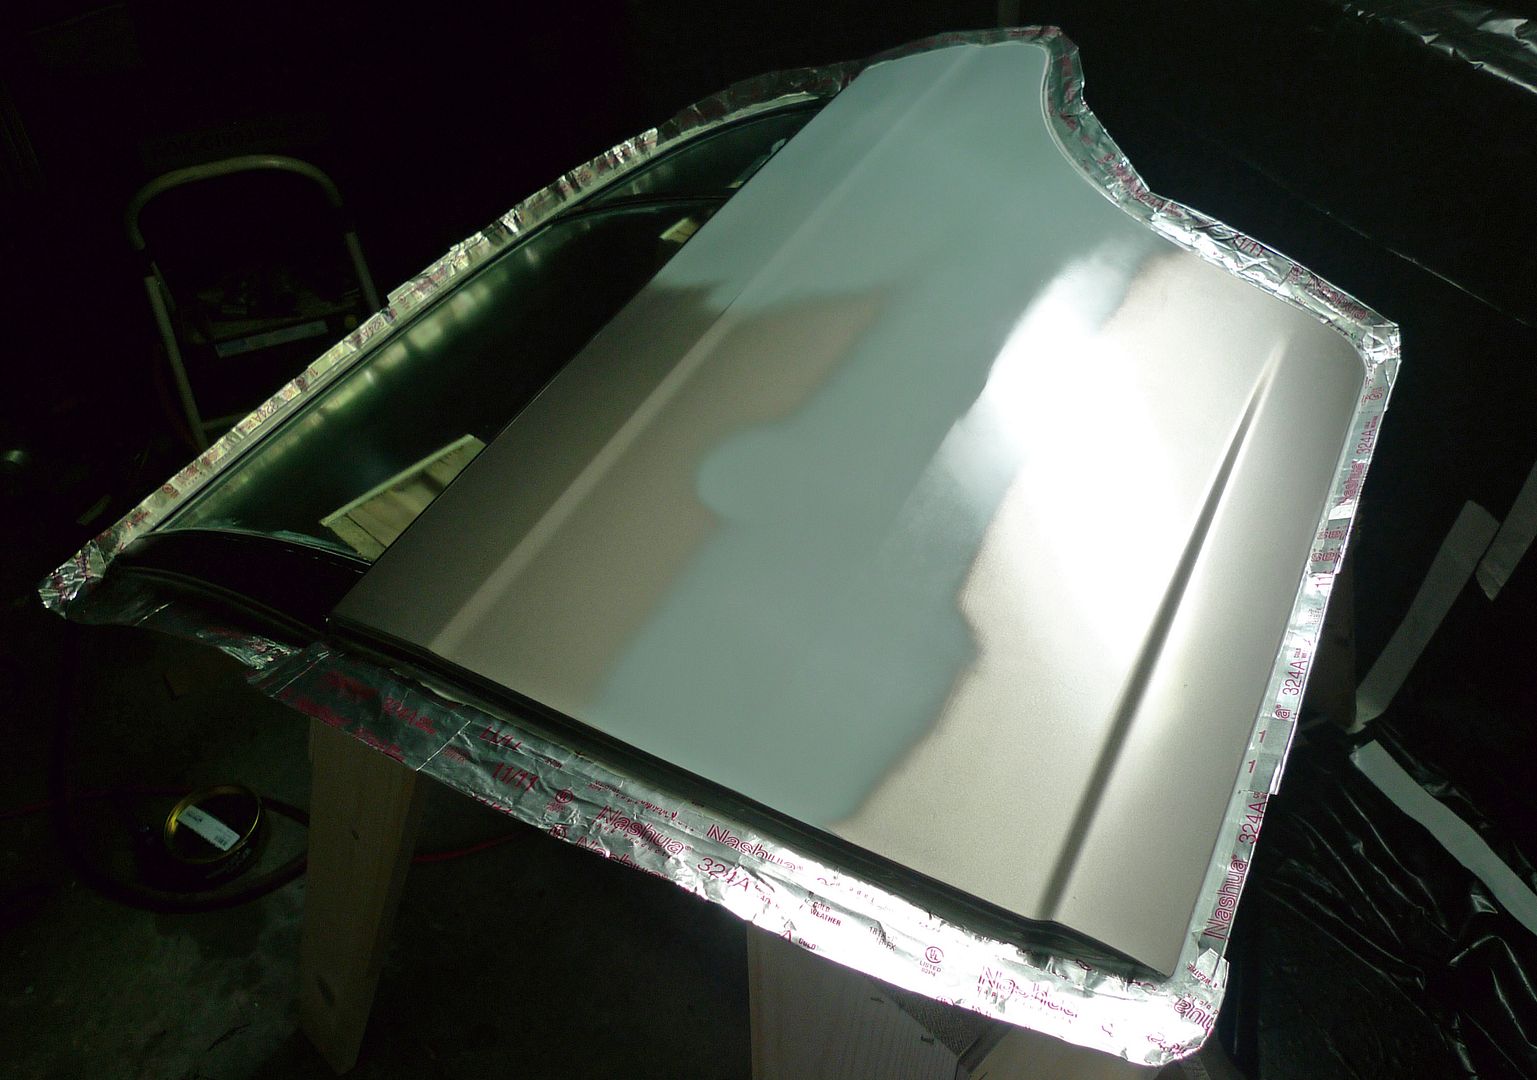
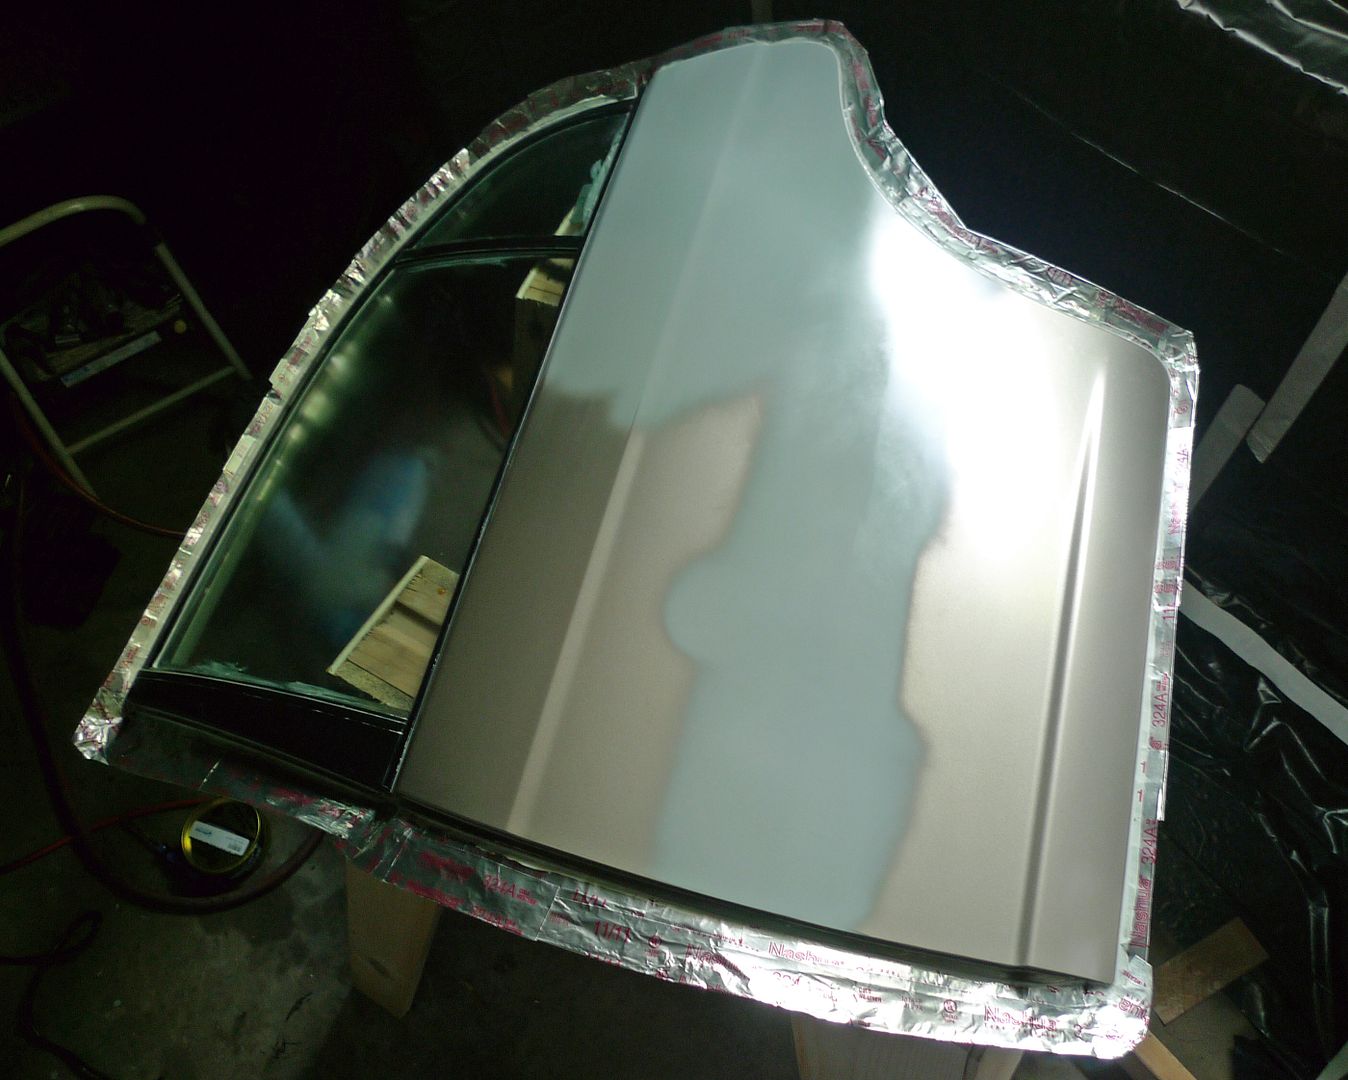
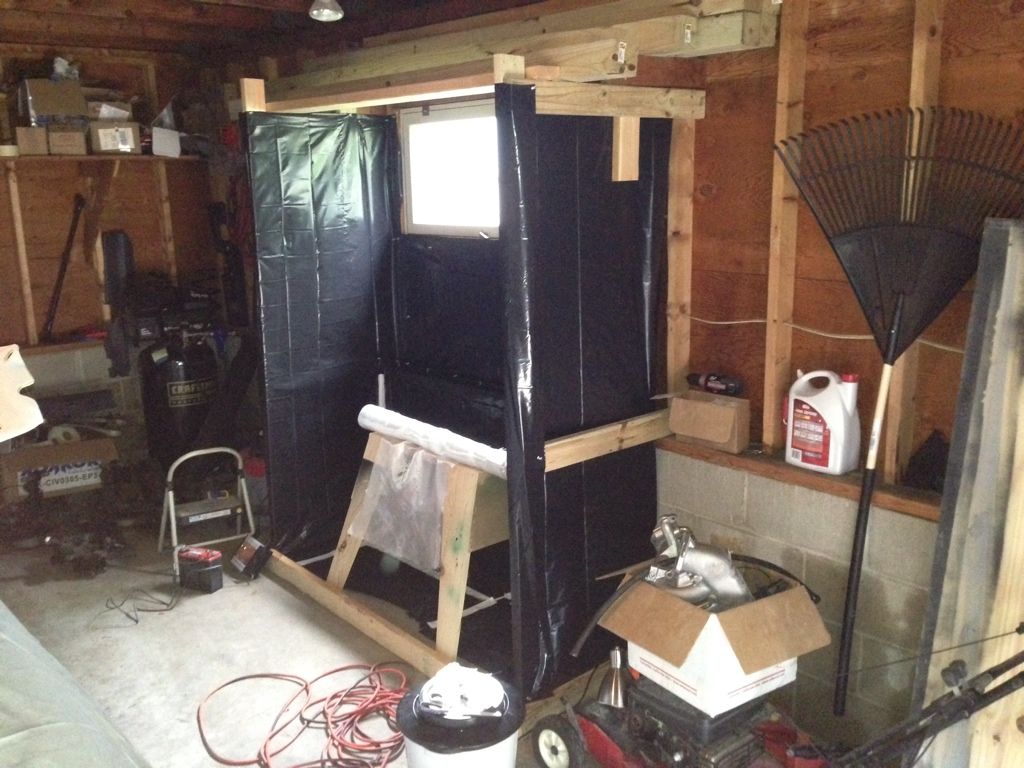
Here are some pics of my project:
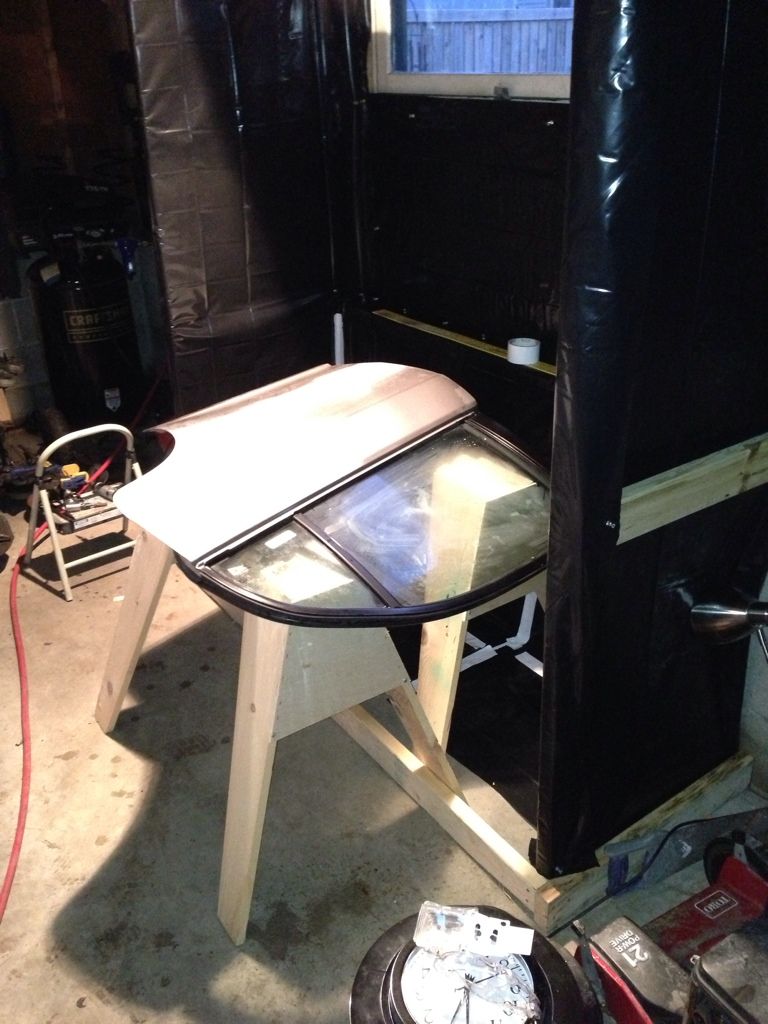
I got a little over zealous…I should have waited to gut the doors until I had a mold of the front side:o
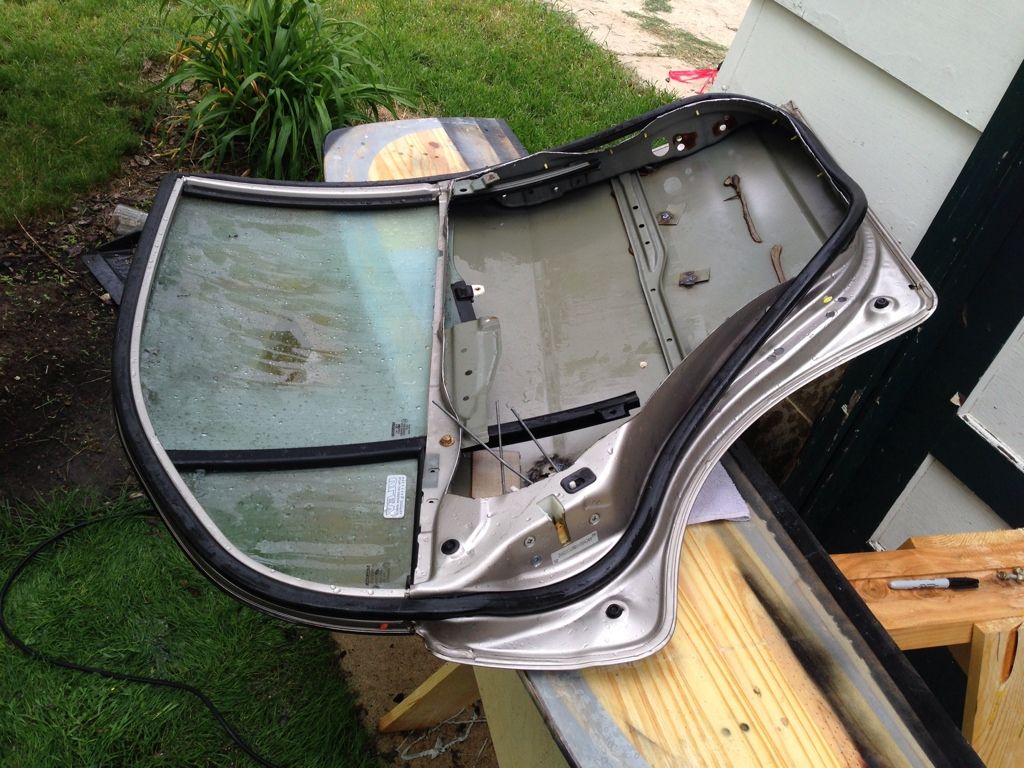
My work area:
Yes, you should have waited… Best thing to do is source a set of spare doors… Do you need the sliding mechanism for the windows? Or is a fixed Lexan window also allowed?

My question is about using silicone to fill gaps. Will that cause any issues with gel coat?

I plan to use Lexan windows (after the molds are made).

Silicone will not cause trouble. but instead of silicone to fill the gap, use something like a plastic profile, or even a piece of hardboard wrapped in packing tape, so you create a flange on which you can glue the Lexan with MS Polymer or PU sealant (the one used for windshields). This needs a 2-3mm (1/8") gap. The reason for using sealant is that Lexan does not like bolts.

And that is why I asked about the windows, before answering your question.

Ahhh…I see. Thank you for that.

Would you happen to have any pictures illustrating how the flanges would be oriented to bond/attach to the Lexan?

Just to add, I want to keep the “OEM” look. To accomplish that, I was planning to epoxy the lexan in place behind the front face of the door. The way I envision it, the epoxy would be hidden behind the external door pillar trim. (I don’t see why a flange would be necessary to epoxy the lexan in place?)

The reason for using the silicone is to fill in the small gaps around the rubber window trim where it flexes around the window. I would make the door mold with the window up…this will give me a perfect line to trim out. The new lexan window would be traced around the old glass and epoxied into place.

Something like this, where the lexan is “sandwiched” between the external and internal skins:

i hope you will share with us the whole process of making the mold and the cf copies

I plan to…but first I need to seal all the cracks between the trim molding and the door glass (silicone caulk seems like the perfect solution). I am hoping to make the mold this weekend.

If you ever want to replace the Lexan, you have a lot of fun when it is sandwiched between the inside and outside. Hence the flange.

Just stick a piece of 1/8" thick plastic strip between glass and outer shell, and laminate your mould over that. The part will now have the extension needed to putty the lexan to. 1/8" = 3mm. If your part is 1mm thick, you have 2mm of sealant, and the Lexan window will be in the same location as in the Original.

It is very important to use epoxy. For mould and part. If not the door will never fit.
We have just made carbon doors for a Ferrari 355. Build a Frame and glue the Lexan windows from the outside. You can get the Lexan windows with a black frame.


The windows in the doors I build where glued on a flange too. Glass coated lexan, fitted on the flange with black caulk. Very nice finish.

I’m thinking to incorporate the OEM glass into the mold of the door…then I can just trim out that part of the mold but leaving a 1/4" to 1/2" flange all the way around to putty the lexan to. Bonding it external to the where the glass is currently would have the added benefit of making the window flush to the window trim.

Wow!! Thank you so much for sharing your work! Amazing!

It looks like you used the OEM window during the mold process to serve as the flange…if not, wouldn’t that also work??

Here are some updates of my project.


Got the door all flanged up, waxed, and started spraying the PVA. Tomorrow I’ll be ready to start laying down the gel coat and fiberglass backing for the mold. I’m gonna be brushing the gel coat on. I bought black and orange tooling gel coat from fibreglast.com. My plan is to lay down a coat of orange, followed by a coat of black, and finally a final coat of orange…each time making sure to completely cover the prior coats. I hope that this will guarantee that I lay it down thick enough without any thin spots.

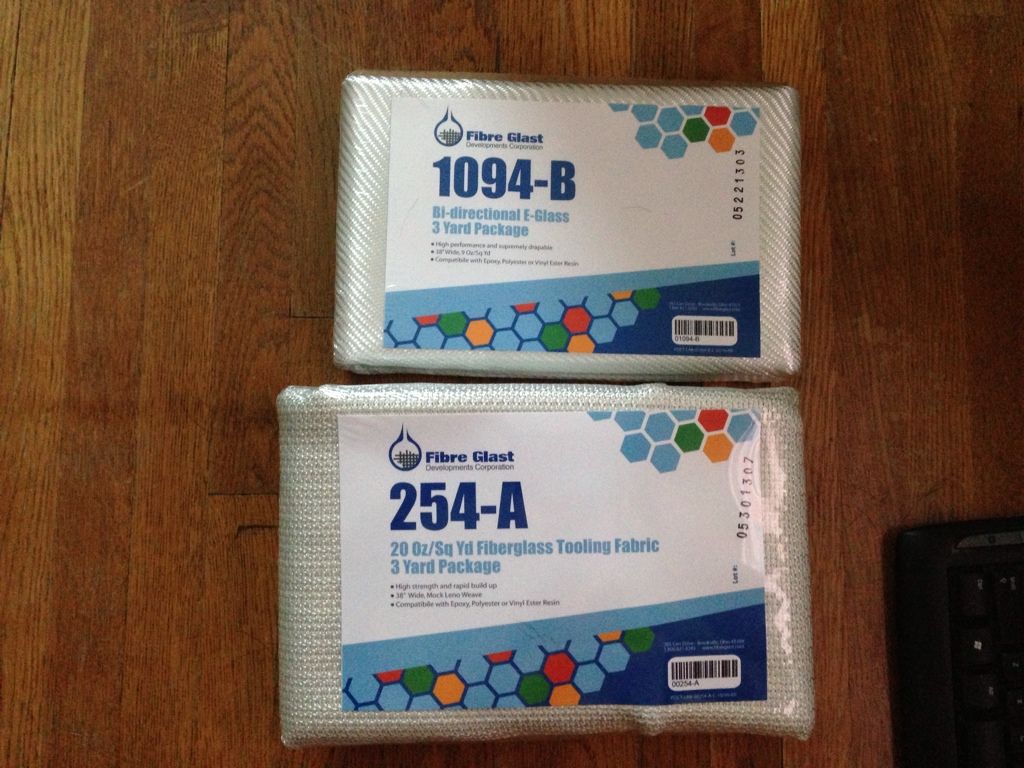
I will be backing the tooling gel coat with two layers of 9 oz/sq yd bi-directional E-glass followed by two layers 20 oz/sq yd fiberglass tooling fabric. I will incorporate some metal pipe into the mold to prevent warping or flexing.

I would love to get some feed back before I proceed because a screw up at this stage will be costly.

DDCompound, can you please explain why epoxy is required when making the mold? Why won’t the door fit if I build the mold with polyester primer?

Because of the shrinkage of polyesther. The mould will warp and than you will have problems. Epoxy moulds will not warp, if your layup is correct. You can take our doors and put them in the car just like the original one.
Also I would recommend to build larger flanges, will make it easier to work. Do you want to make a wet layup or infuse?
Who the f*** shipps fabrics in such small plastik bags:eek: If that are all your fabrics that seems a little less for me. But I always like very very stable moulds.
I these cases we mfirst make a lighter wet layup mould and than reinfuse it from the backside. So we can be sure it is air tight and very stable.

Thanks for taking the time to answer my questions! Are epoxy and polyester compatible? If not, where do you get epoxy tooling gel coat?

Yeah, this is how Fibreglast ships fabric under 3 yds in length…what’s worse, the containers their resins come in are IMPOSSIBLE to open 80% of the time. I usually end up just poking a hole in the top to pour the resin out of…not a particularly clean affair.

I’m just wondering why you’re going orange-black-orange when you put your gel coat down? Is that so you can polish it if needed, and know when you’ve gone too far? Wouldn’t that be tricky having to make each coat thin enough so the total build wasn’t too much? Or is too little gel coat much more of a problem than having a thick layer?

For the epoxy & polyester - I think that generally speaking you can make epoxy parts from a polyester mould, but you wouldn’t want to make polyester parts from an epoxy mould due to the styrene. Pretty sure that herman mentioned that in another thread recently.

I’m going orange-black-orange to ensure that the gelcoat is applied thick enough. This will give a little safety margin for any sanding or repairs that may be necessary.

I believe DDCompound was suggesting also making the mold out of epoxy…this is why I was asking about epoxy gelcoat. Or does the lay up process with epoxy not utilize gelcoat?

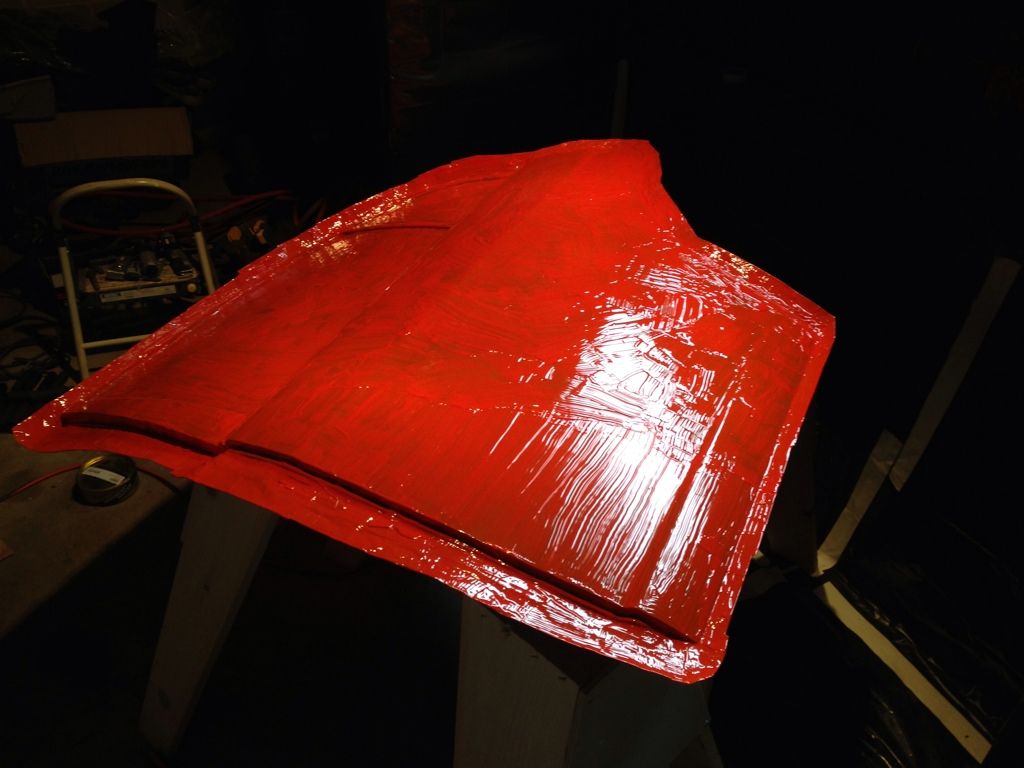
First coat of gelcoat brushed on:

Depending on the gelcaot it is also epoxy compatible. Maybee you have to make a couple layer frim cotton flocks.