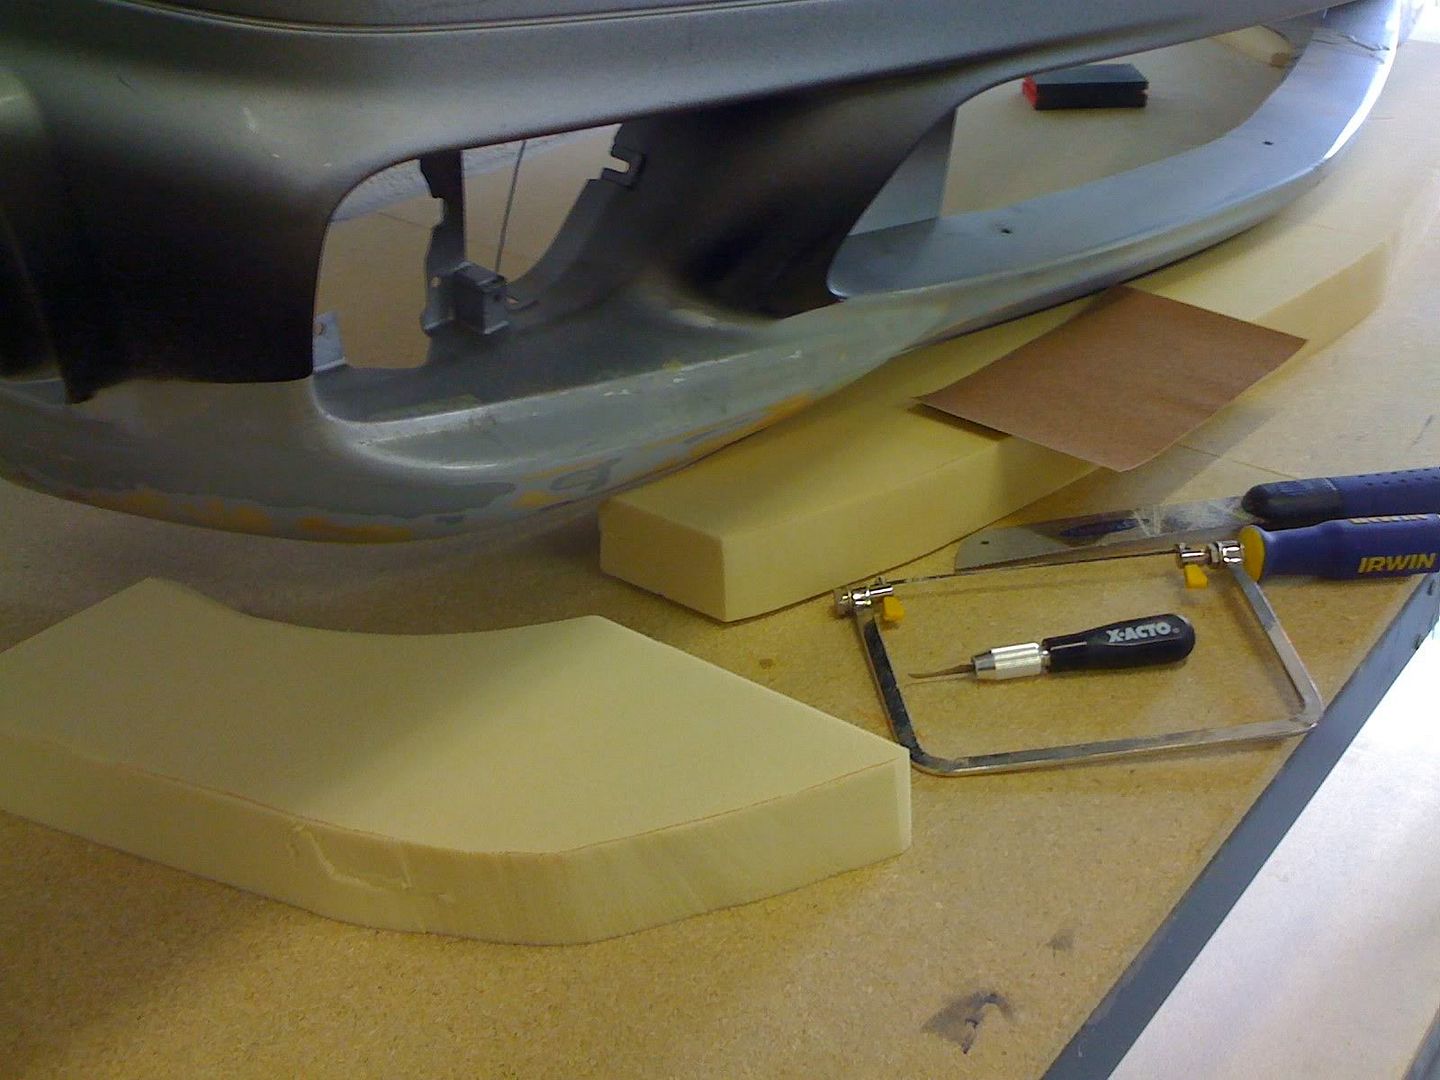
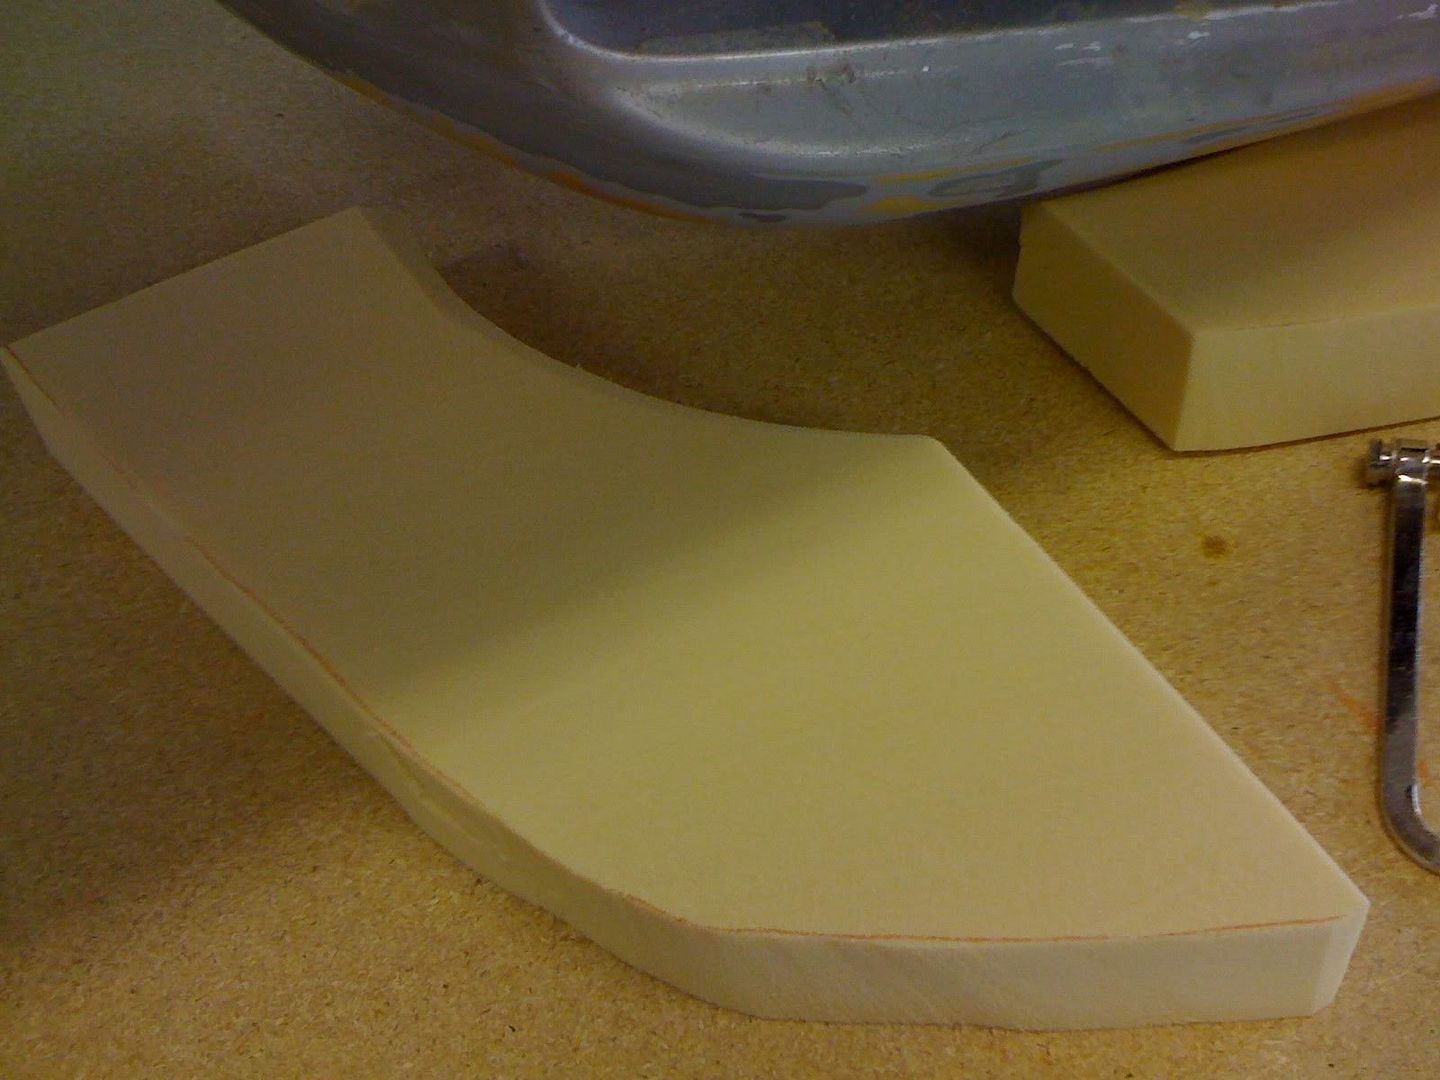
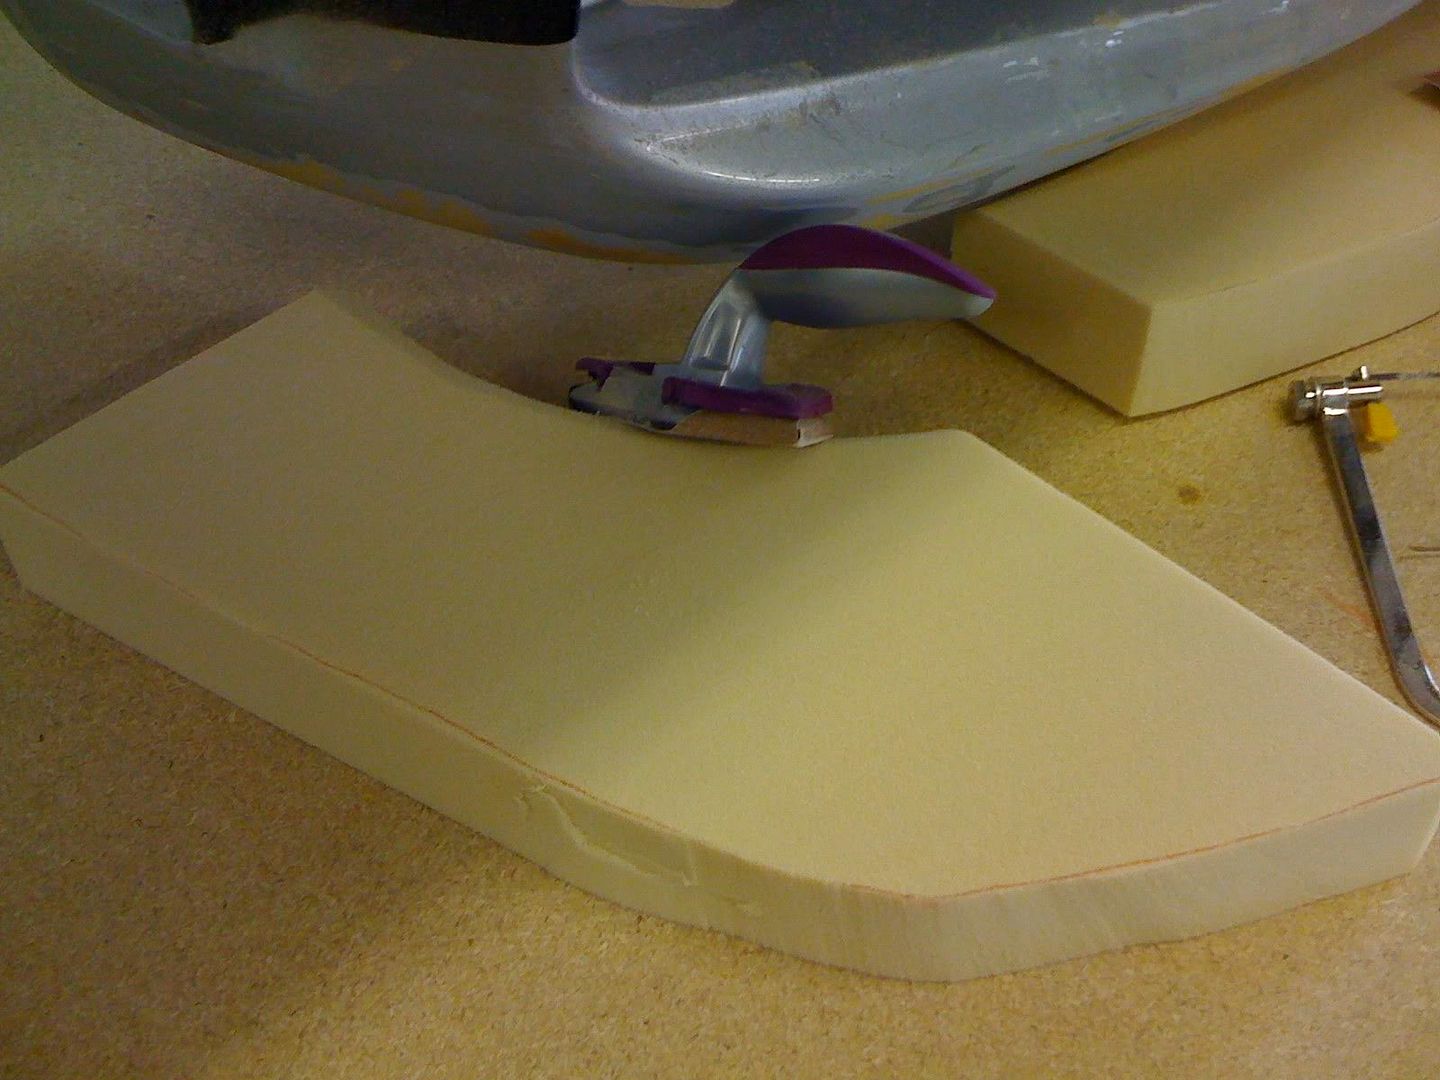
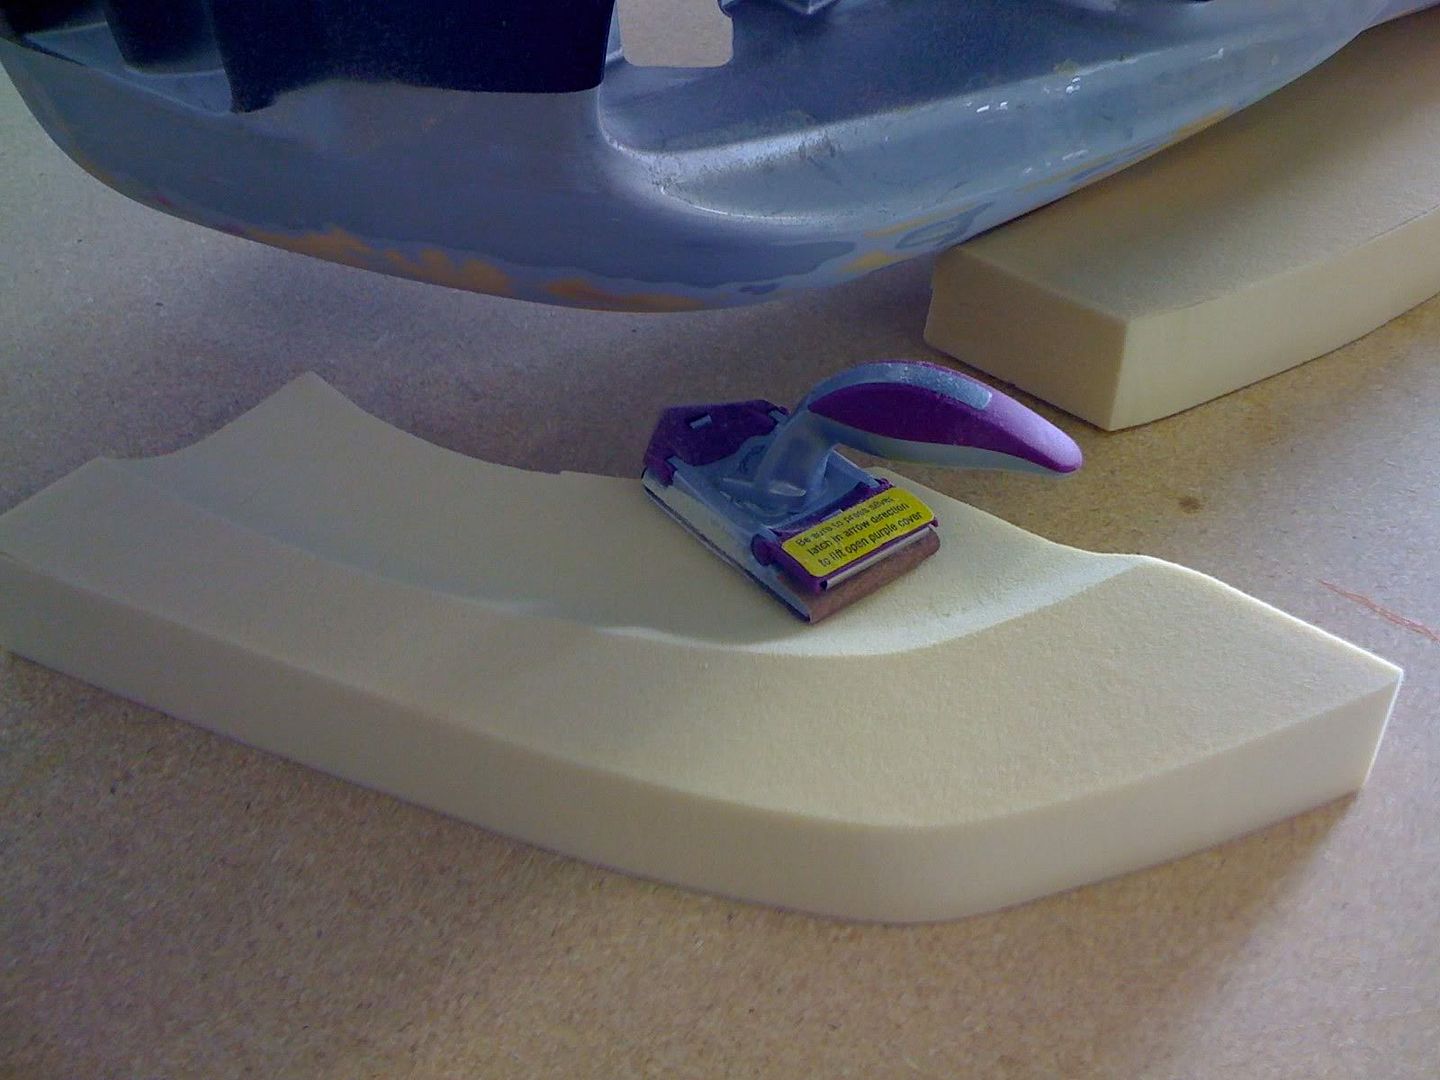
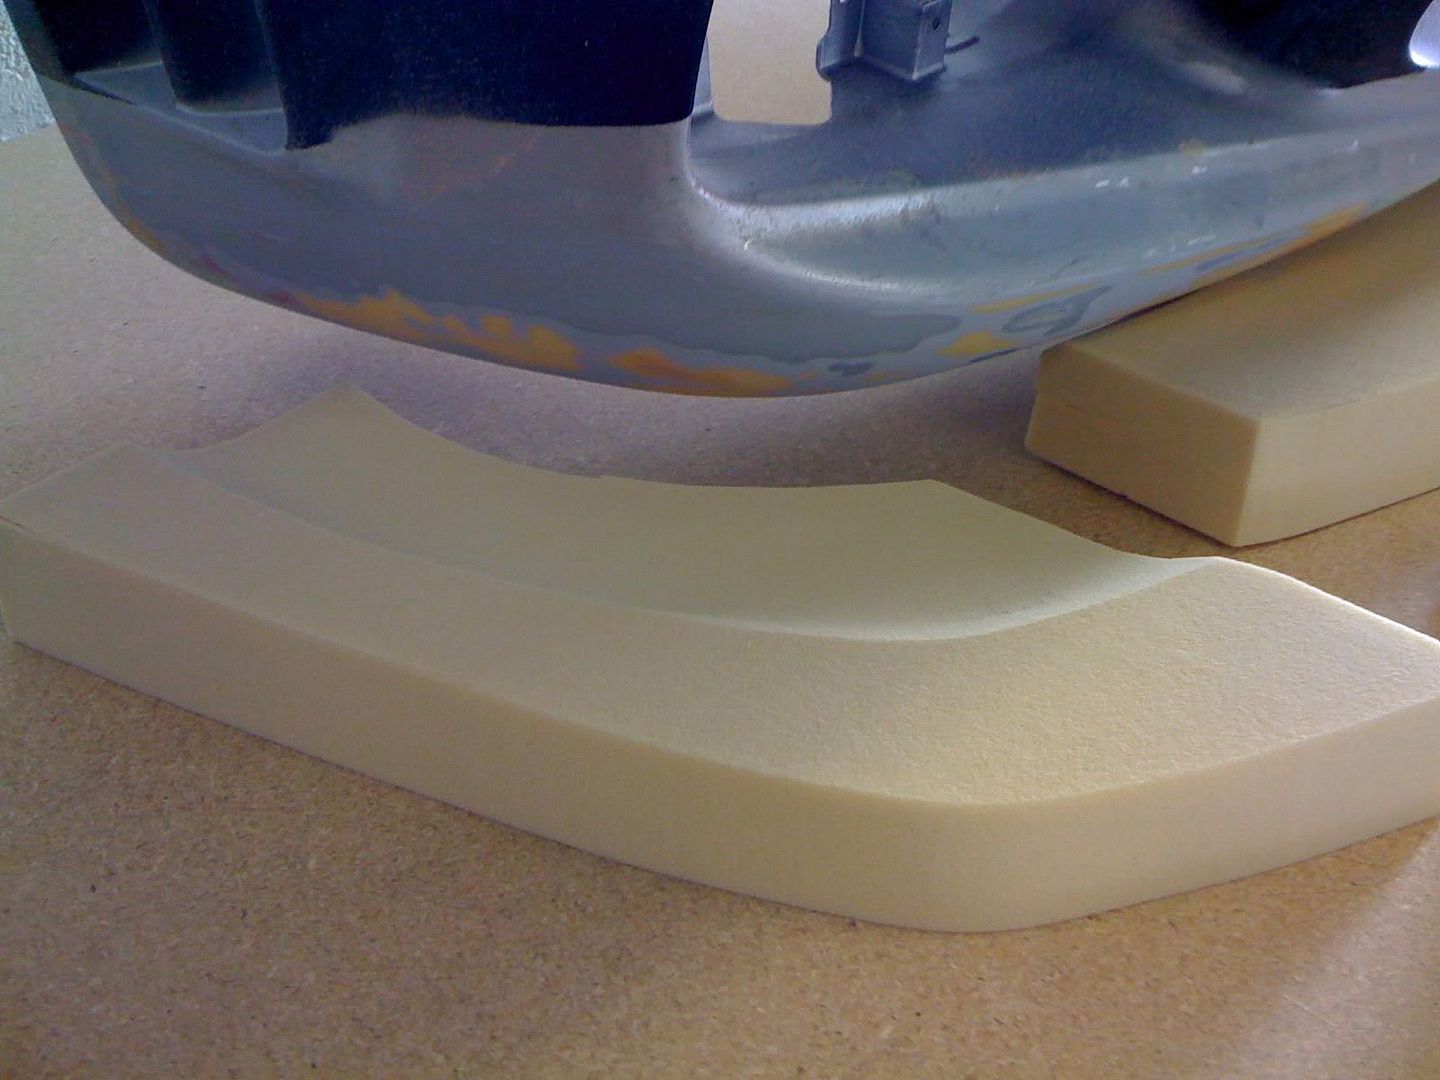
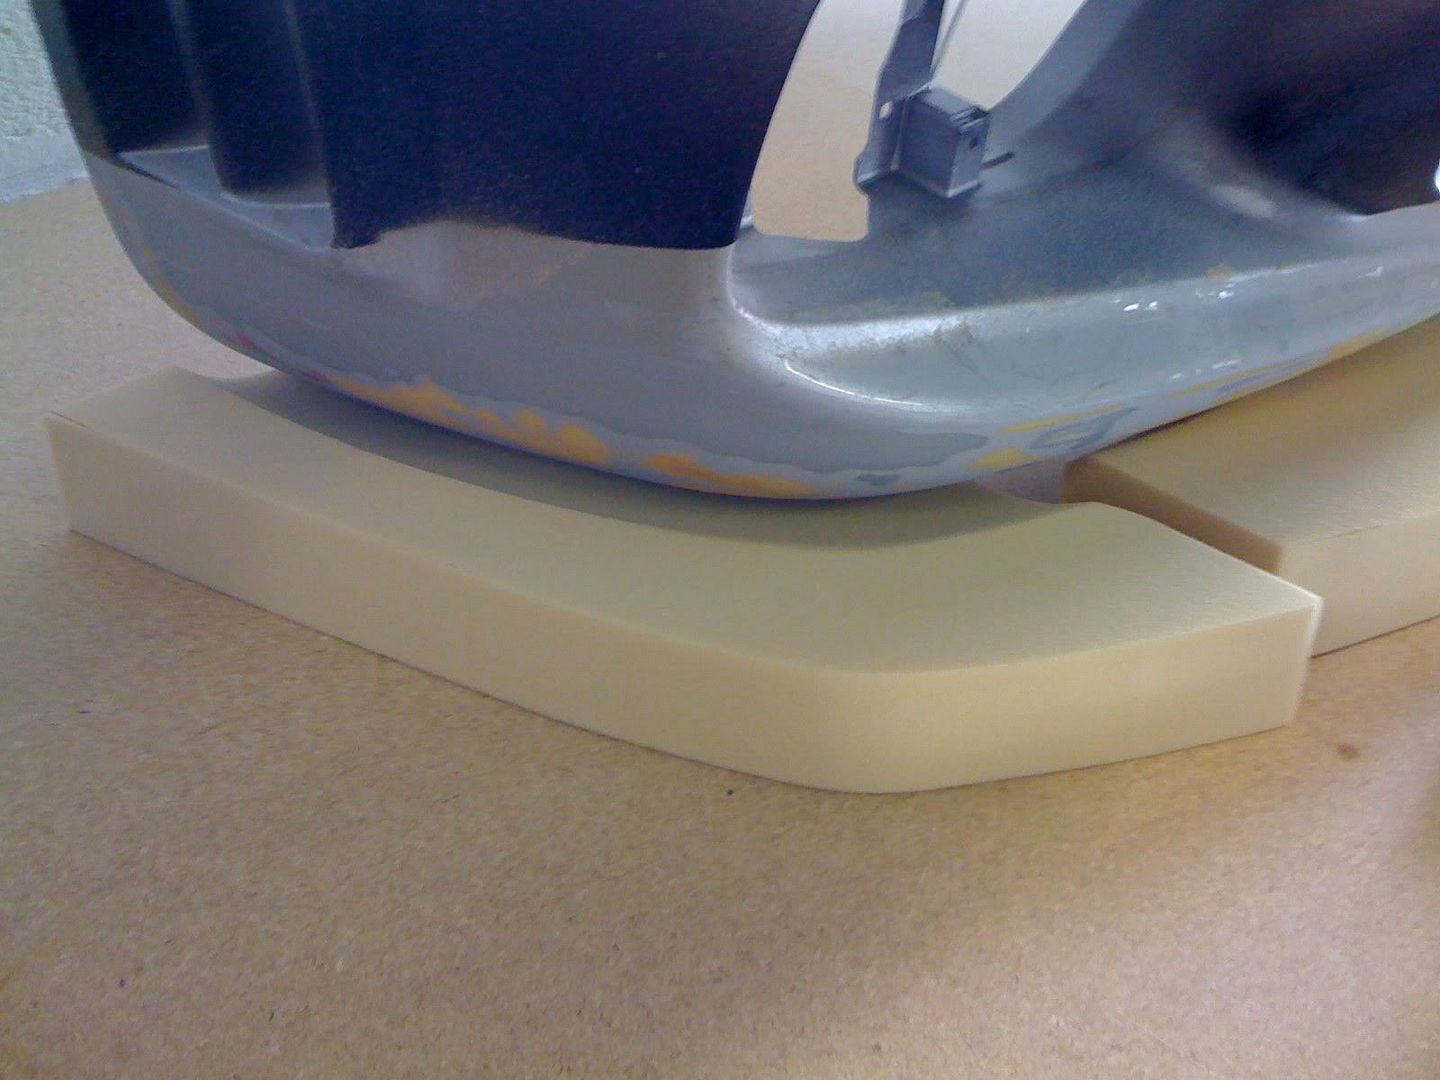
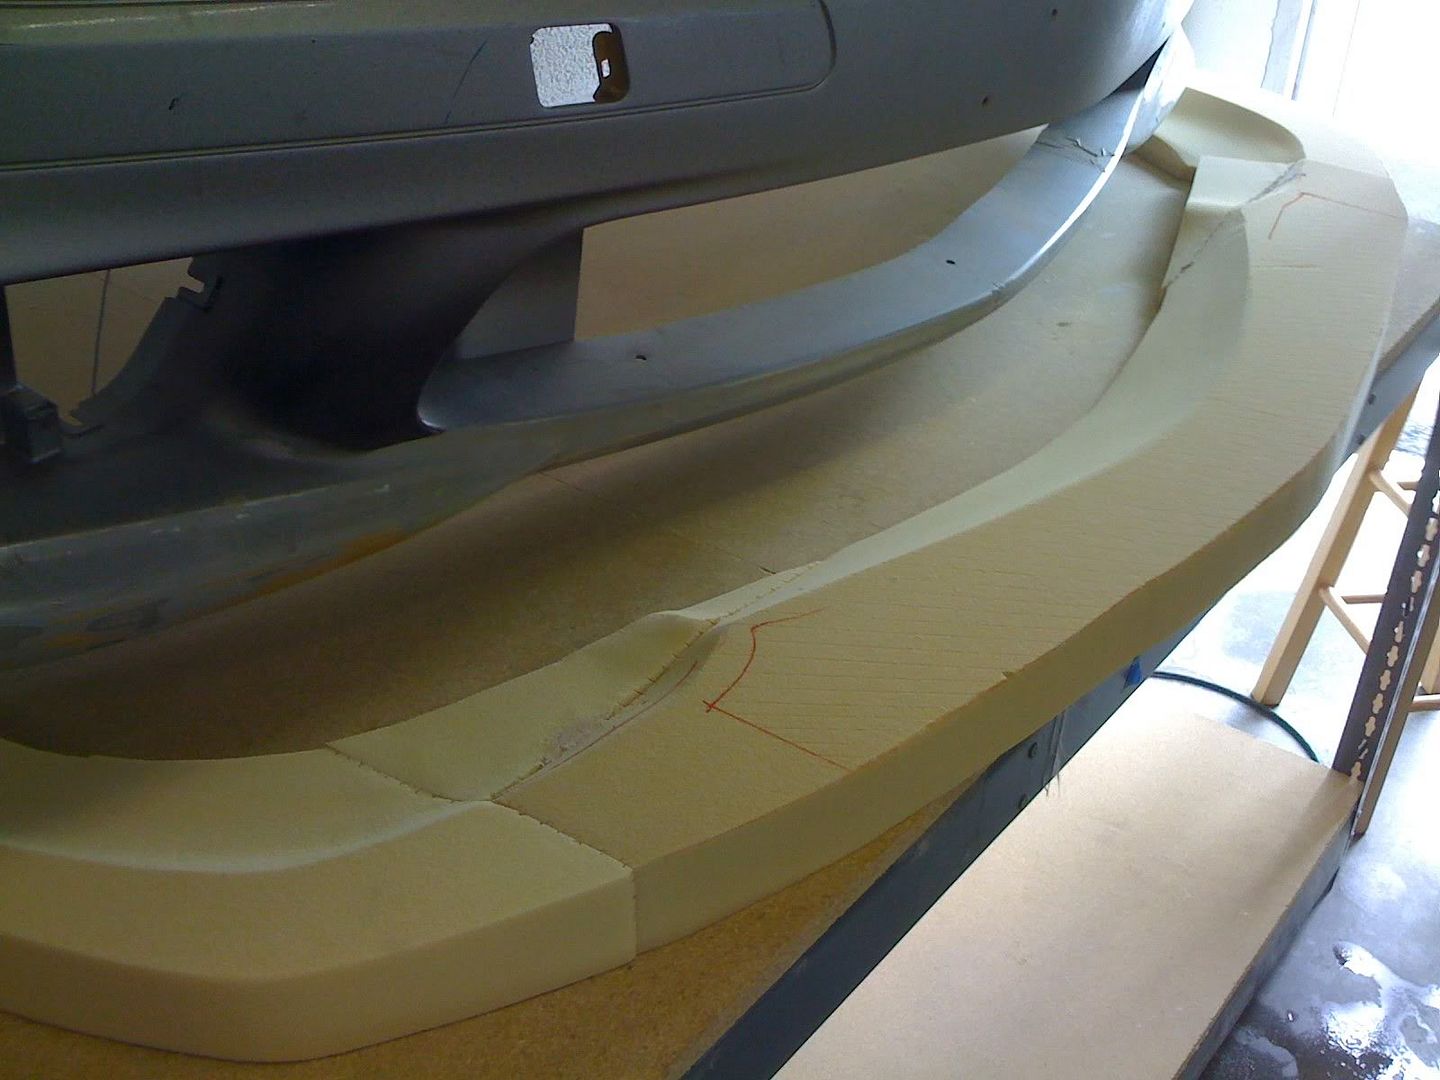
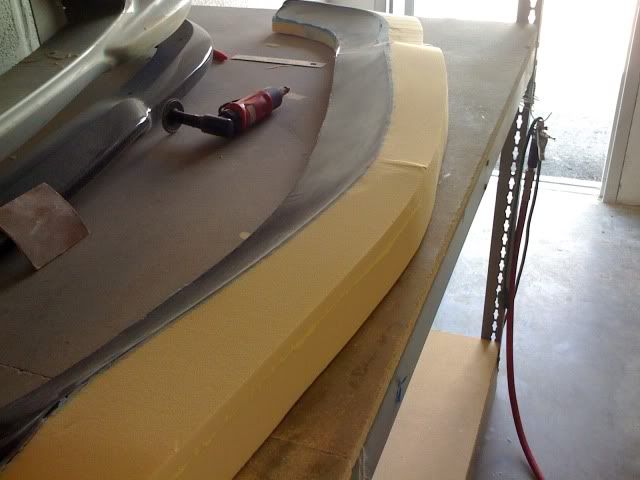
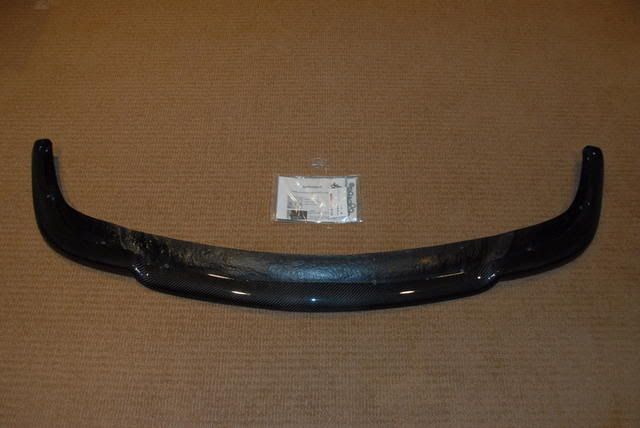
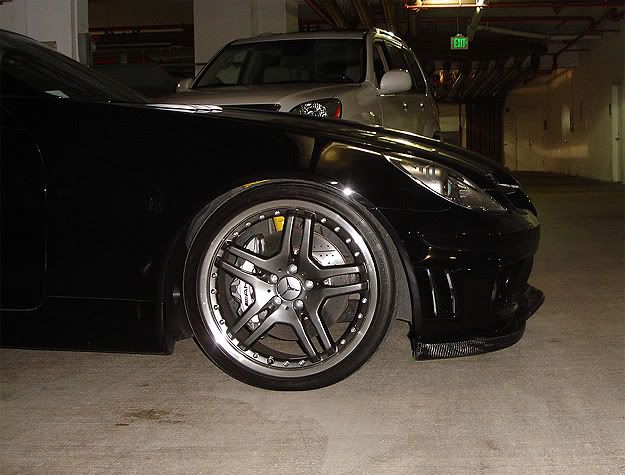
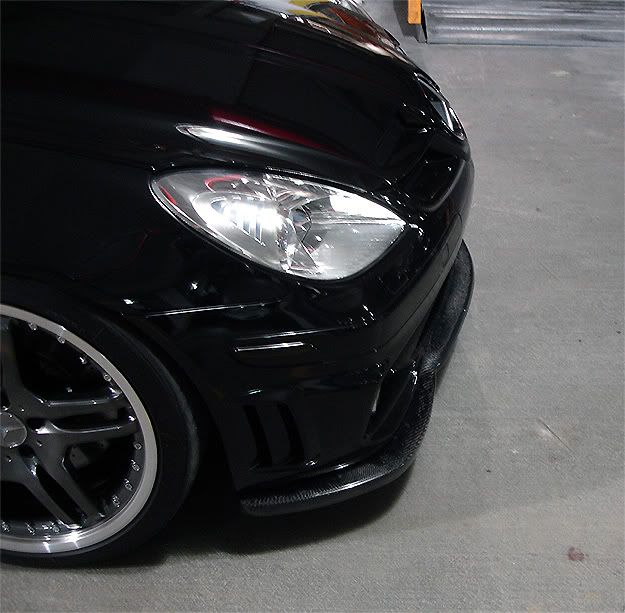
Here is a plug for a front lip extension for the SLK. I took a spare bumper and reinforced the inside to keep all of my mounting tabs and fastener locations true. Then I taped around the area where the lip would contacts the bumper, coated it with some PVA release agent to make sure I could snatch it off again. Then I laid a couple coats of black tooling gel-coat and began sculpting the plug from a few pieces of foam board that i pieced together. I have a much more efficient and time effective process for making these now as well. This was the first one I had ever done. The end result was beautiful, but afterward I knew that I could have had it done faster and with less effort.

I will try to have some more resized pics of this project posted soon, but this month is going to be a busy one. I have a couple of more serious priorities in line right now and Im not going to have much time to play around on the computer.
Somehow I managed to get all the childrens in bed tonight, and I finished the garage. So here are the rest of the pics for the lip extension.


What a beauty! What type of foam did you use?
Did you end up making a mold from your first off plug or just overlay it with CF and clear it ?
The foam was a 2 part urethane. I think we ordered the sheets from Composites One. I have been using the liquid 4lb density kits from US Composites in West Palm.
We sent the original to China to have it molded and it was broken in half when they received it. They managed to repair it and get a mold made anyhow.


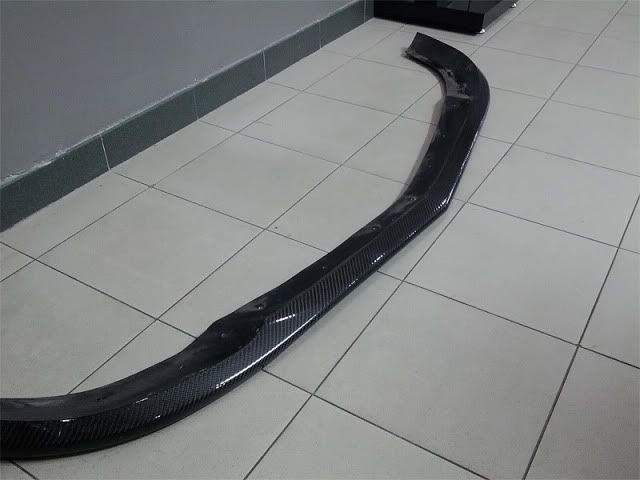
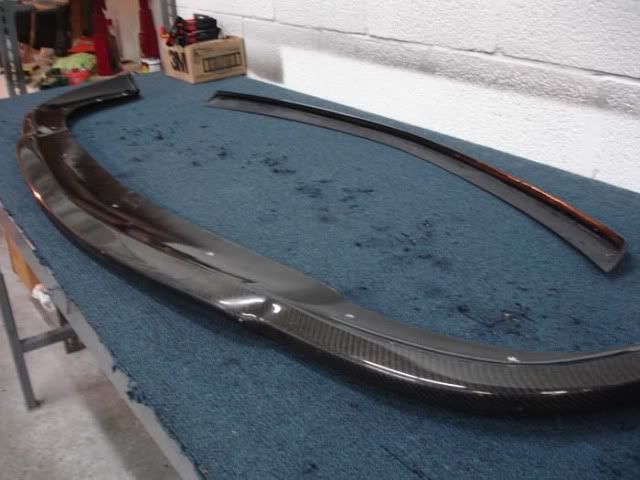
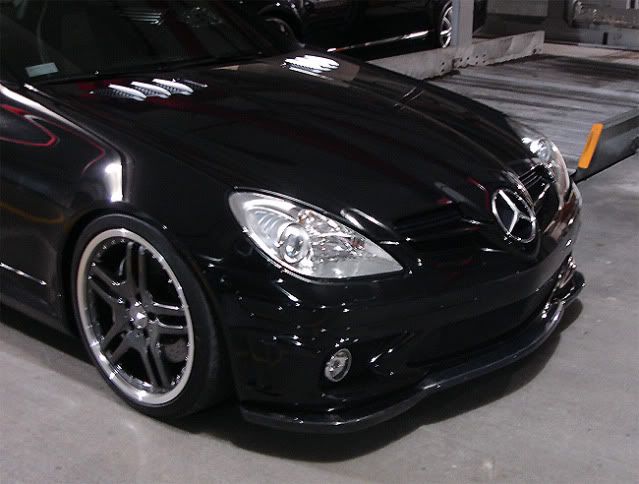
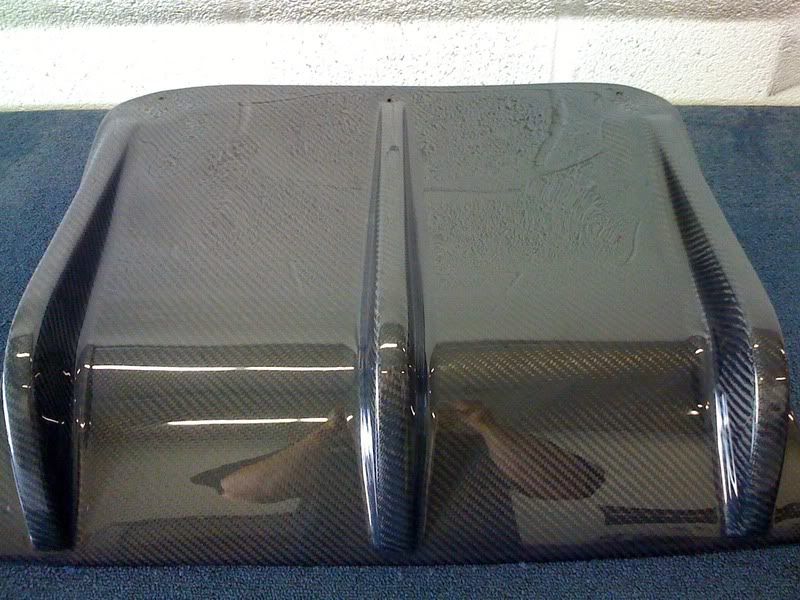
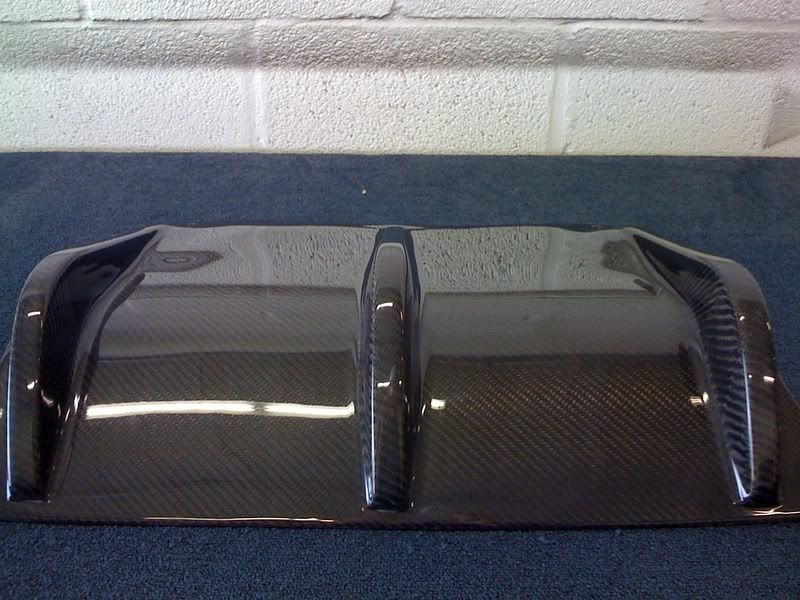
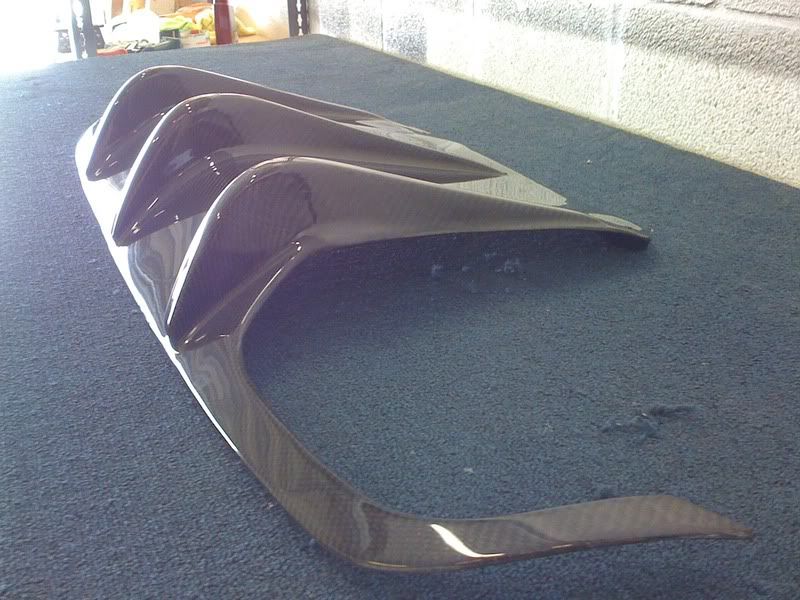
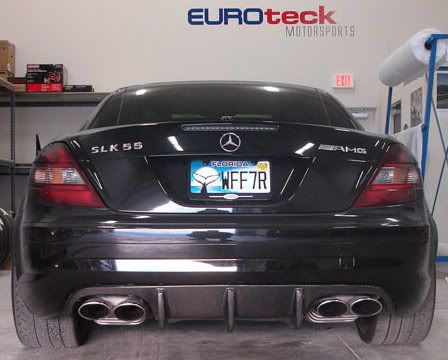
Here is the finished product.

Nice work!
Nice work, did you take the original rear dif or is it a spare to do your mold?
Very nice work.
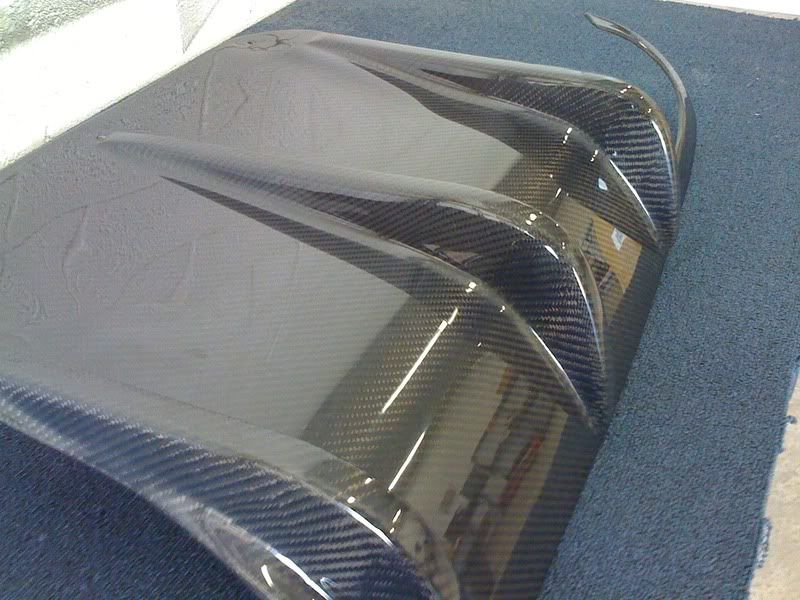
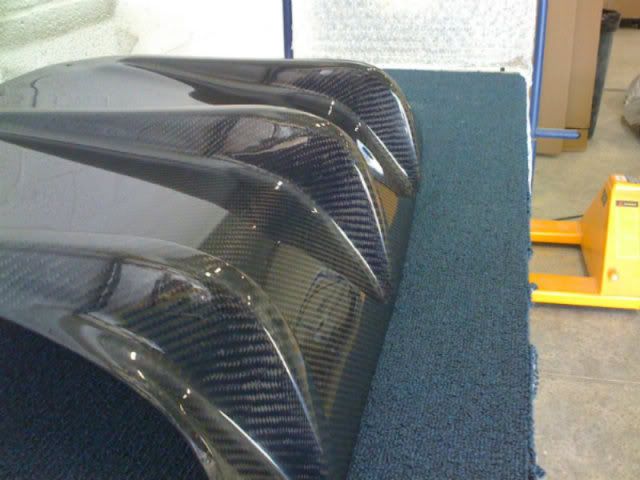
I’ve made a few diffusers but with thin vanes bonded in place. What do you do to get the molded in vanes to come out so nice?
I don’t remember what we ever did with the original plug from this car. I wish I would have hung on to it.
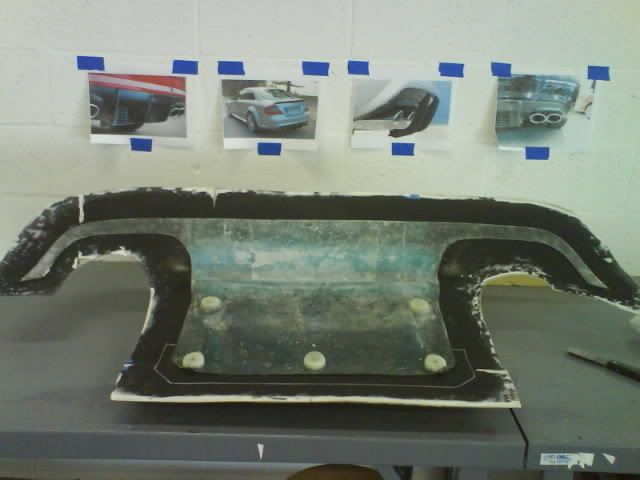
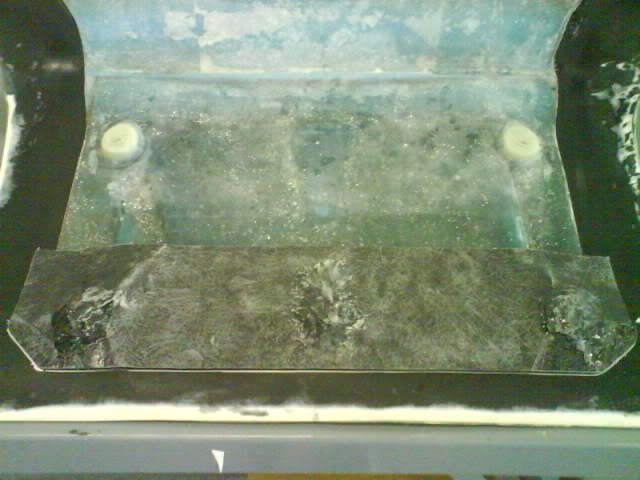
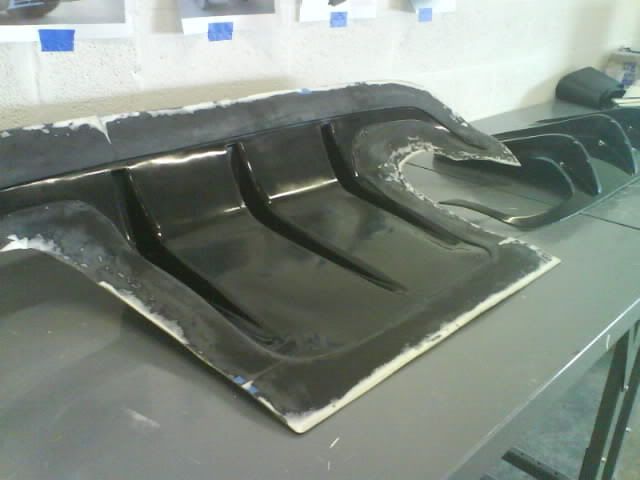
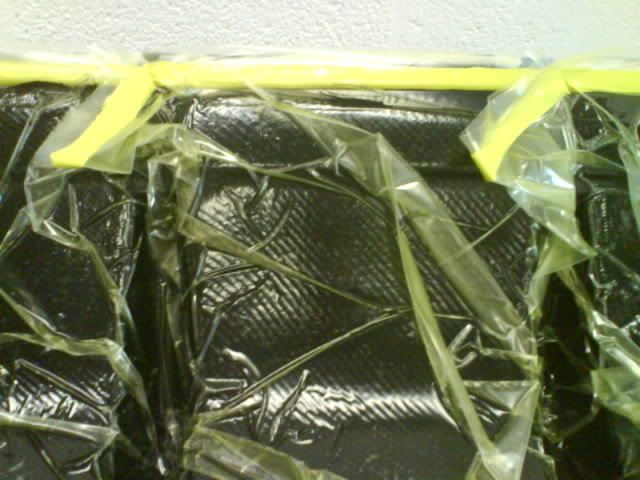
We had to make a fiberglass blank/base which was vacuum bagged in the mold, then carbon was hand laid over the glass. I had concerns with the demolding and manipulation of the weave in the mold when I was fabing the vanes. They are tapered slightly, they are wider at the base and get slightly thinner as they extend outward. I wouldn’t try this again unless I get to use per preg. You have to distort the orientation so much to make the shape of each vane that it totally Fs you on your more even flat surfaces.
niceeeeee… very sleek
This is some nice work.
The more I learn and do the more I understand how hard it can be.
The diffuser also turned out nice. Was that a dry lay-up caul press that was laying on top of the mold prior to bagging ?
Nice work! From the photos of the diffuser I would not tell that you had any problems with weave distortion - it looks great to me! (Then again, I wouldn’t expect perfectly uniform weave over those kinds of shapes anyway… that wouldn’t seem like a realistic expectation.)
With the foam plug for the front lip extension - did you finish that in any particular way before shipping it to China? I’m just wondering how it was coated so the mould could be made?
I should have covered it in at least a thin layer of glass, but because the foam was so ridgid, I just layed down a heavy build of black tooling gelcoat, then flattened it all back down, sanded it to 2500, polished it, and sent it on its way. It was going to get smashed either way. The box was so crushed and mangled up, it may as well have been a paper bag.