How would you approach building this flange?

1/4/2011: onto something… i think. pics below in this thread…

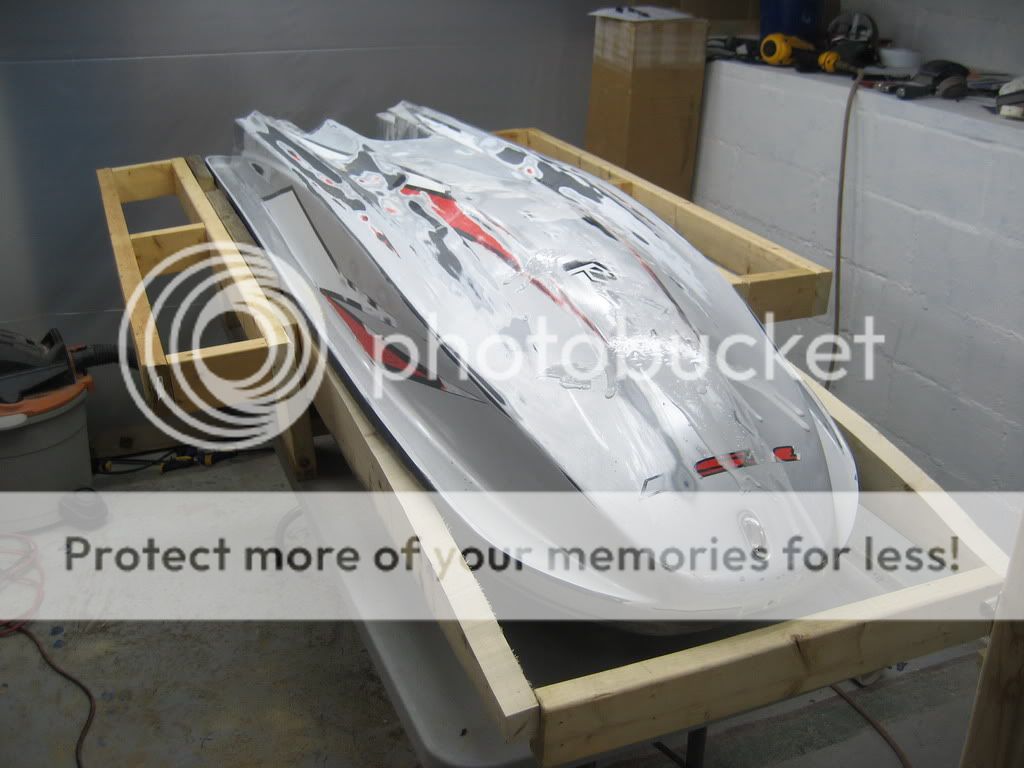
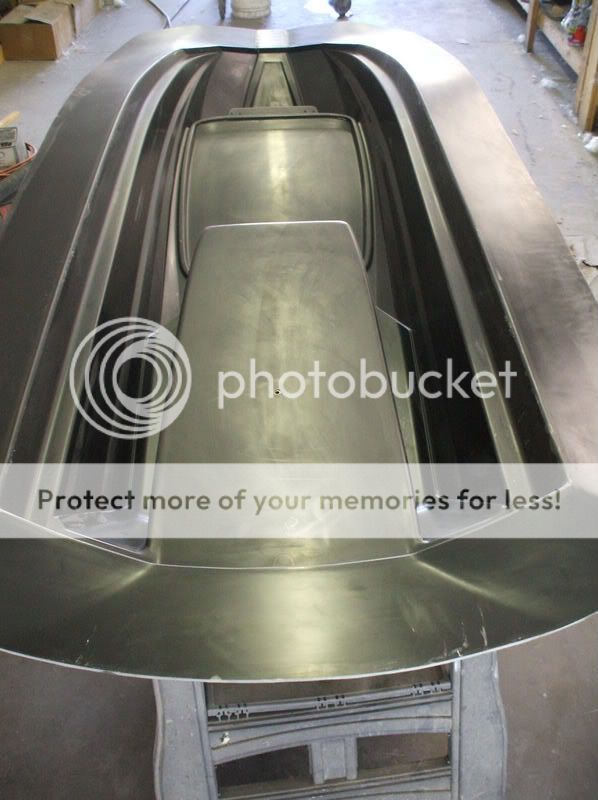
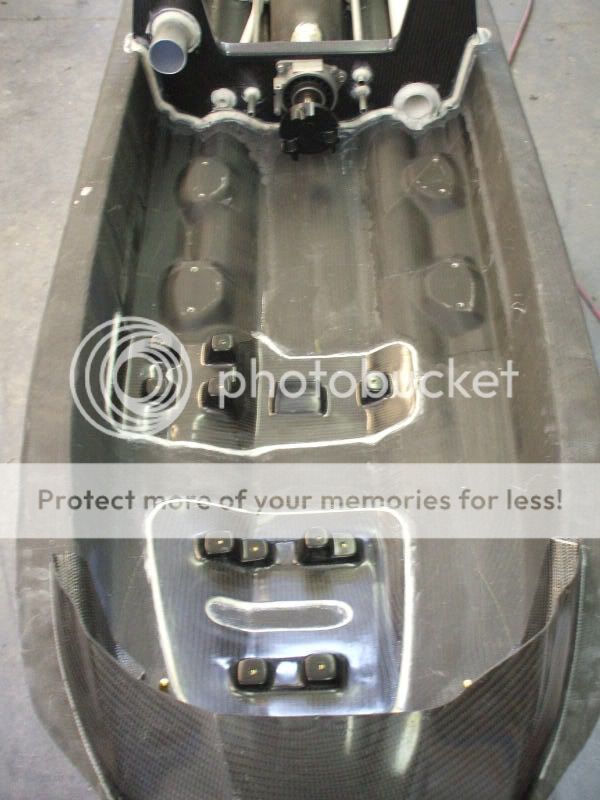
As the title suggests, how would you approach building the flange on this plug?

My last hull had a flat bond line / rail all the way around which made it REALLY easy.

This one not only arches up (or down with the hull upside down), but tapers off and has no bond line at the front.

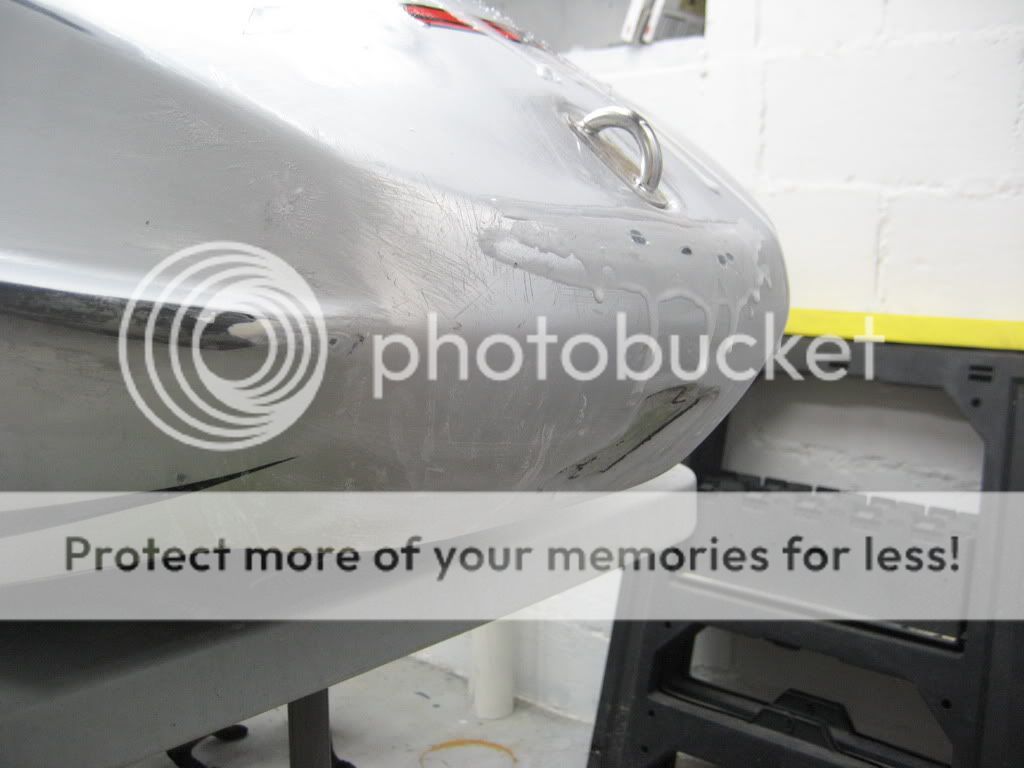
I have a few ideas on how to tackle it, but I always liking hearing others suggestions. The last picture of the primed plug is of another hull I did but again, had a flat bond rail / bond line which made it really easy. Ignore the white “splurge” :stuck_out_tongue: i got a little excited haha - was messing around with Epoxy/Microspheres as a filler as oppose to Bondo - horrible idea - 2 days later still tacky and runny as hell.

As always, thanks for everyone’s time and input!

-Andrew

looking at it i would have said that it had a joggle join line where they meet.

um… “joggle join line”?

think of me as a total newbie :embarrassed:

This is a typlcal joggle joint to join two laminates, one has a ‘step’ in it that allows the other to sit flush on the surface with it, this type of joint also allows great bond line area.


Joggle joint by dobsonm, on Flickr

Just a quick ‘paint’ sketch to help you visulise it.

thanks Matvd - understand the term now. i love this forum :smiley:

yes, that is exactly how the top and bottom mate which i do know and have accounted for (and have contended with in the past on the past hull plug / mold i took on).

my point of focus for making the flange is the front, account for the lack of bond line and the arc.

meaning, what types of materials, how to fasten it, etc.

below is an example from another builder (trinity composites, big player in the hull building world). his hulls also have a blunt nose. when the two hull halfs are matted, he has an inner piece to help mate the two and join the “blunt nose” portion with no bond line (joggle joint as you call it).

for the mold however, a flange is incorporated to it, then chopped off the final part. my question is what approach others would take meaning, what types of materials, how to fasten it (the flange to the plug), etc.

Roo, I did a search for the same thing you are working on and found this (see pix). I used the same basic technique working with Formica as a “fence”, it provided a smooth surface that was easier than aluminum sheet metal (3003 soft)to work with,in this case. This model jet is about 11’ long, shorter than the ski.

Blue painters tape, Zap-A-Gap thick CA, Accelerator,lots of sticks, and patience.

Thanks Flash - the project looks awesome! nice work space to that guy has!

the sheet metal idea is out the window - not going that route anymore. was just an idea after seeing it on that cbr600rr’s build thread over on the X.

i have a good game plan my buddy and i came up with last night - measuring and drawing up plans for a couple hours last night - hopefully to be executed this afternoon before the PARTYING BEGINS :cool: it is a lot like the idea here and what you had given me via email.

pictures of it hopefully by weekends end!

Ooops, the most important picture showing how to transfer the edge radius to the fence, using a pencil and a 90 degree fixture.

That’s a sweet SR71

That ski hull looks hard to lay up in clear carbon fiber finish. easier with a colored gel coat but then you wouldn’t see air bubbles in the corners if they occured.

My guess is if that hull was to be laid up in a factory they would rtm it and possibly use preforms. Next easiest way would be prepreg cf.

kind of rough right now, but i think this will do / I’m onto something…

i need to buy another big sheet of this smooth wood (masonry board is it called?) and recut it - rough around the edges and cut a little bigger then needed (gap is big all the way around…) i got the idea from a local who has used this for his flanges (but on less complicated hulls) and said it worked well once waxed a bunch of times.

to use the alumium foil tape to secure around the edge or not? the front of the ski i will need to glue it to the hull (no biggie), but the foil tape seems to work good for the rest.

what does everything think?

lesson learned - don’t use micro spheres and epoxy thinking it will work like bondo… 1 step forward, 3 back.

Looks like it should work. Lots of wax on the masonite?

i’m still questioning this approach… seems kind of hack compared to the last way i did it…

i’m thinking spend the money (and time) and for the bottom mold, use divinycell for the flange like you did on your bottom mold (one layer flat with the bond rail, and another on top with a radius edge). any reason not to do it this way (other than cost?)

the top mold i think it would be easier to get away with the Masonite or Formica with how the flange gets incorporated.

going to go through with this - thinking ahead, need to do it right.

the saga continues…

You’re not making your top mold half off your bottom hull mold? You should make the hull first of the plug, then remove the flanges and make the other half while the plug stays in the hull mold. This will ensure a perfect fit. also you would only need to flange once, rather than twice. Or did I misunderstand you?

The masonite material might work out just fine with releasing and providing a smooth surface to work on (the flange), I’d just test the results before hand, with a small test patch. I can’t tell you that it will work 100%. any one else here have experience with this material?

The metal tape and masonite is surely a quick and easy flange method. I personally only have experience with Formica, which likes waxes and release agents.

I have used masonite with the white plastic face on one side, 1/8". I would think this masonite would be no good because it will absorb the gelcoat, but maybe not.

i have always shot it with polyester high build primer.then sand,wet sand,wax and pva.works for me.

HI guys what happened to this thread ??

I lost interest / motivation in this project… for the second time.

I went as far as pulling the bottom mold. Here are many more pictures and details of the process I did accomplish. Hopefully someone here gains something from here:

http://www.x-h2o.com/showthread.php?90513-Hull-Building-USS-ROOSKI&p=1082882&viewfull=1#post1082882

Thanks for the link Roo , starting to build some sj,s ! Thanks again