Glanza S bonnet mold

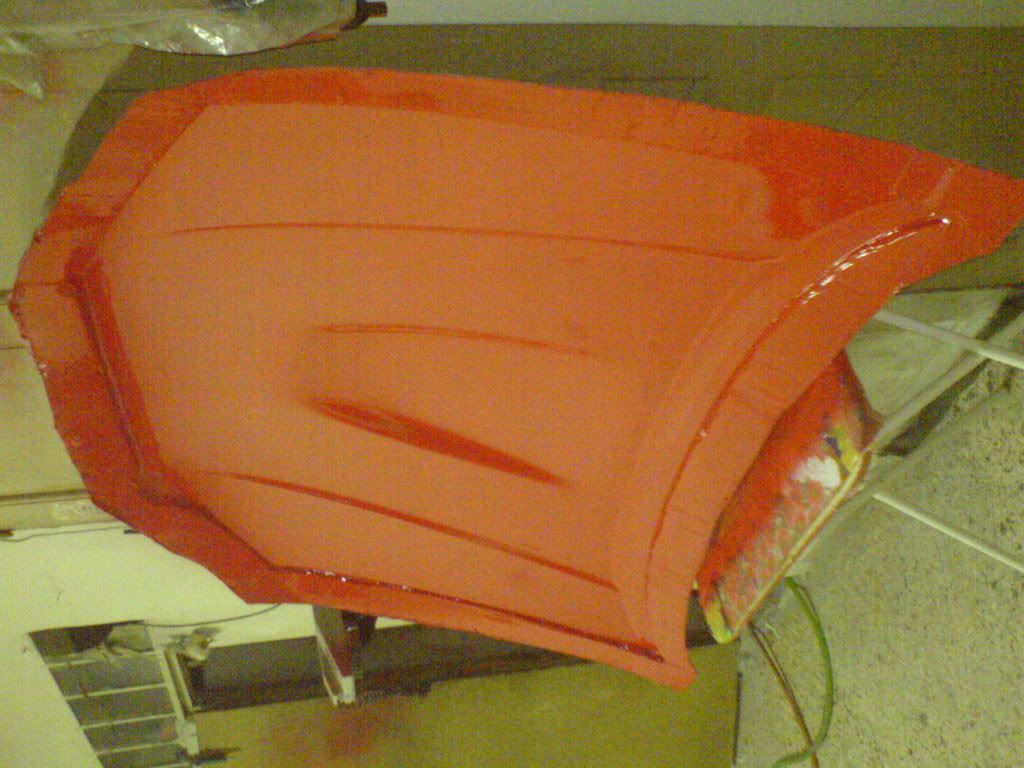
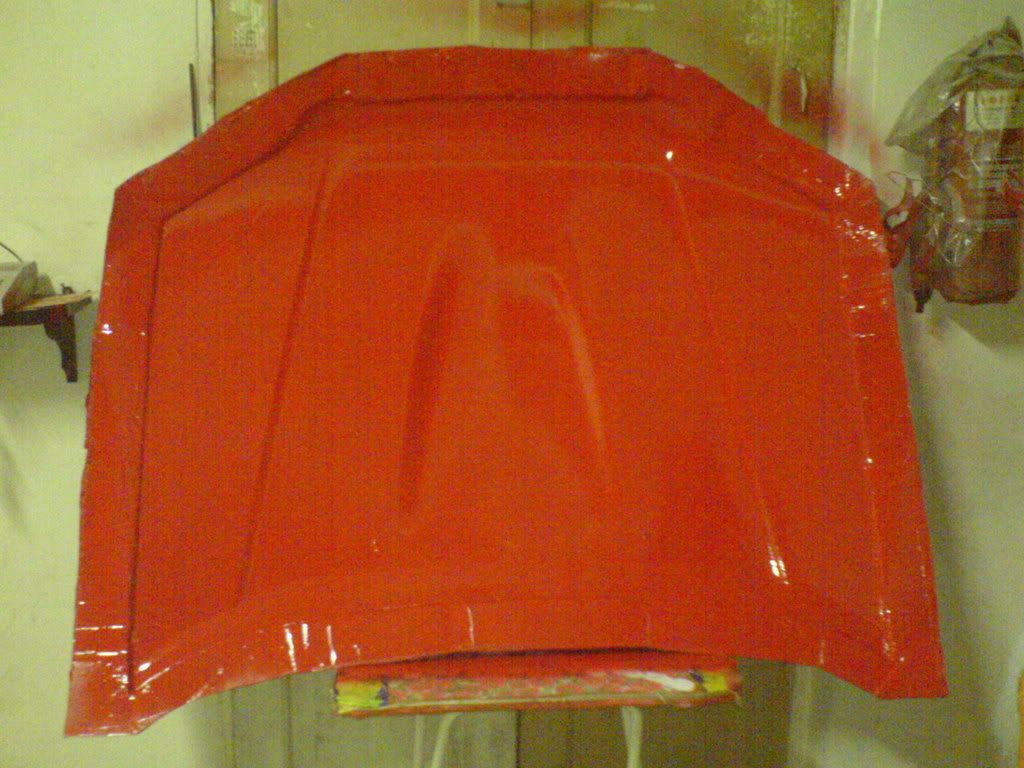
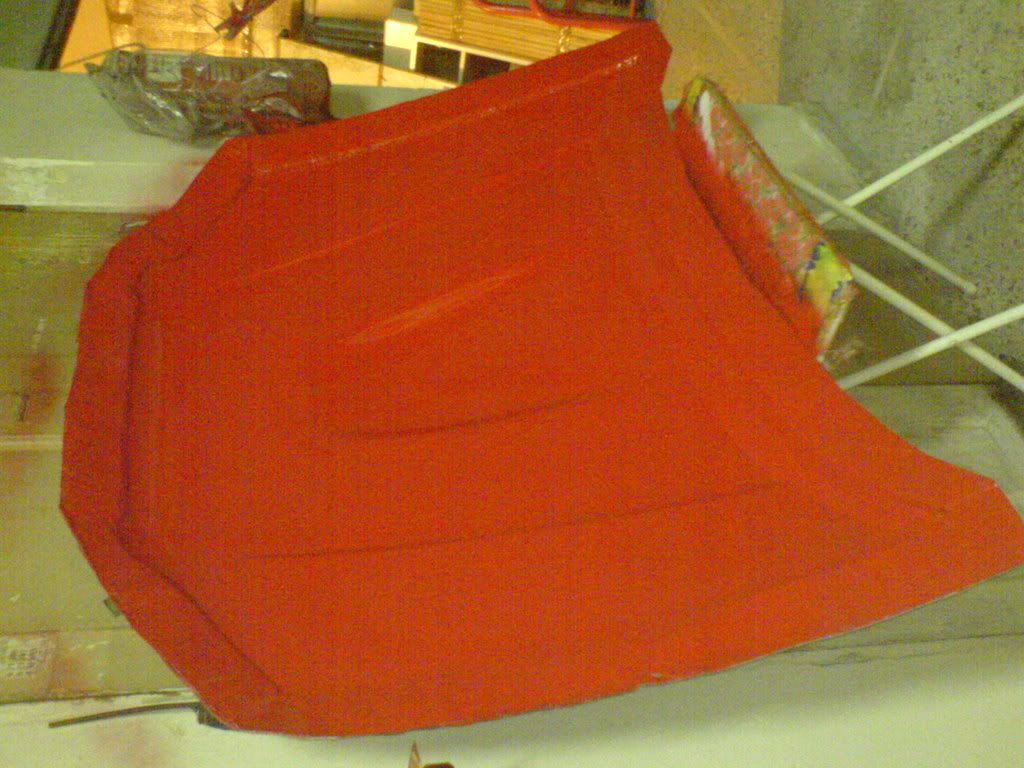
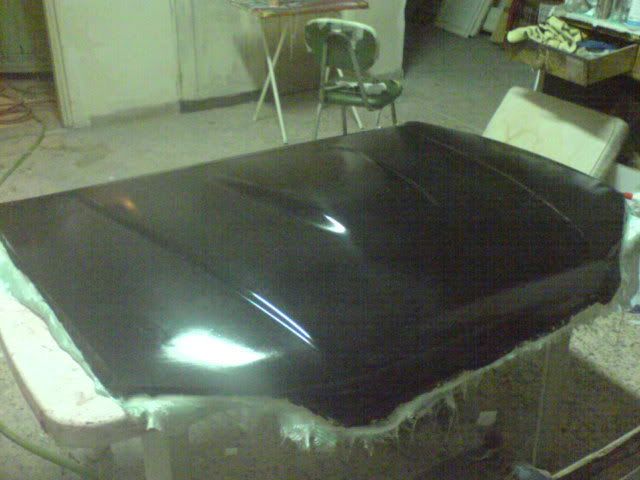
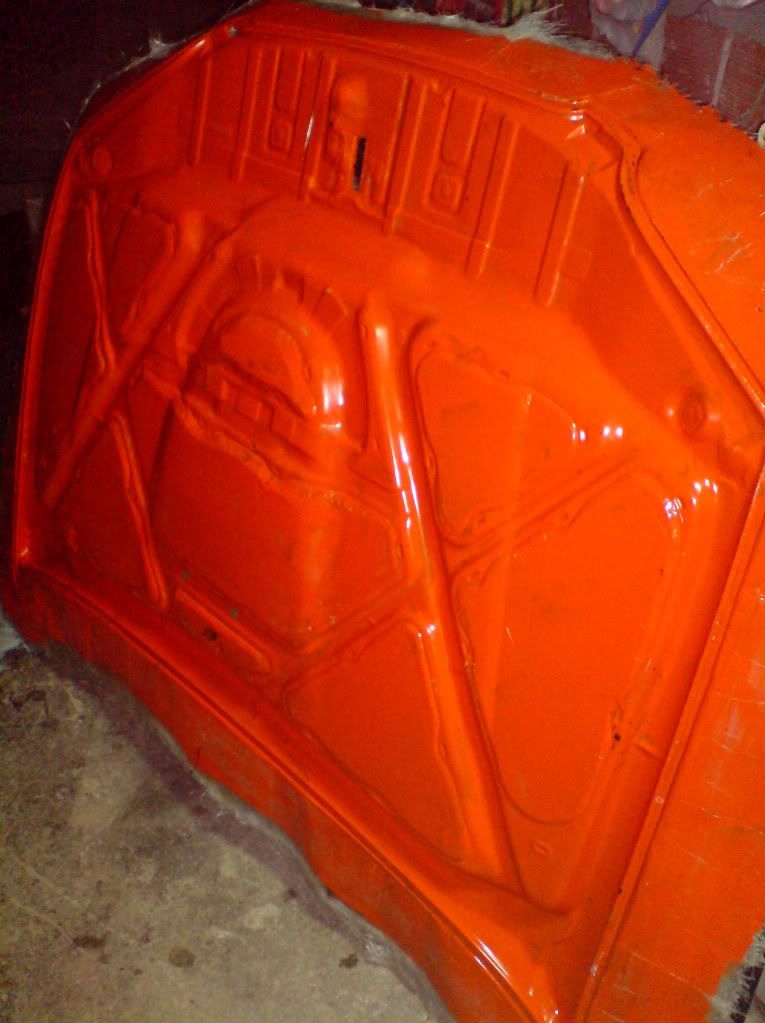
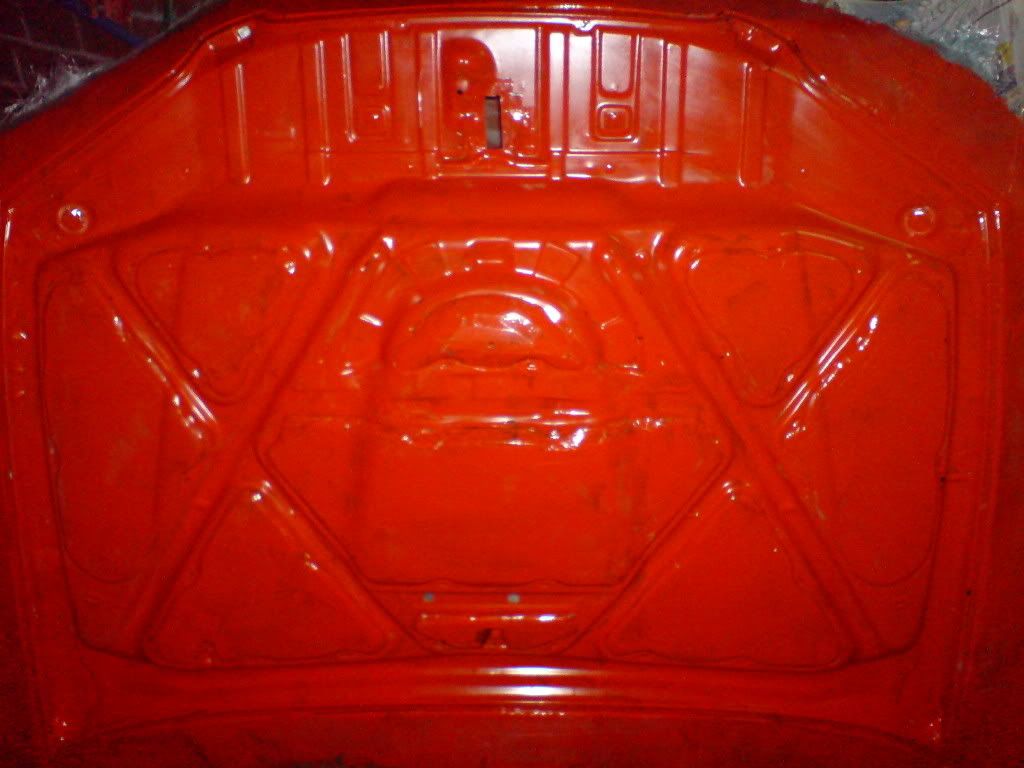
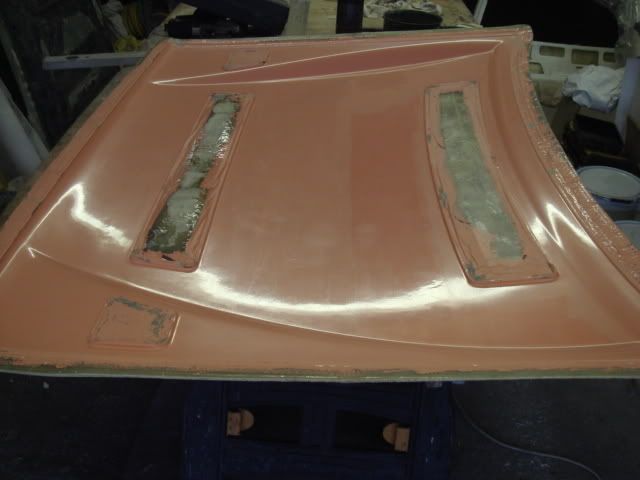
one of the first molds we made, its got too much depth because, frankly, we didnt have much experience back then, and it had some bubbles under the gelcoat which we broke and filled with auto body filler, then to have a better surface we painted it. its been sitting waiting to be painted for almost a year. i dont know what mold release will i use, probably pva, i got too little frekote to waste, especially since i plan to make only 1-2 products off it (for the moment)

sorry for the quality of the pics (cellphone) and the 90 degree angle on some (photobucket did it grr)

here’s how it looks like

i’m planning on making it in carbon with a V-joint in the middle , to match my carbon headlight eyebrows and front bumper lip (which also has a V.

Turned out really good… Any more pics? Im on my way to start a mold for my bonnet during the next week.

Very interested in how you’ve done your flanges.

the flanges were made out of cardboard covered in aluminum tape, and stuck on the underside of the bonnet. the gap filled with clay. this week i may start a carbon bonnet on it, depending on my free time…

My bonnet has a few 90º angles, so i was hopping you had a couple of pictures of how you decided to glue your flanges.

Anyway, i think i’ll managed to do something…

honestly i dont remember, it was one of the first molds i did. if i was gonna do it again i’d either use light cardboard and aluminum tape, or metal sheet… but i hate metal sheet cause i was cut one night , had do run to the hospital and get stitched up, and it sucked for several months.

anyway, tonight i demolded a piece!

black polyester gelcoat, 1 layer of 100grm woven fiberglass cloth, 1 layer of 290 grm twill cloth , in some places the pieces are overlapping, it was a bitch to lay up such big cloths on a sticky surface, and its got some carbon fiber reinforcements too.

sorry for the quality of the pics, it was late at night, thats why it’s untrimmed too (power tools will wake up the neighborhood)

coming up next: mold for the underside structure (i already had one but im gonna throw it away)

I used to make the pieces with no gel coat. Only on the mold i was using getlcoat. I guess it will look a lot better with the gel coat on the pieces too.

Thanks for sharing! I guess trimming is a bitch too. Hope you manage to get a few shots of the remaining work.

gelcoat is definetely worth it. even for parts that are going to be painted afterwards.

mold of the underside of the bonnet

looking good, i will keep an eye on this as it is something i will be doing in the future!!

Why are your molds orange? You just sprayed them or is it a special coating?

Thanks John

the top one was originally black, but we did some filling and sanding, and then painted it red. the bottom one, i used an orange tooling gelcoat. most of the parts i make are black, so it’s easier to see what you’re doing on an orange surface (the only colors available for tooling gelcoat at the place i shop is black and orange)

I thought I was the only one with orange moulds :wink:

I got some orange pigment for a job and just use what I have left mixed with white gelcoat for my moulds, I like the streaky marble effect. :smiley:

heheh… nice mold.