Well, I’m brand new to composites and just got my first orders of 12k tow, mold making supplies, epoxy, a few yards of texalium, a few yards of fiberglass, and a bunch of other stuff. I thought I’d share my first projects and get some feedback to help me out in the future.
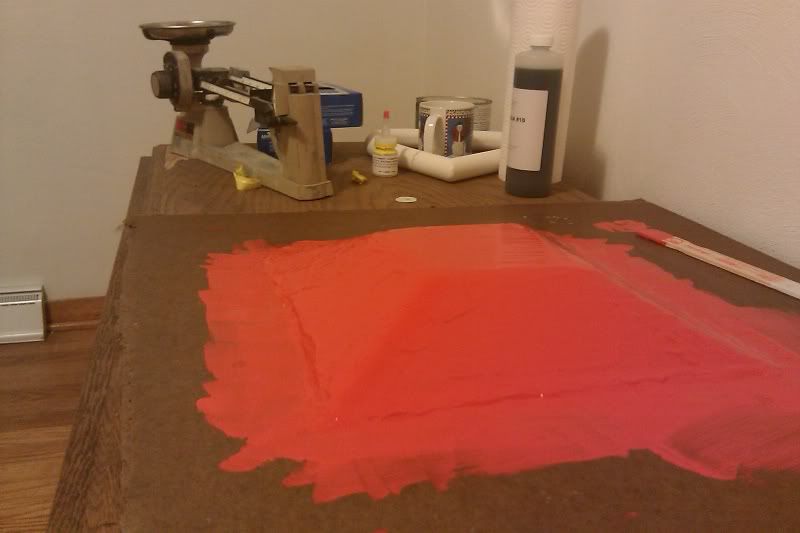
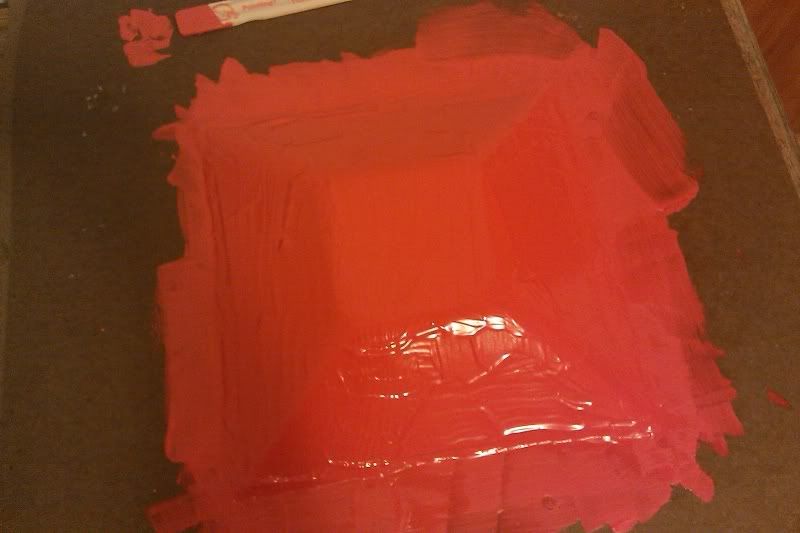
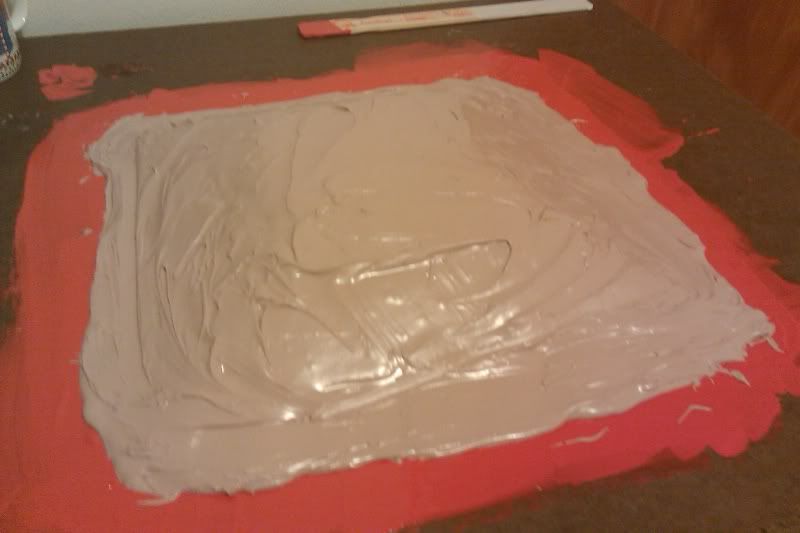
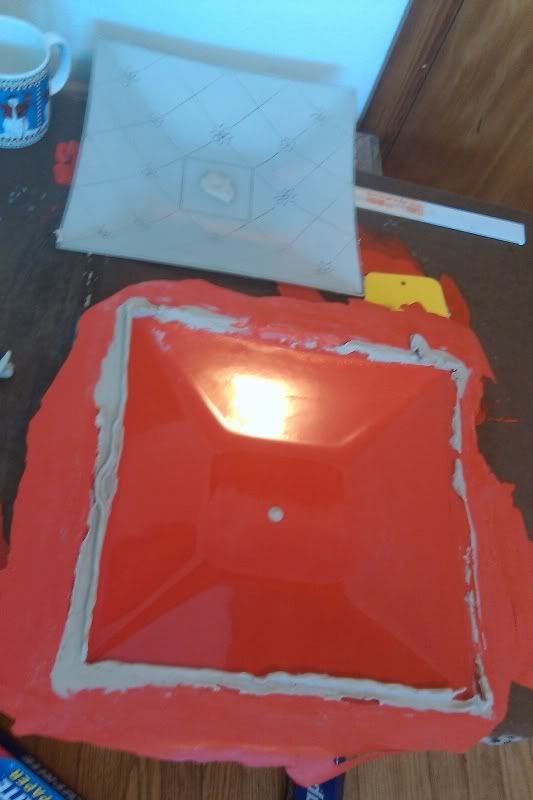
First, I decided while taking down an old light fixture that it had a really cool shape for a decorative bowl. I decided this would be my first mold. I set it on hardboard with clay around the outside and covered the hole in the middle. I left a little gap between the clay and glass, not enough to let gelcoat through, but enough to make an indented line in the mold so I know where to cut the edges of the bowl when it comes out. I waxed the part and the board about 5 times and applied a layer of PVA. I put a layer of gelcoat on the glass and realized it probably wasn’t going to be enough after it sat for a while and I could still see clay through it. I waited about a day and then filled my gaps with another coat and extended the flange a bit. I let that get mostly cure and just used bondo on the back of the mold since I had that laying around and this isn’t necessarily a mold that will be heavily used, just more a learning exercise. I’ve got to say I’m very pleased with the practically mirror finish of the mold. The glass pretty much slid out of the mold and left a really good result. I’m not impressed with the one rough spot in the mold where the circle of clay is in the middle. That doesn’t concern me since that will be the bottom of the bowl. I’ll figure out how to prevent that from happening in the future when it does become important. The mold still needs to be cleaned up and trimmed down.
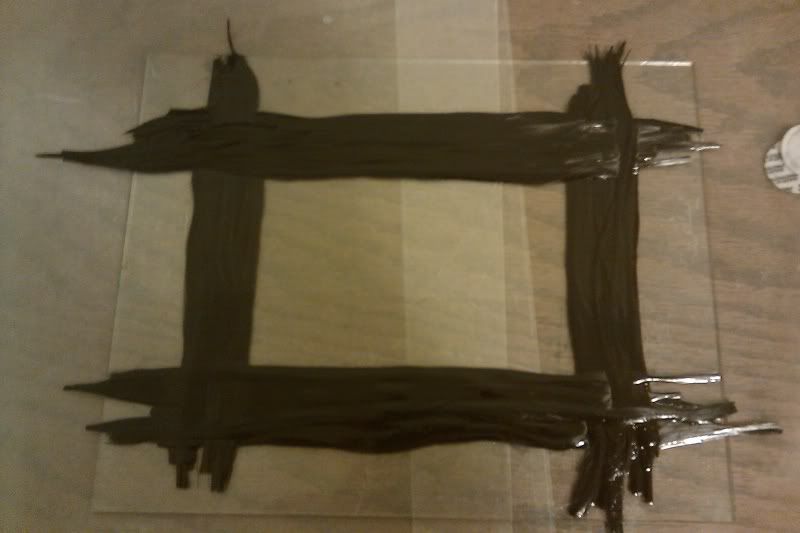
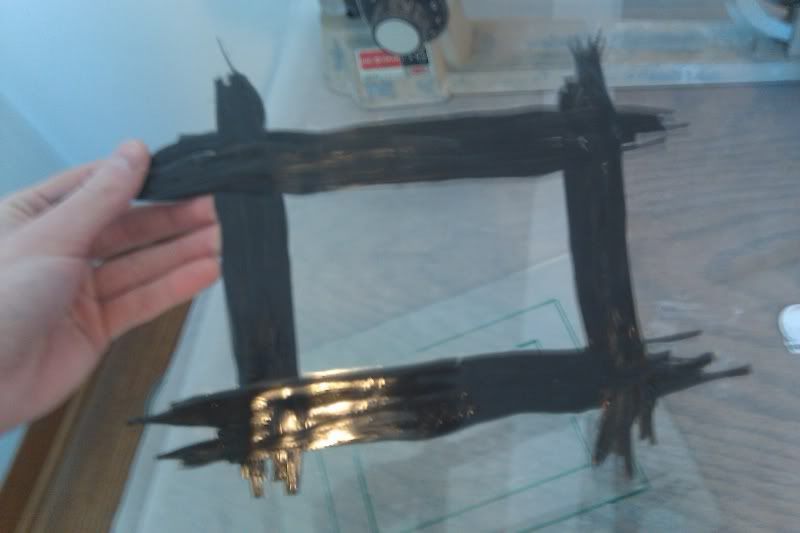
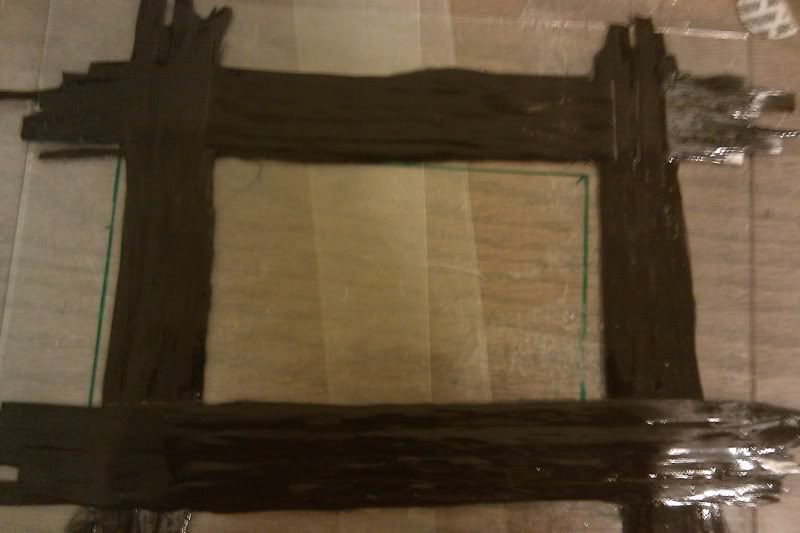
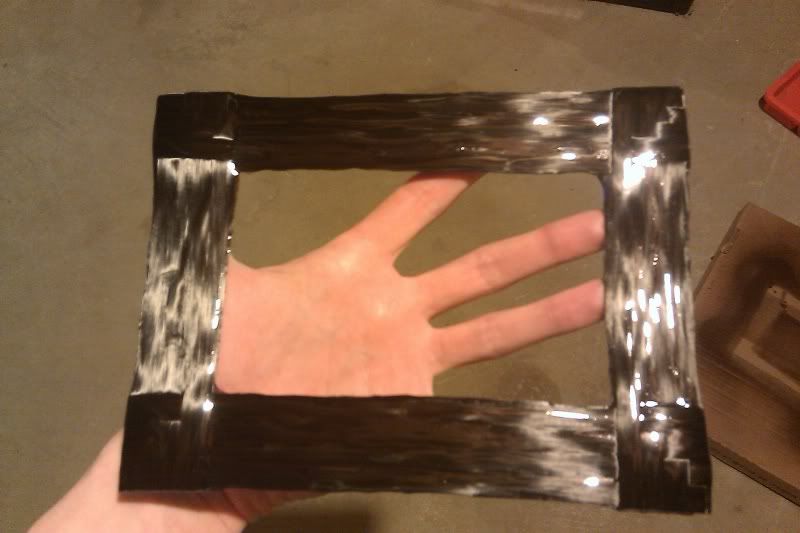
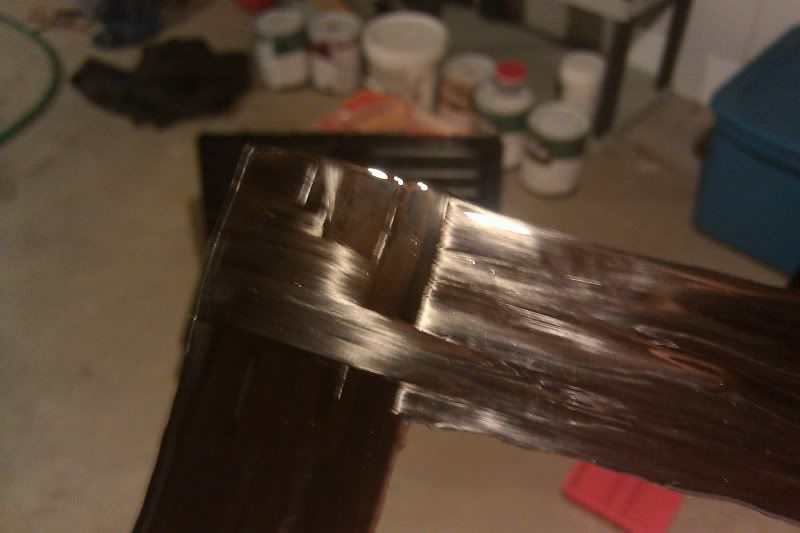
Since I got a couple rolls of tow (12k and 24k) with the intent to make some small stuff and at some point furniture, I decided to try laying it up as a picture frame as my first project. I traced the dimensions on the back of a sheet of glass as a template and then I applied PVA on the other side. I cut several pieces of tow to size and put them on a piece of wax paper. I decided to wet the tow out on the wax paper based on what I read about working with tow. I just laid the pieces onto the glass overlapping the different sides so they would really stick. I noticed that the tow got pretty wavy as I was laying it on the glass. I let it cure completely and took it off the sheet to see a paper thin, somewhat flexible shape. I’ve since sanded it down and I’m going to apply a few more layers to build up thickness and make it more rigid. I’ll trim it down with a dremel to the picture frame dimensions that it should be. I figure at that point I’ll wrap tow around the frame just to give it an interesting design. I’ve decided not to wet that out first and rather coat the frame and just wrap the tow tightly around it. After that I will coat the tow with a layer of epoxy on top and I won’t have to worry about distorting it. Looking back, I probably should have sandwiched it like a flat panel between sheets, but I didn’t think of that at the time.