to be honest i revived the thread because a friend of mine tries to convince me to help him with a project trackday car he has and he wants me to make him a cf hood, side doors, rear door and side panels and i’m also hesitate of getting involved with that due to the freezing cold we have right now. so i thought that through your experience with that would help me to decide lol
I got tired of waiting for it to warm up here in the Midwest…temps were around 43-49 today so I said what the hell:
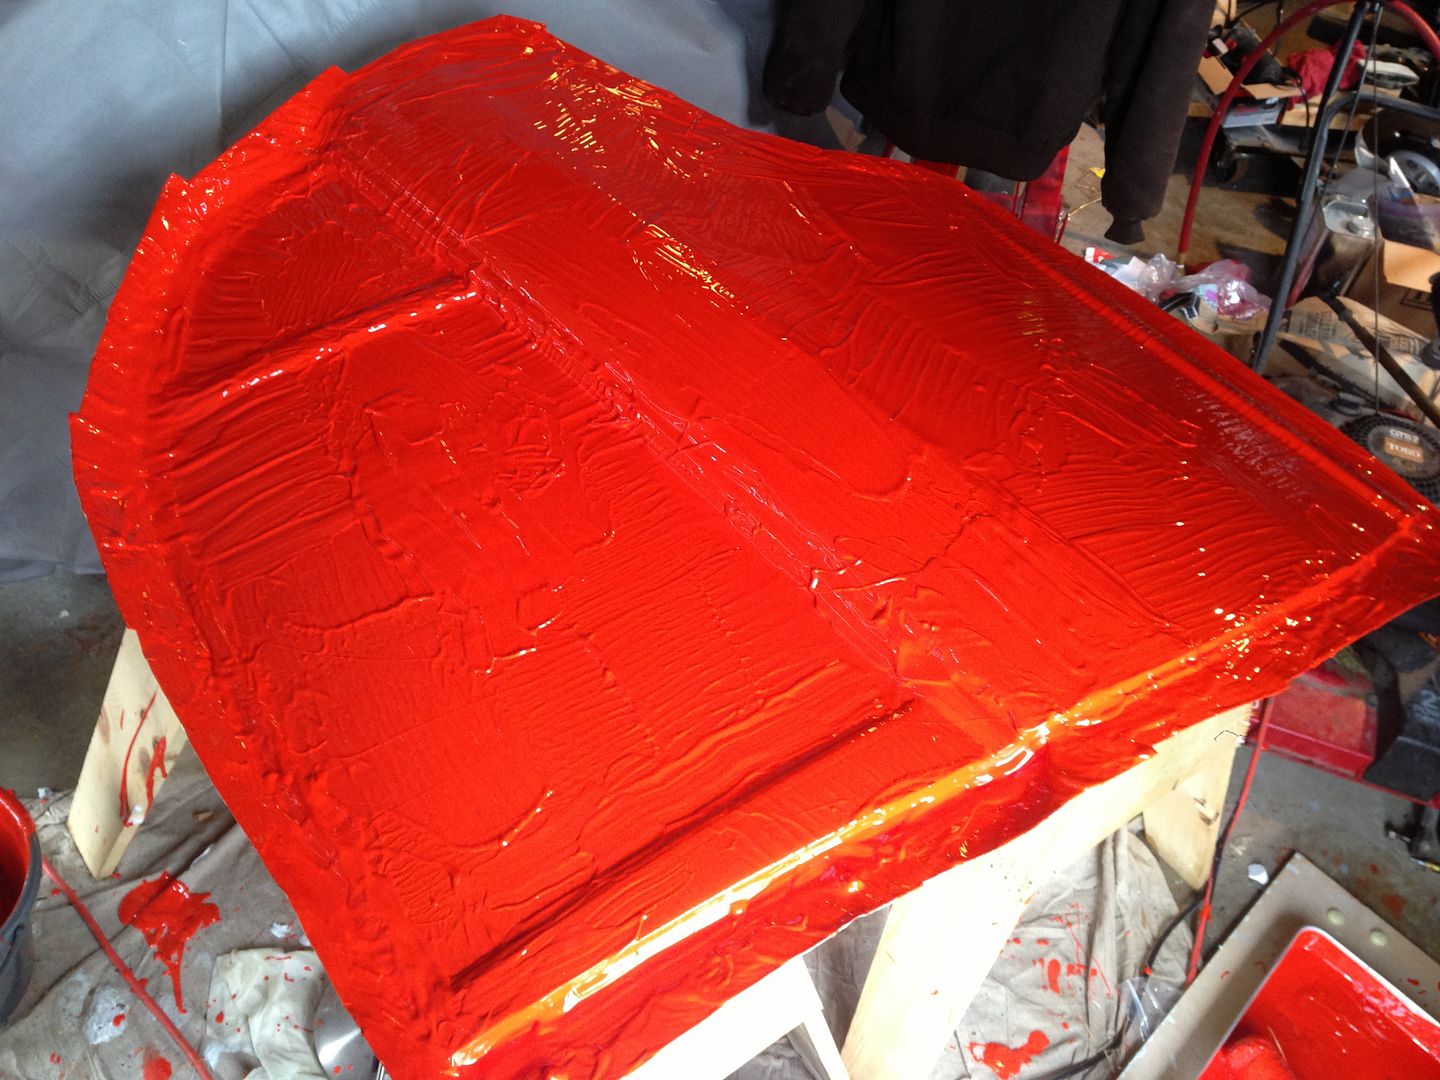
I had success this winter applying gel coat in my basement (temps around 50*) then letting it cure overnight in the garage (temps -10 to +10)…so I figured I’d give it a try on a larger scale with slightly warmer cure temps (low should be in the 30s tonight).
I got tired of waiting for it to warm up here in the Midwest…temps were around 43-49 today so I said what the hell:

I had success this winter applying gel coat in my basement (temps around 50*) then letting it cure overnight in the garage (temps -10 to +10)…so I figured I’d give it a try on a larger scale with slightly warmer cure temps (low should be in the 30s tonight).
BlacknDecker
I worked with polyester resin in Wisconsin when it was around 50 degrees. Although all resins are different I had to overcatalyze it by double and put it under a heat lamp to cure.
Keep us updated on your progress!
I thoroughly mixed one gallon of gel coat with 1.5 oz MEKP. The spec sheet recommended 1 oz MEKP per gallon gel coat at 70*…so I added 50% extra.
Here is the project I completed during the winter…It is a center feed lower plenum for my intake manifold. Here is the original intake manifold:

I waxed the aluminum lower plenum then applied gel coat liberally with a brush:
Clayed up:
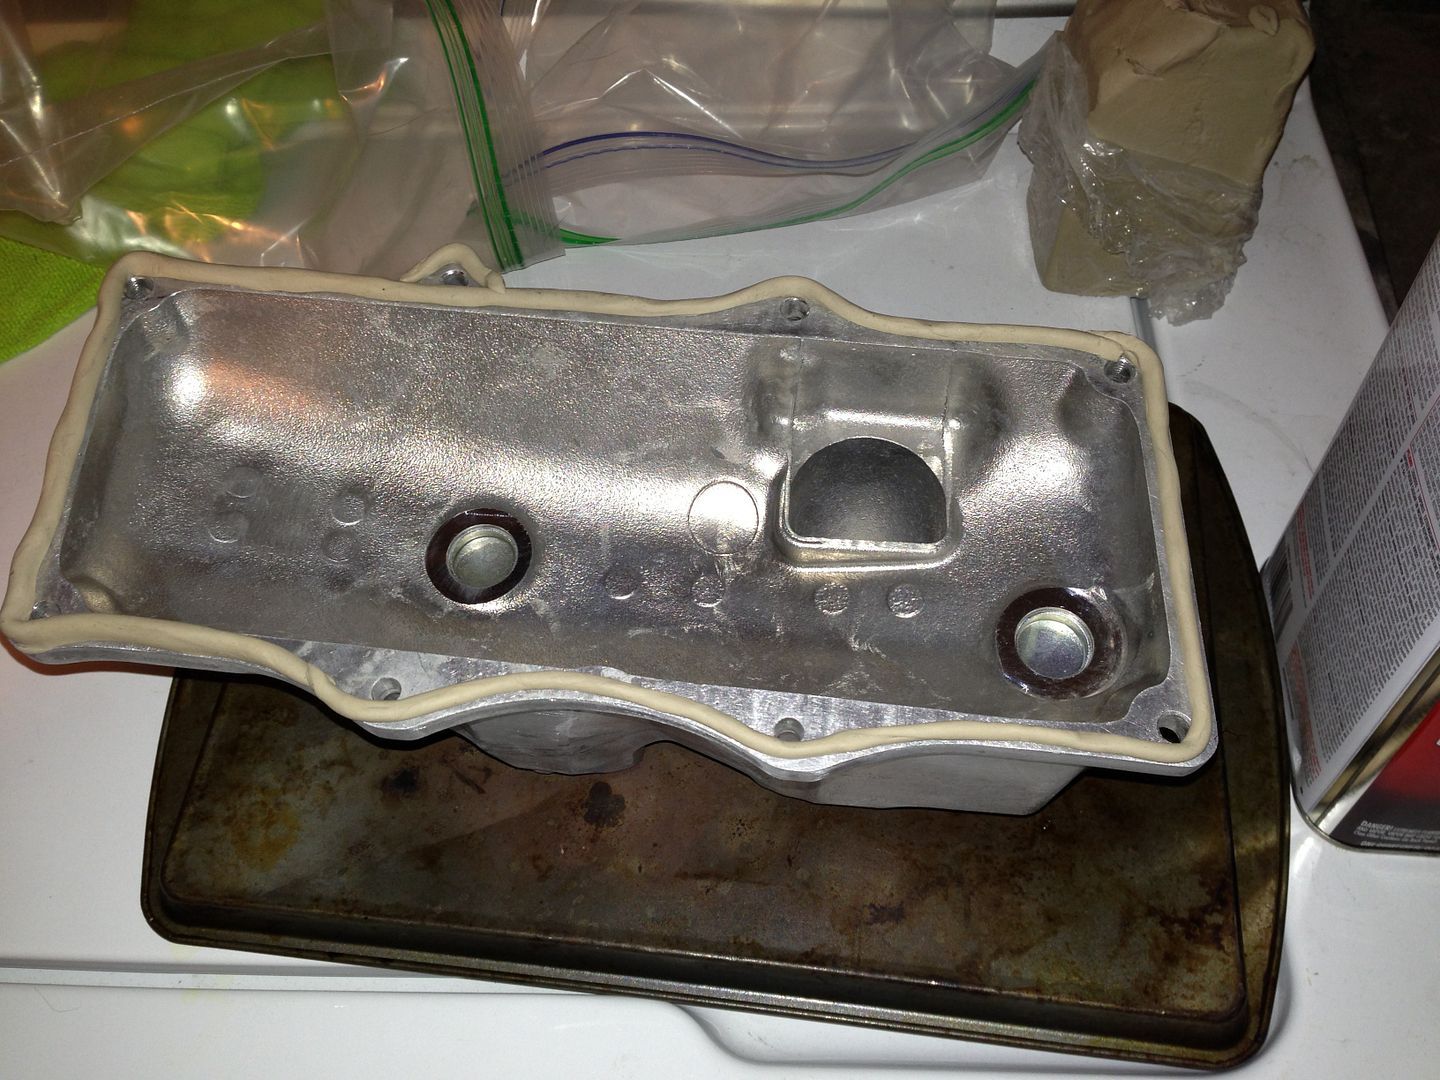
Shaping the lower edge:
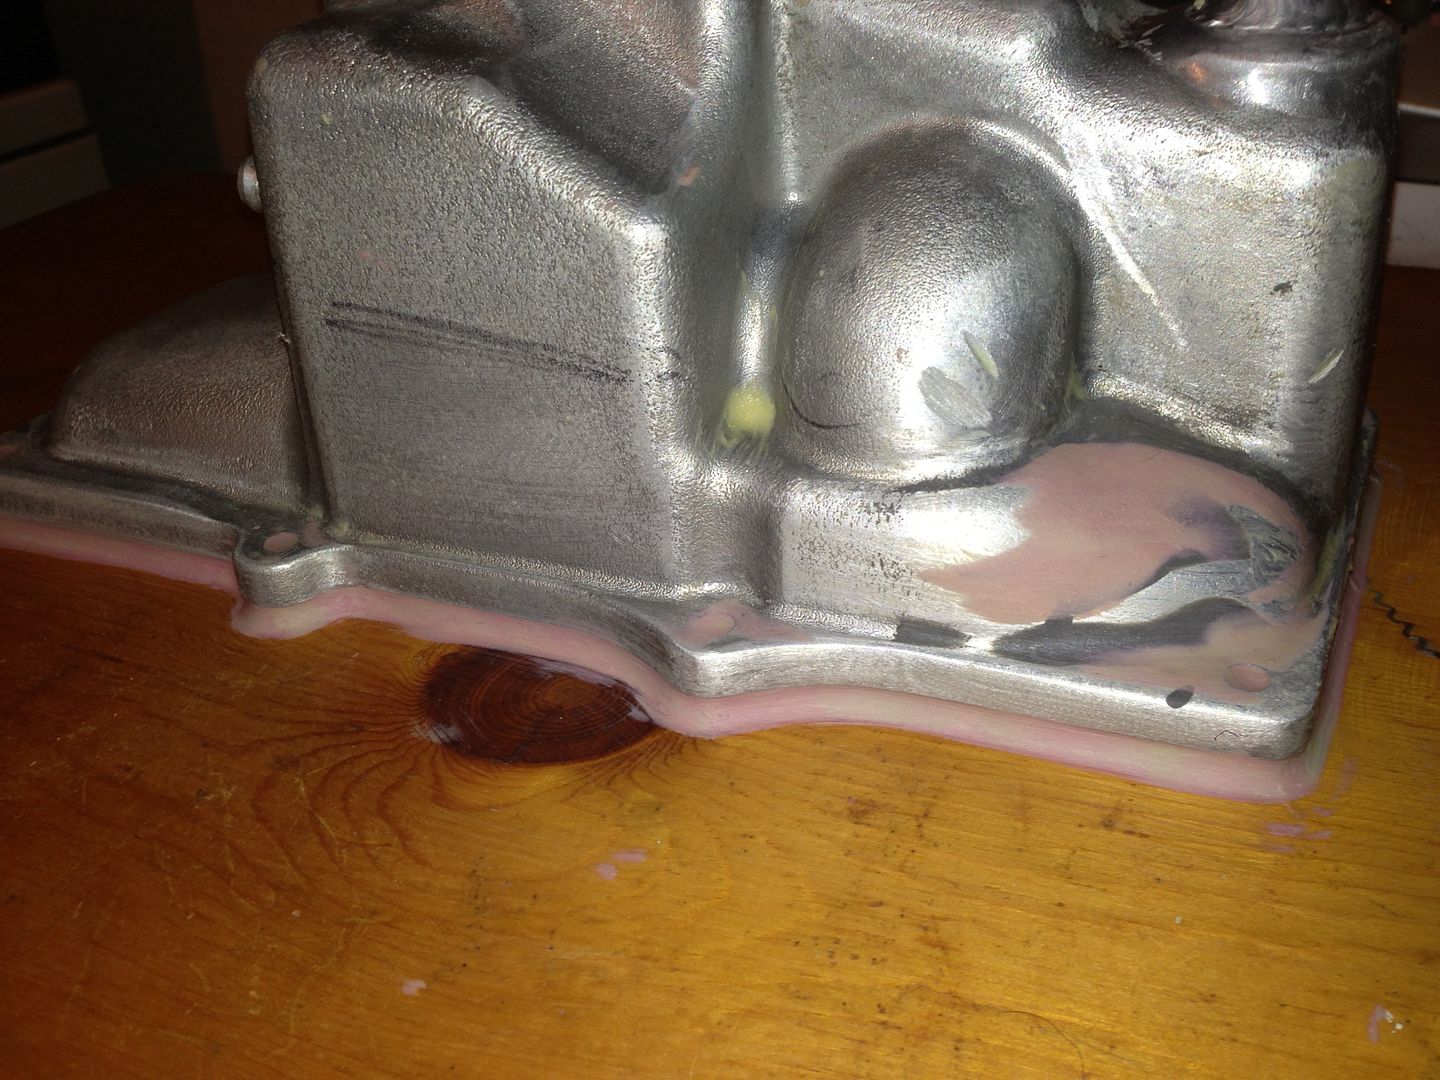
Waxed it, flanged it, and laid on some gel coat:
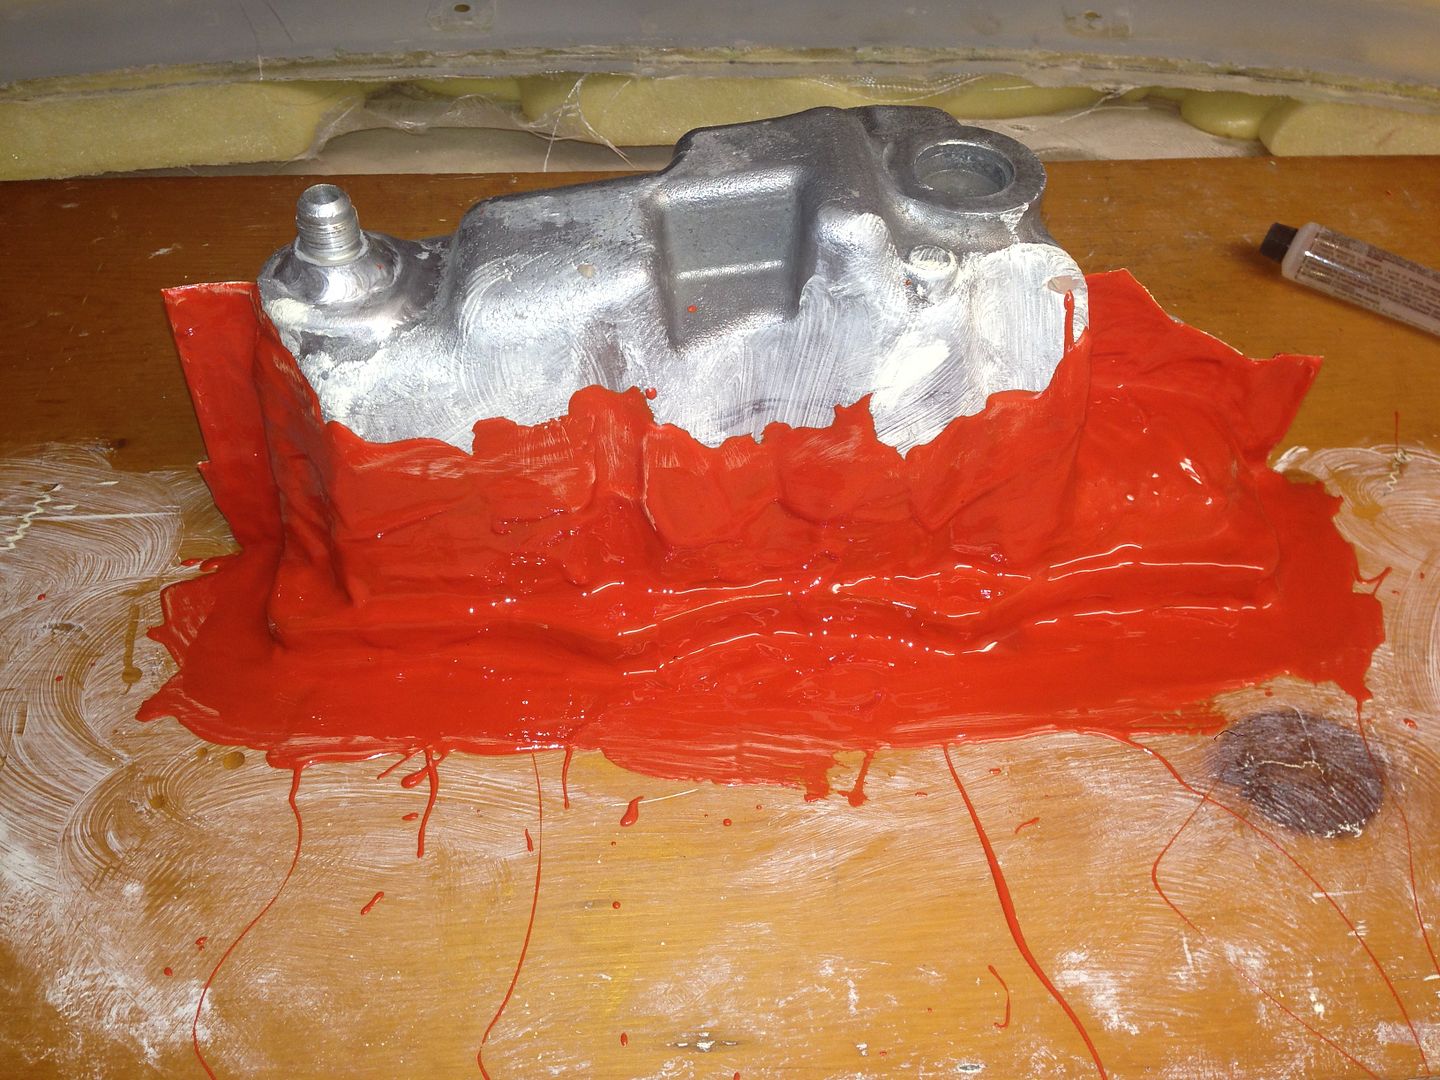
Let the gel coat dry and reinforced it with some csm:
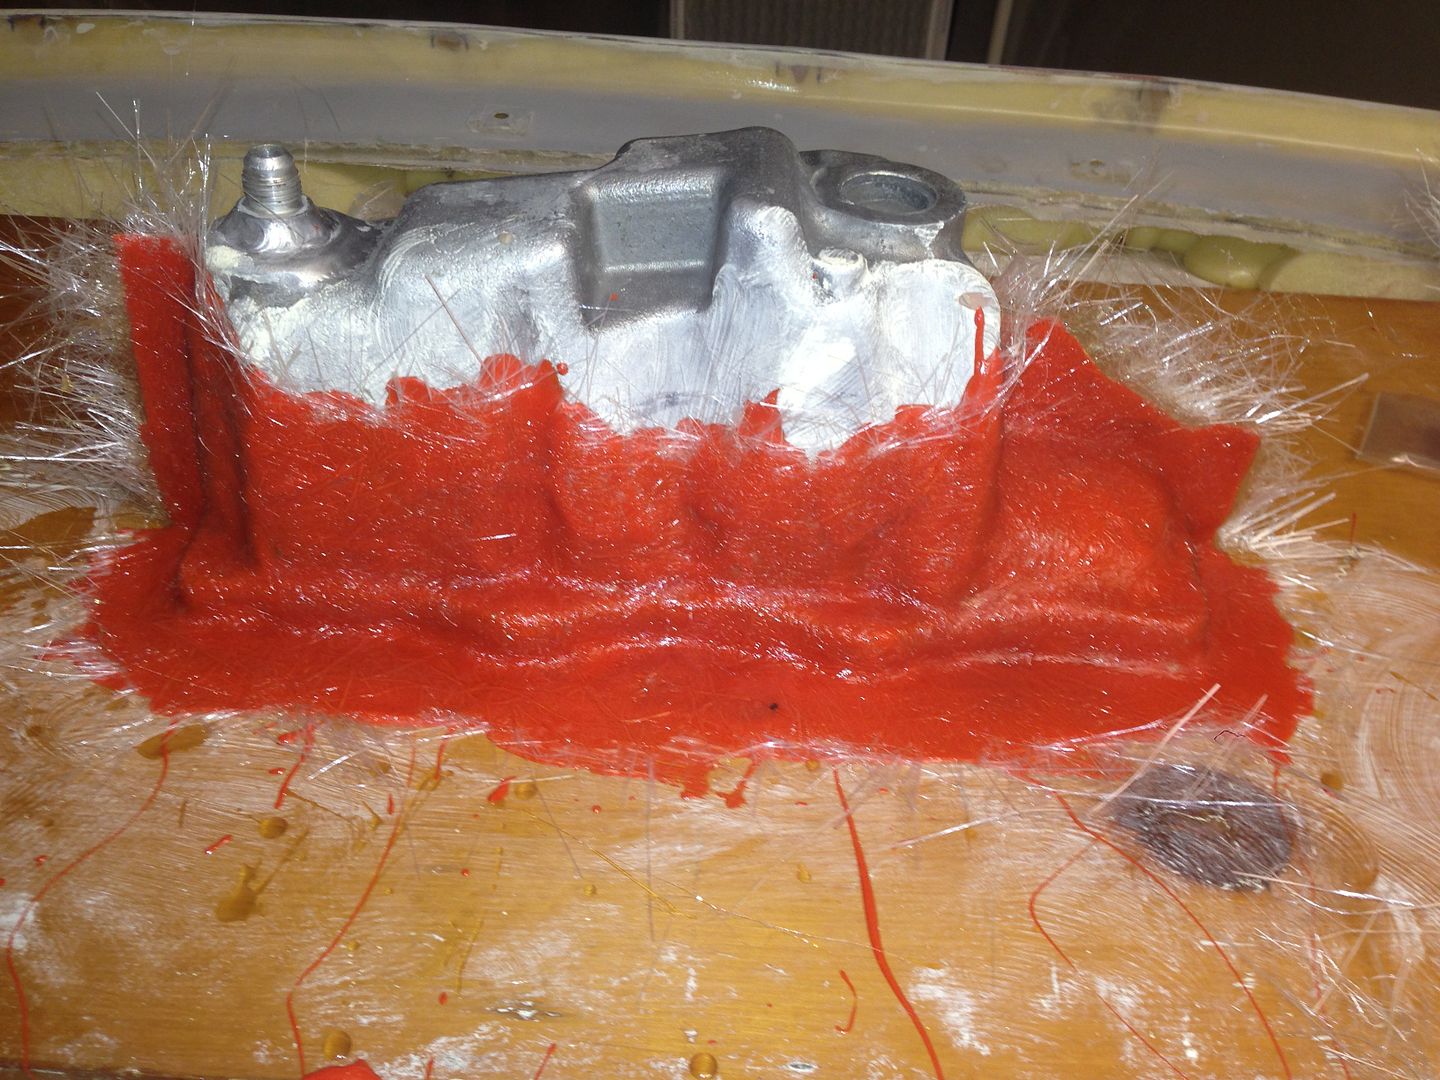
Then gel coated the other side…
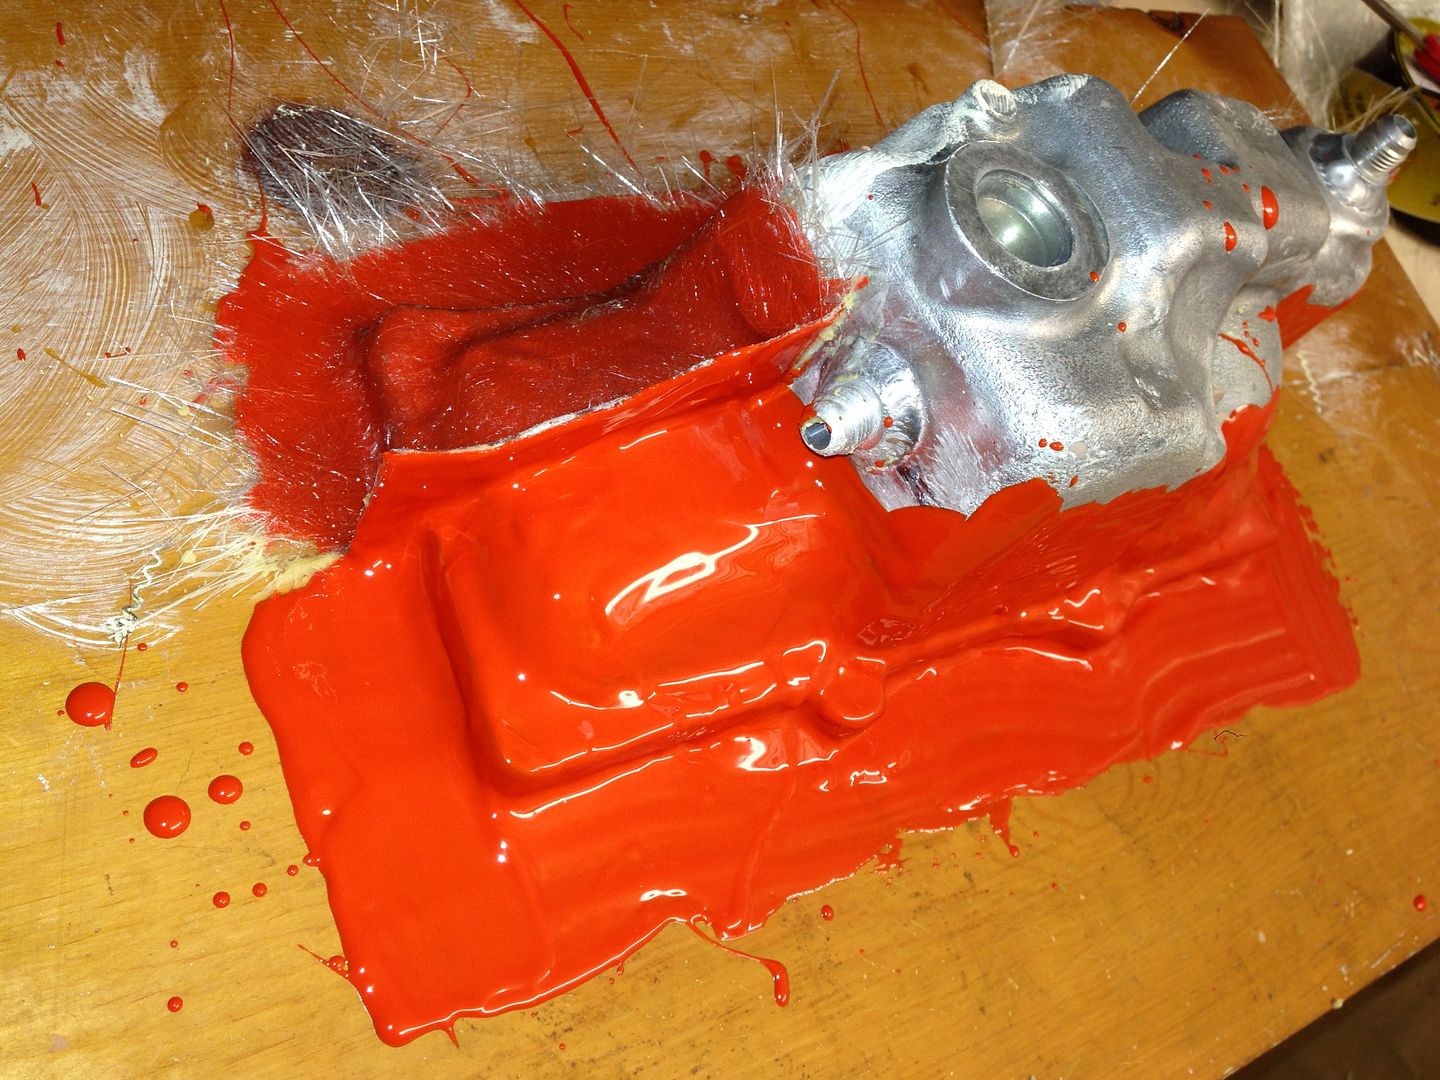
And reinforced it:
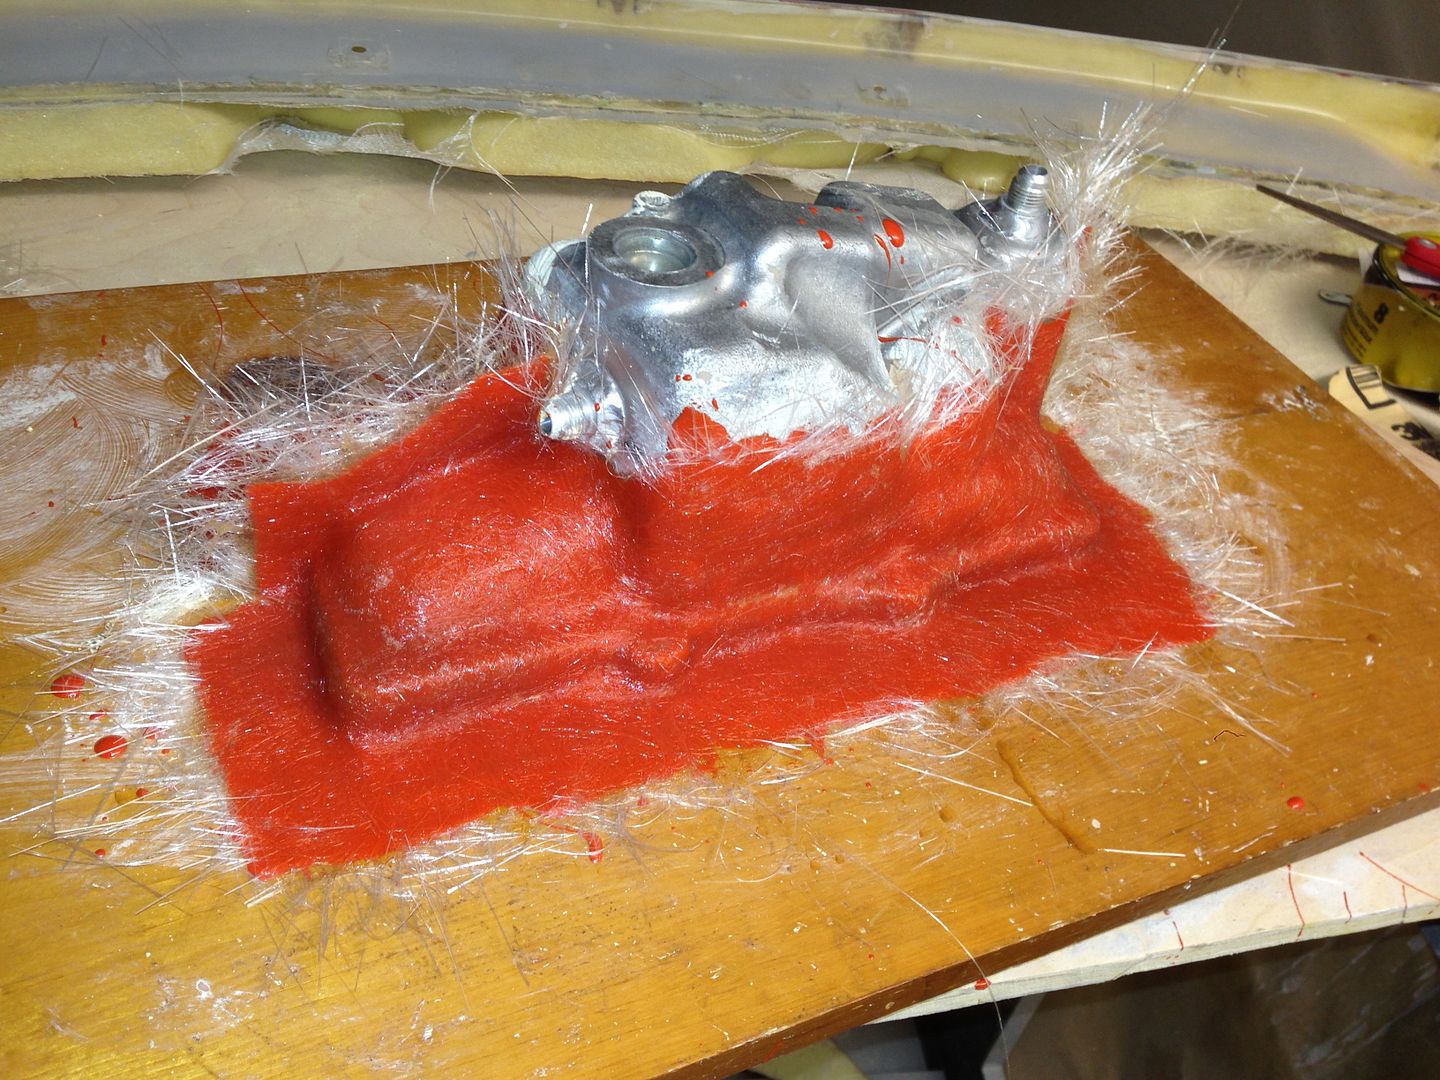
Then let it dry overnight in my subzero garage:
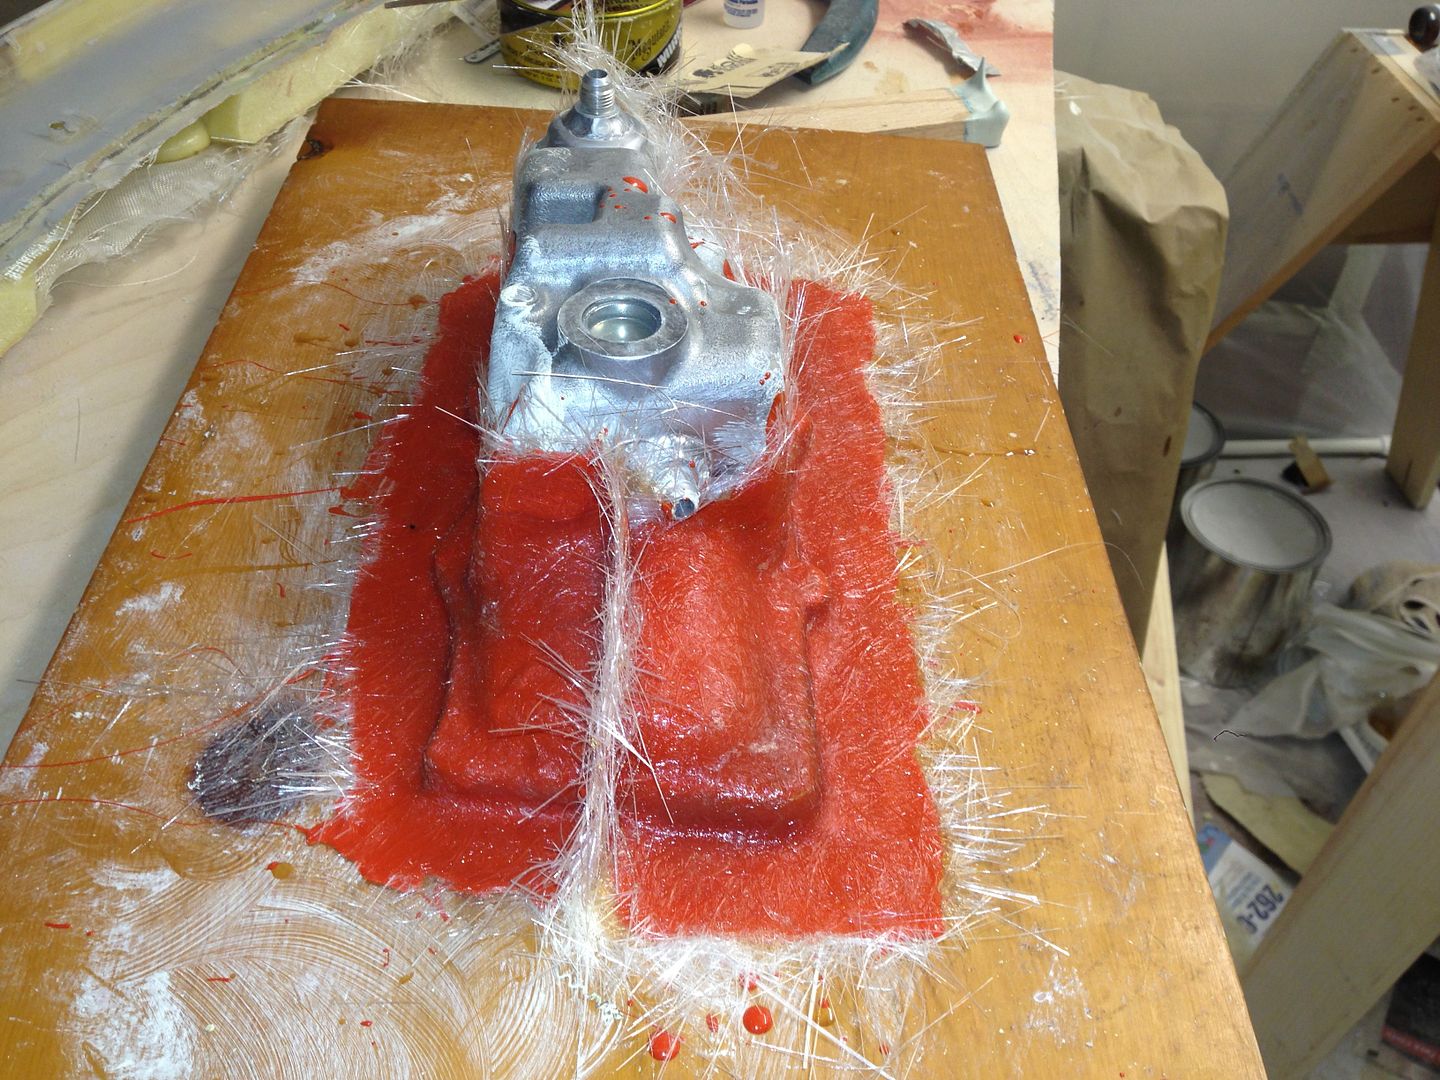
Here is what the molds looked like…they turned out pretty nice considering I made it in the winter and allowed it to set in subzero temps.
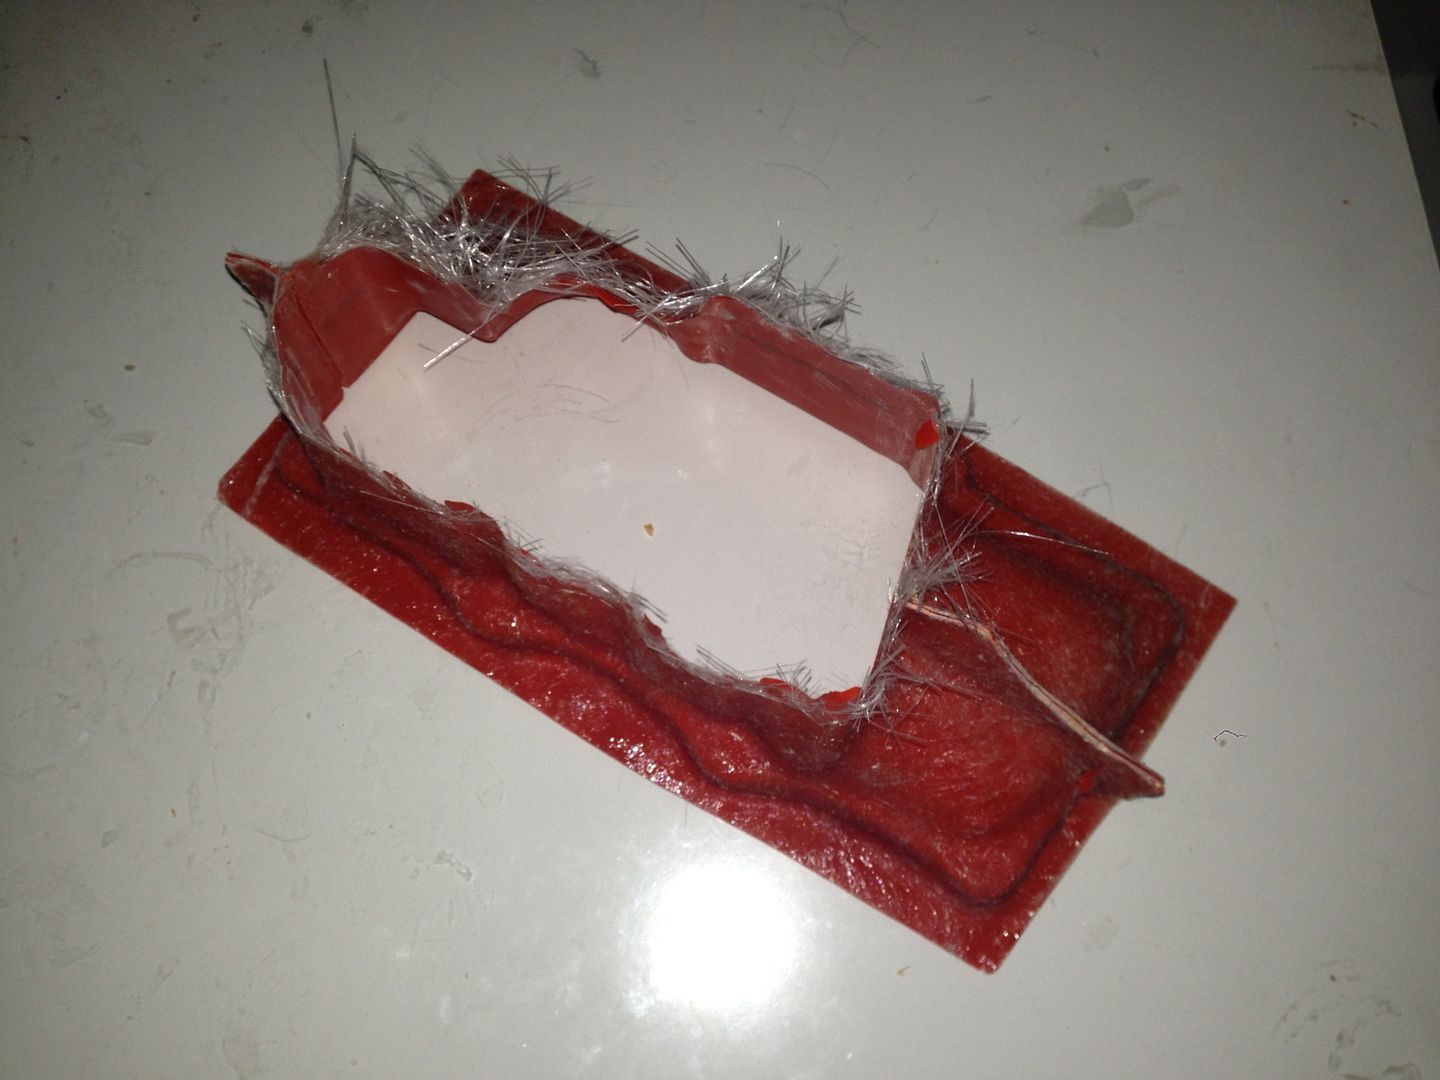
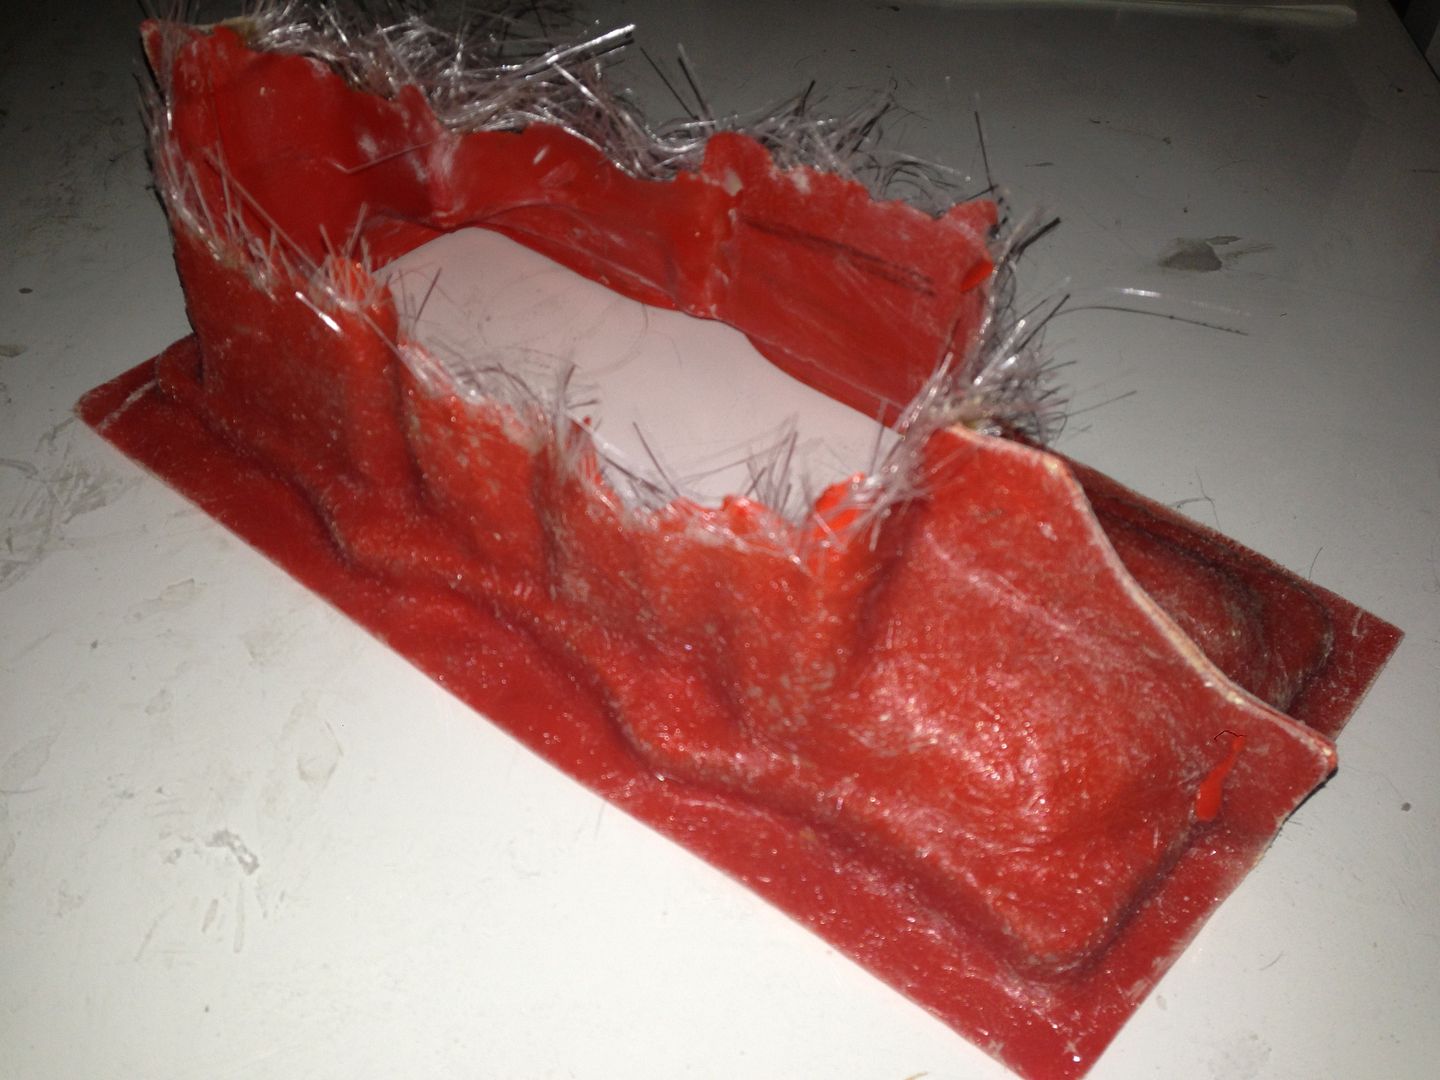
Inside views:
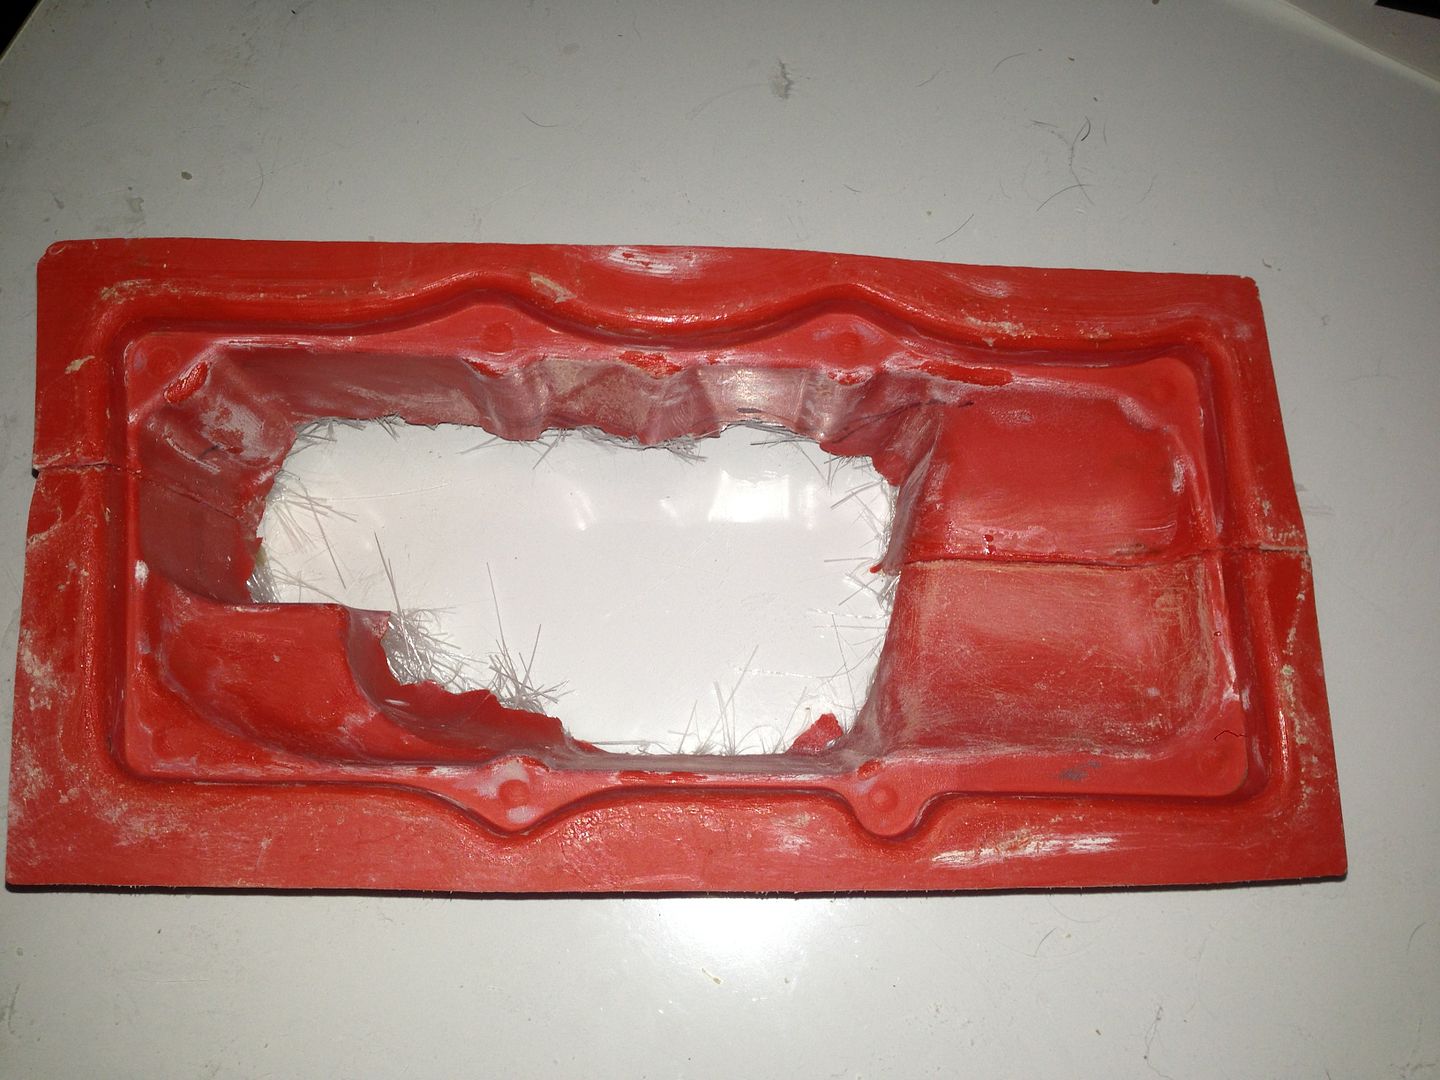
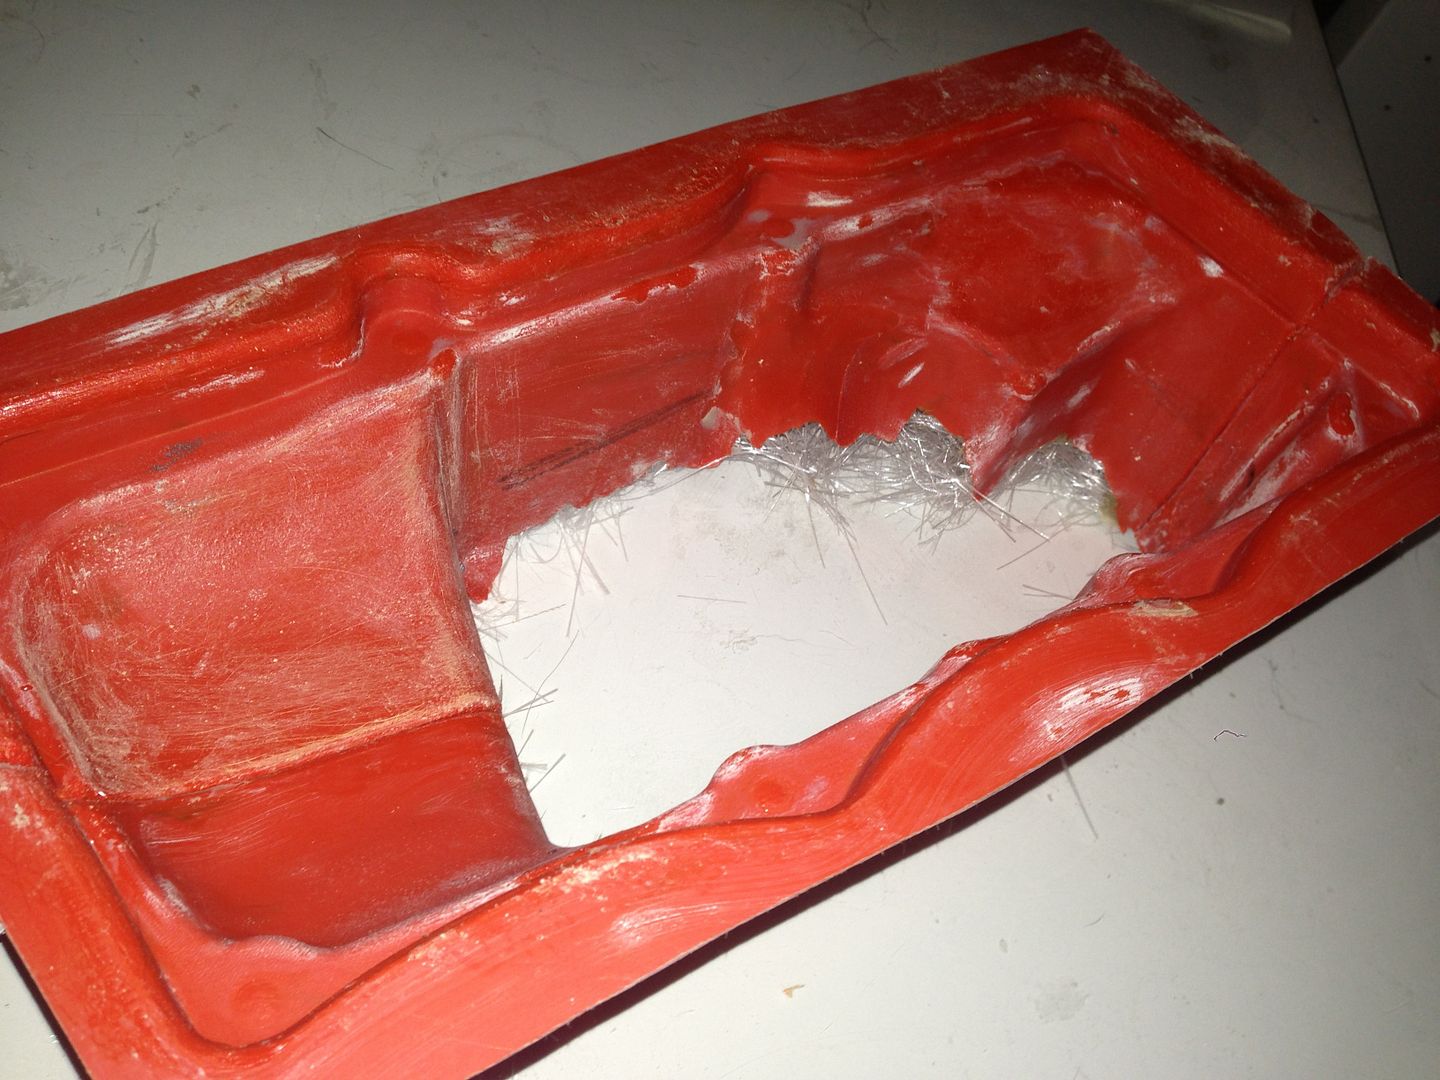
This is the first mold I’ve ever successfully made so I can’t even tell you how happy I was when it pulled cleanly:
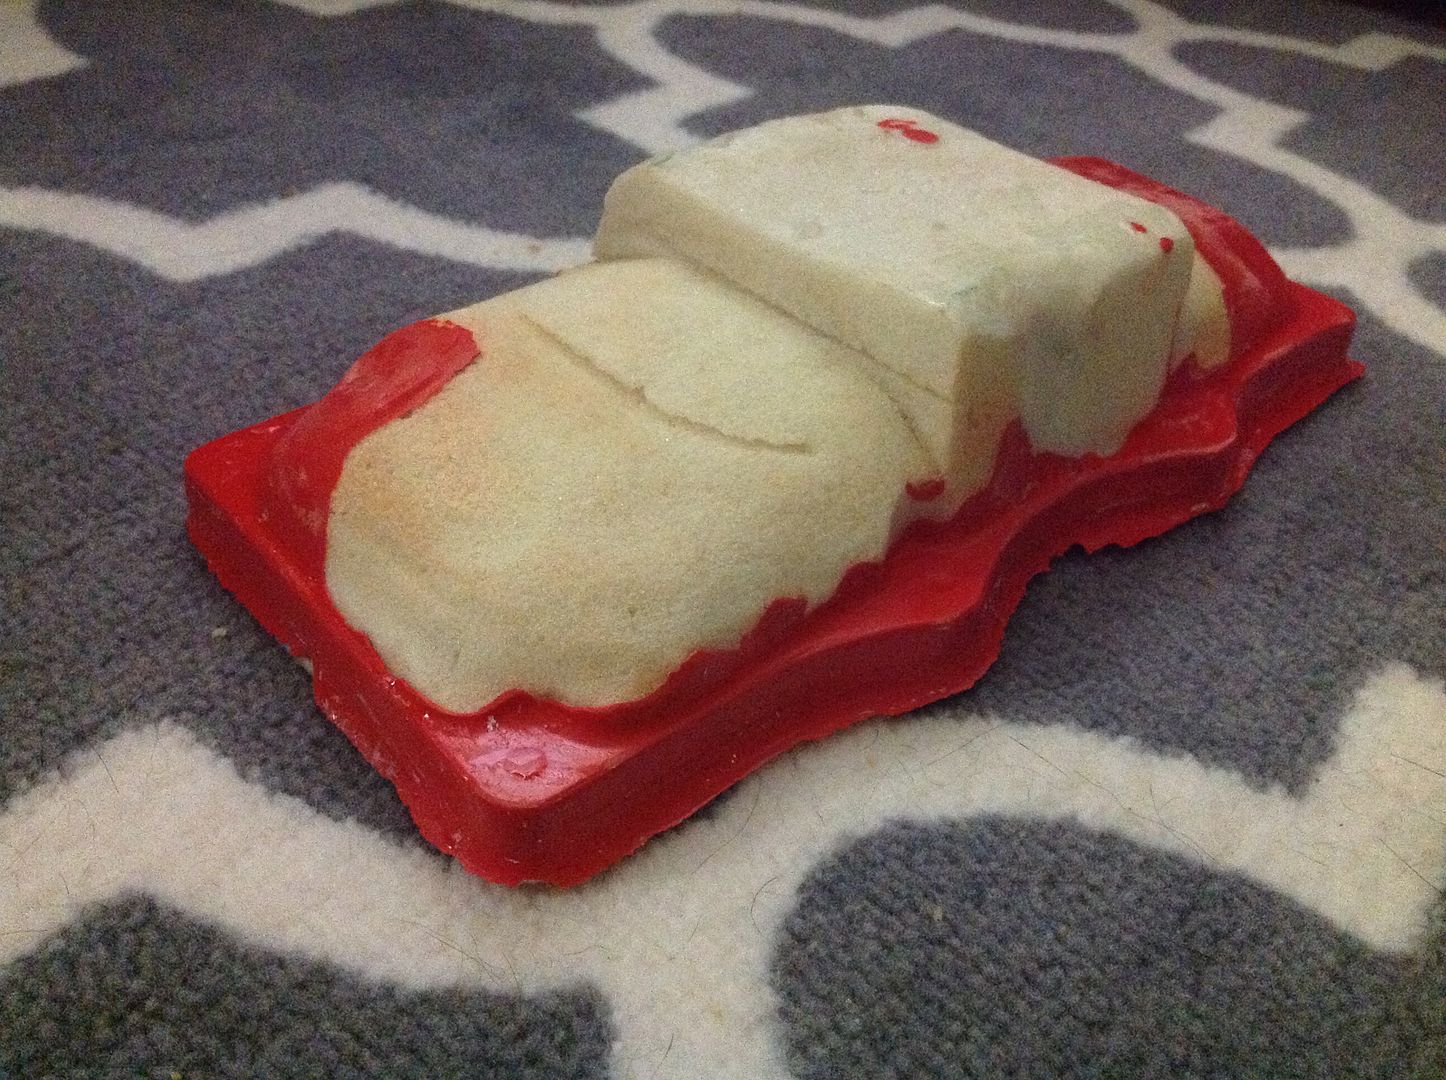
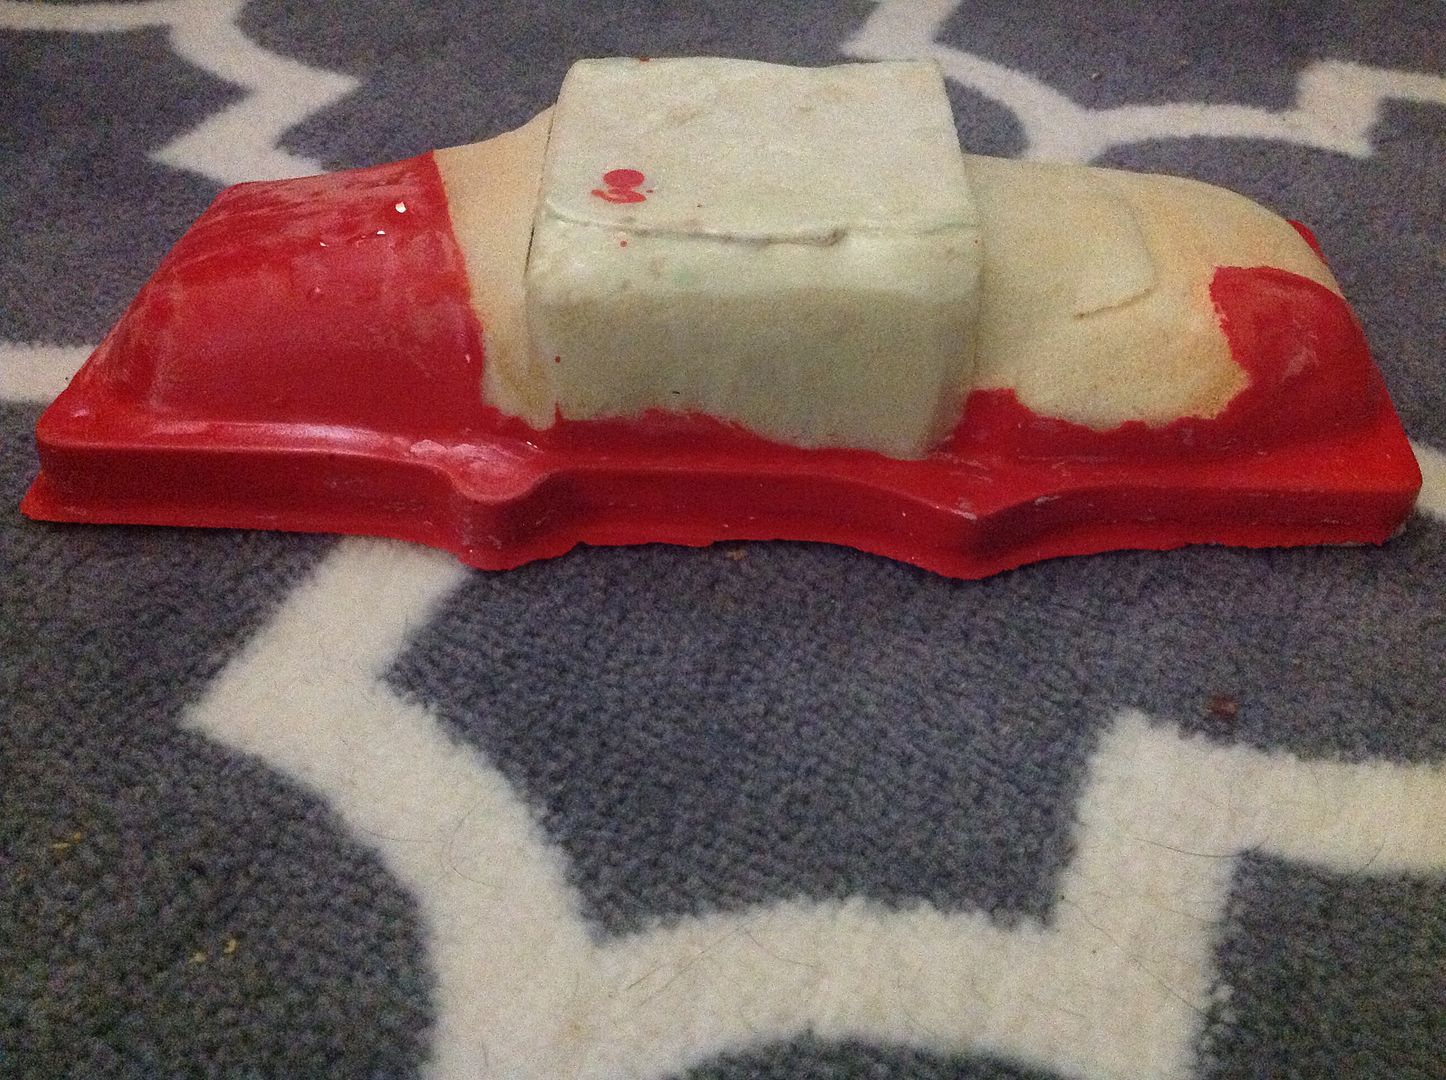
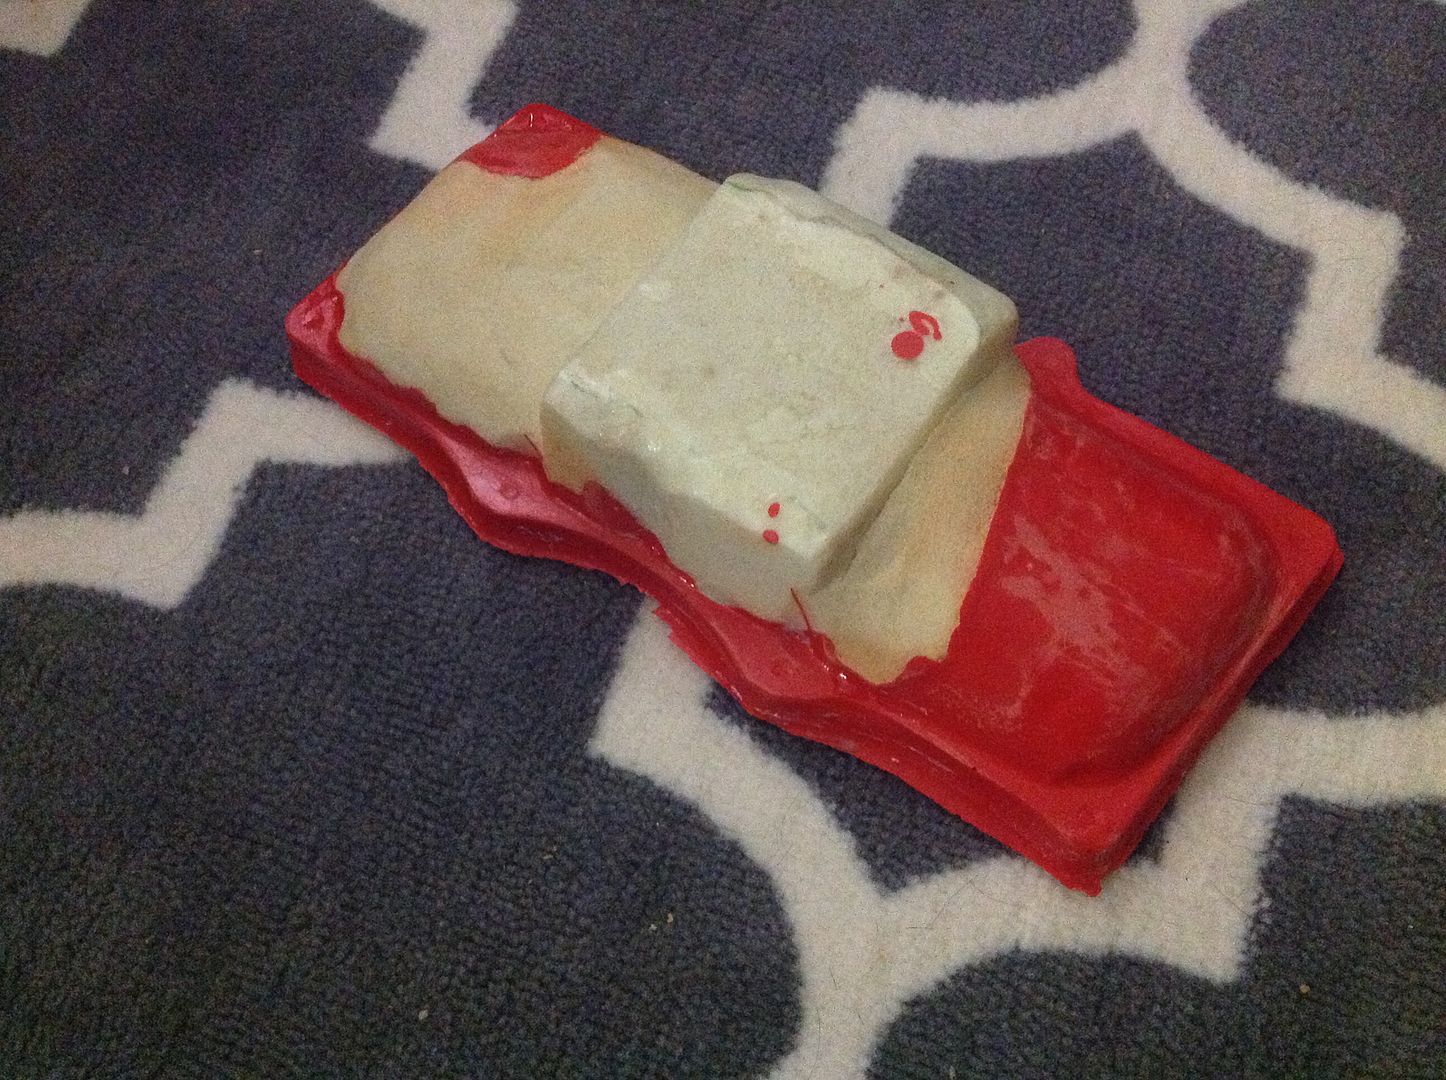
Eventually I foam filled the whole thing and then added a cylindrical tube (or elbow) for the throttle body attachment. The “elbow” is bigger around than my forearm…and I have pretty big forearms. This thing is gonna move ALOT of air:
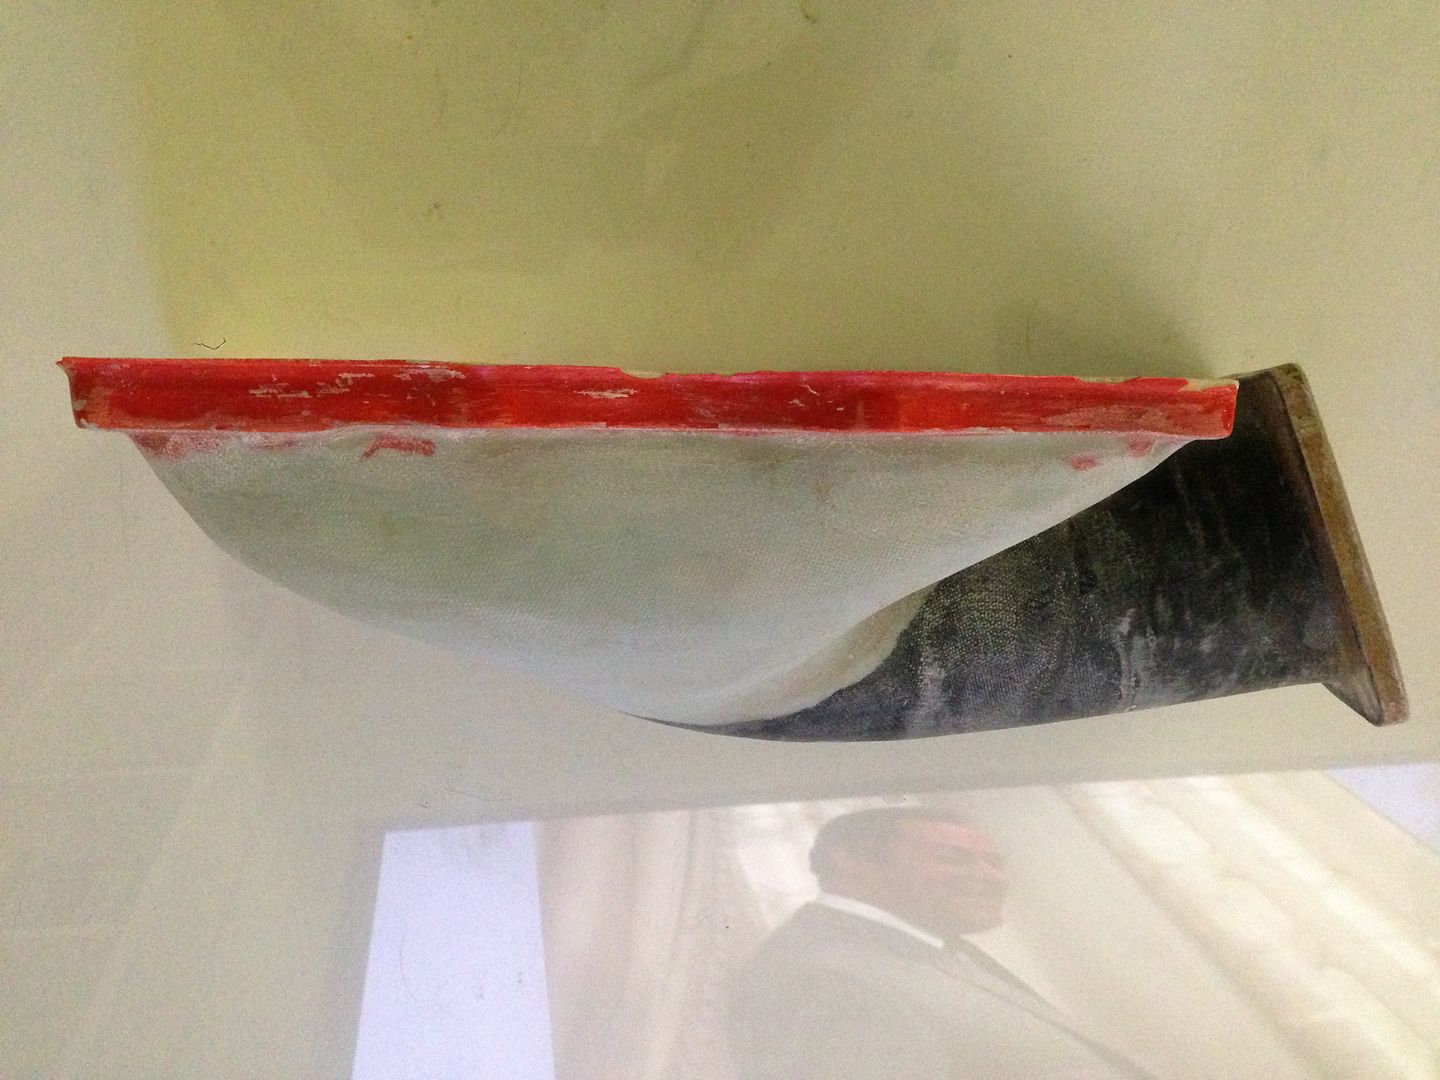
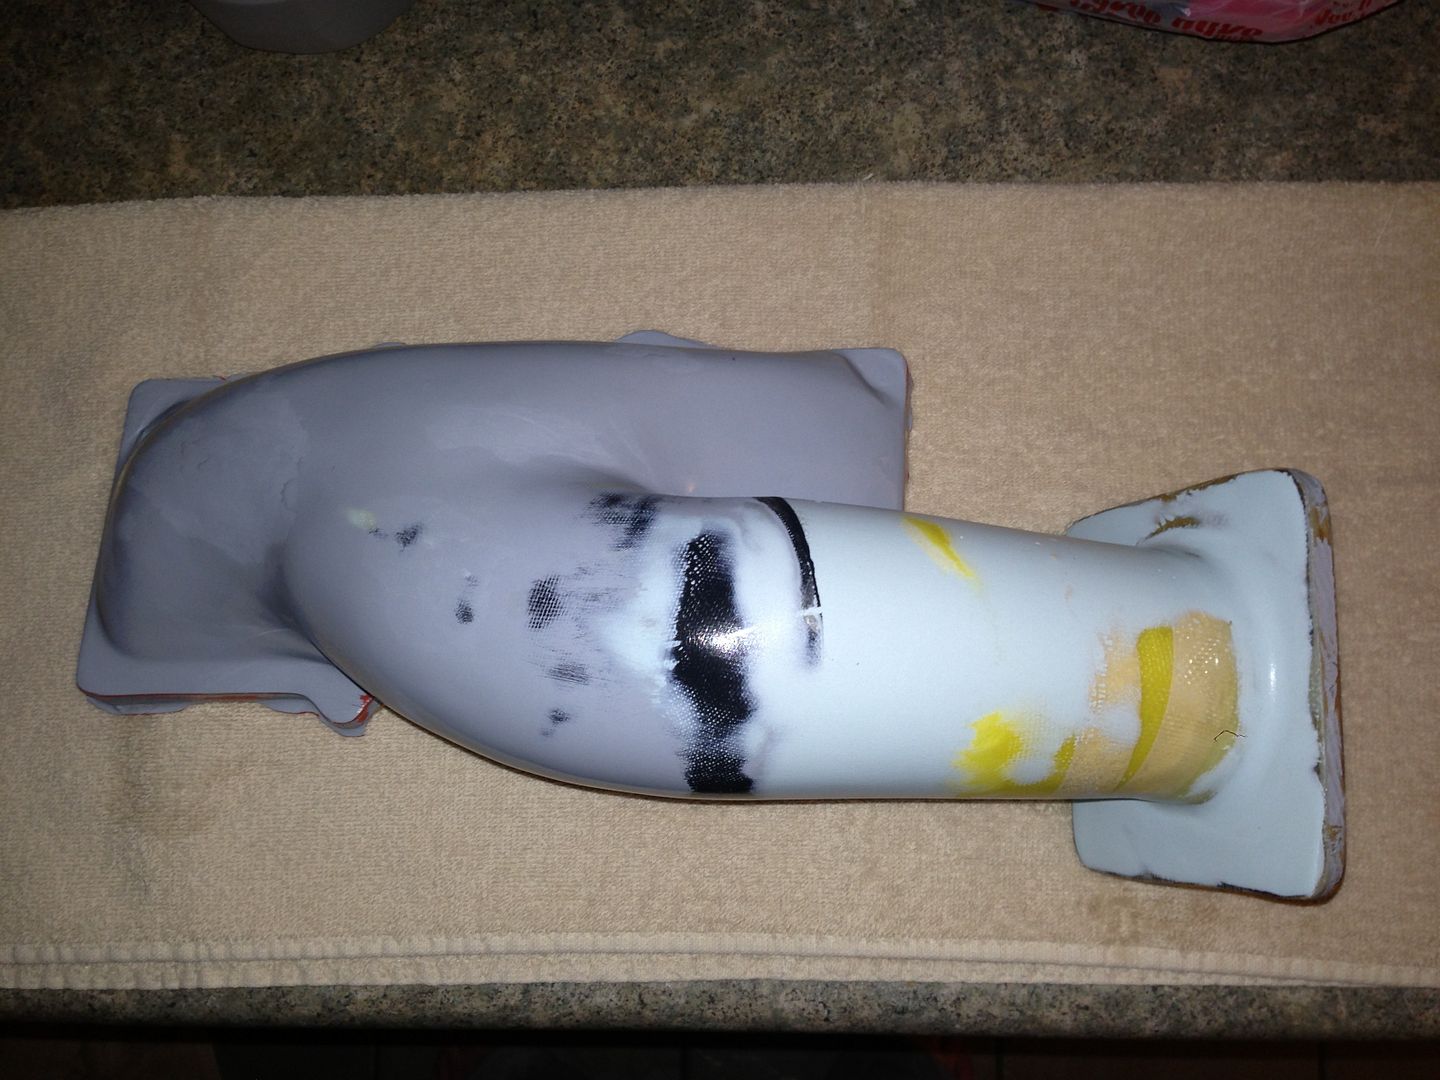
I drilled the holes for the mounting bolts in my custom lower plenum. Not much left to finish up now. It’s basically done.
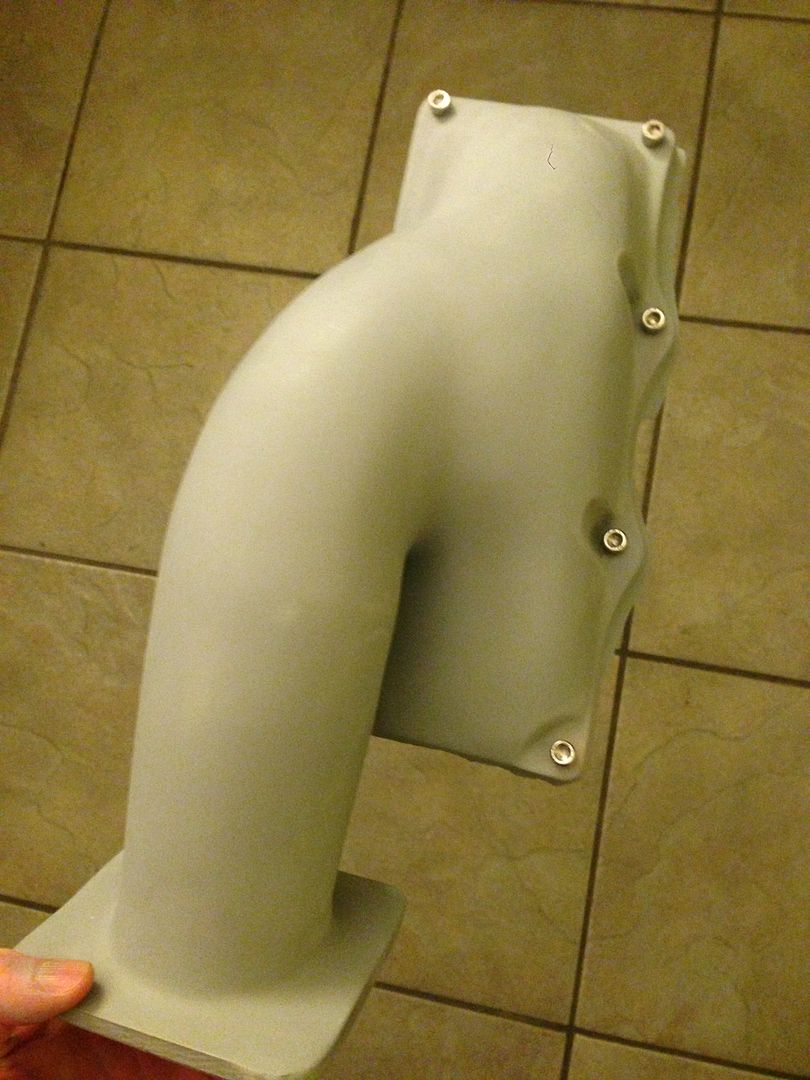
And this is how it attaches to the upper plenum of the intake manifold (the original throttle body inlet will be cut out and welded over):
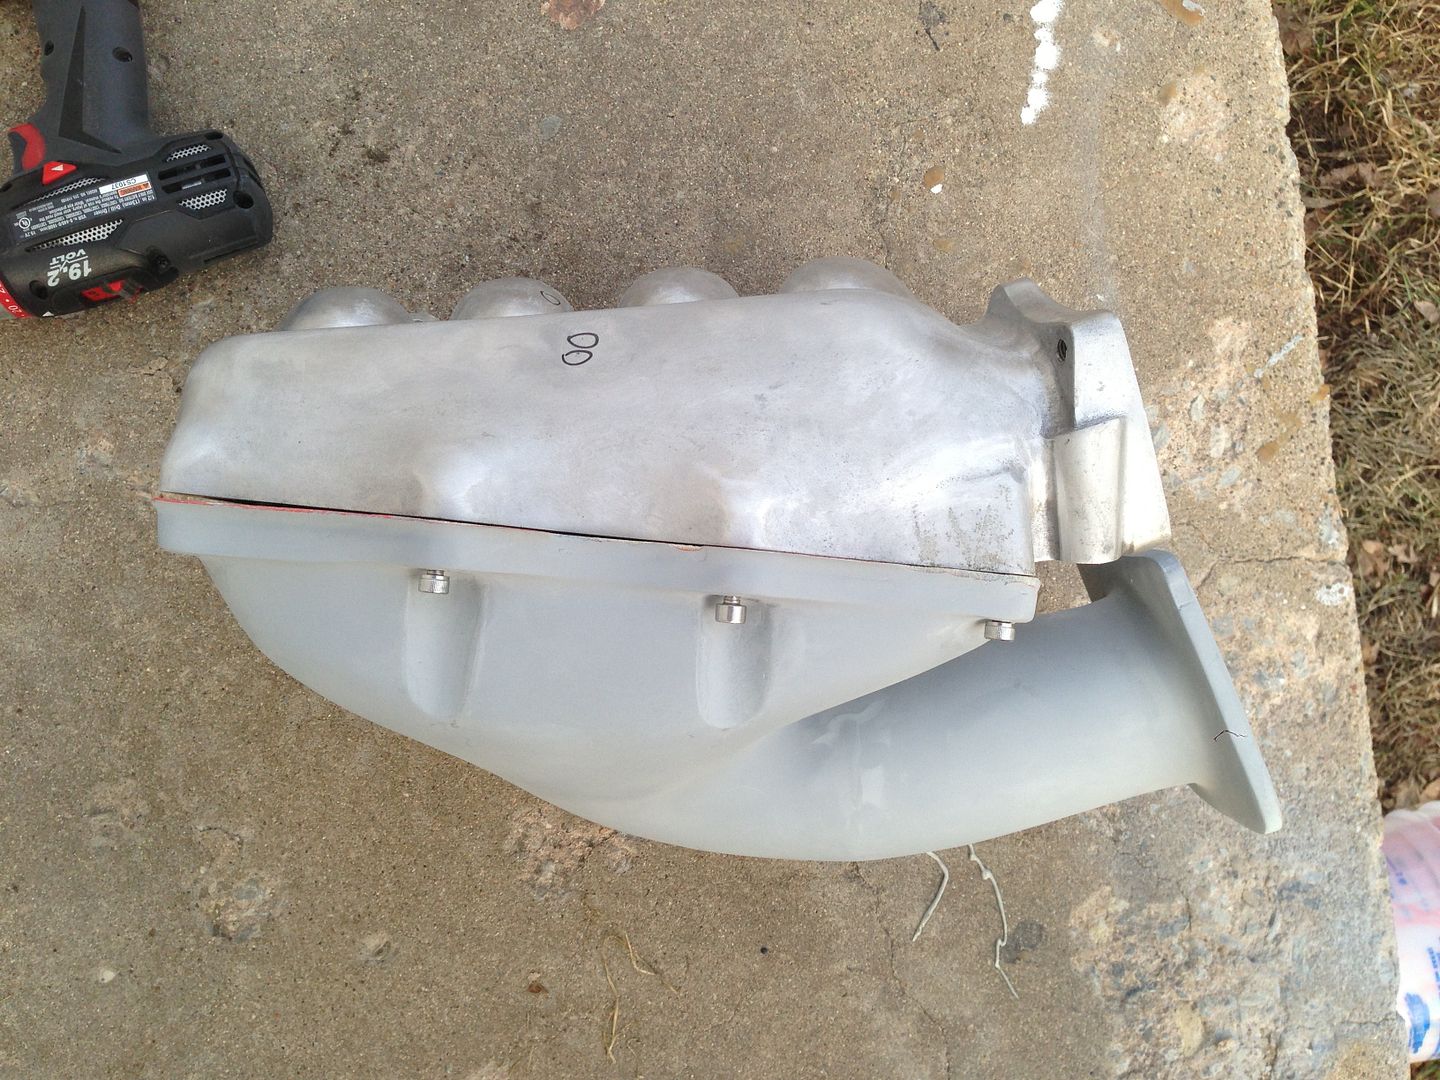
Excuse my ignorance, am I correct to think you just ground out the foam afterwards and didn’t get a smooth interior surface?
Not ignorant at all. That’s a great question. The next step with that plug will be to get it scanned with a 3D laser then create a working prototype in solid works…then have it 3D printed.
I’m wondering why you didn’t laser scan the flanges since the beginning.
You could have been saved a lot of unnecessary work.
The funny thing about the internet (and arm chair gladiators) is that they always want to tell you what you did wrong and what you should have done instead.
I disagree that scanning from the get go would “saved unnecessary work”. For one, the engine bay is very cramped and having a plug allowed me to make changes along the way…specifically the angle of the elbow as well as the angle of the throttle body.
Lastly, I don’t have personal experience with solid works so to design this from the “flange up” would require hiring someone ($$$) and trying to convey my ideas to them with sketches. Doing it this way, the company that scans the prototype can easily (with less than 1 hr of CAD time) convert the scanned prototype into a hollow skeleton.
By “working prototype” I meant a hollow CAD file.
Thanks for your comment nonetheless.
So I got a new problem I’ve never seen before with gel coat…it pulled away cleanly from the plug in some areas. Would this be due to nonuniform thickness?? My plug was sprayed with PVA prior to gel coat.
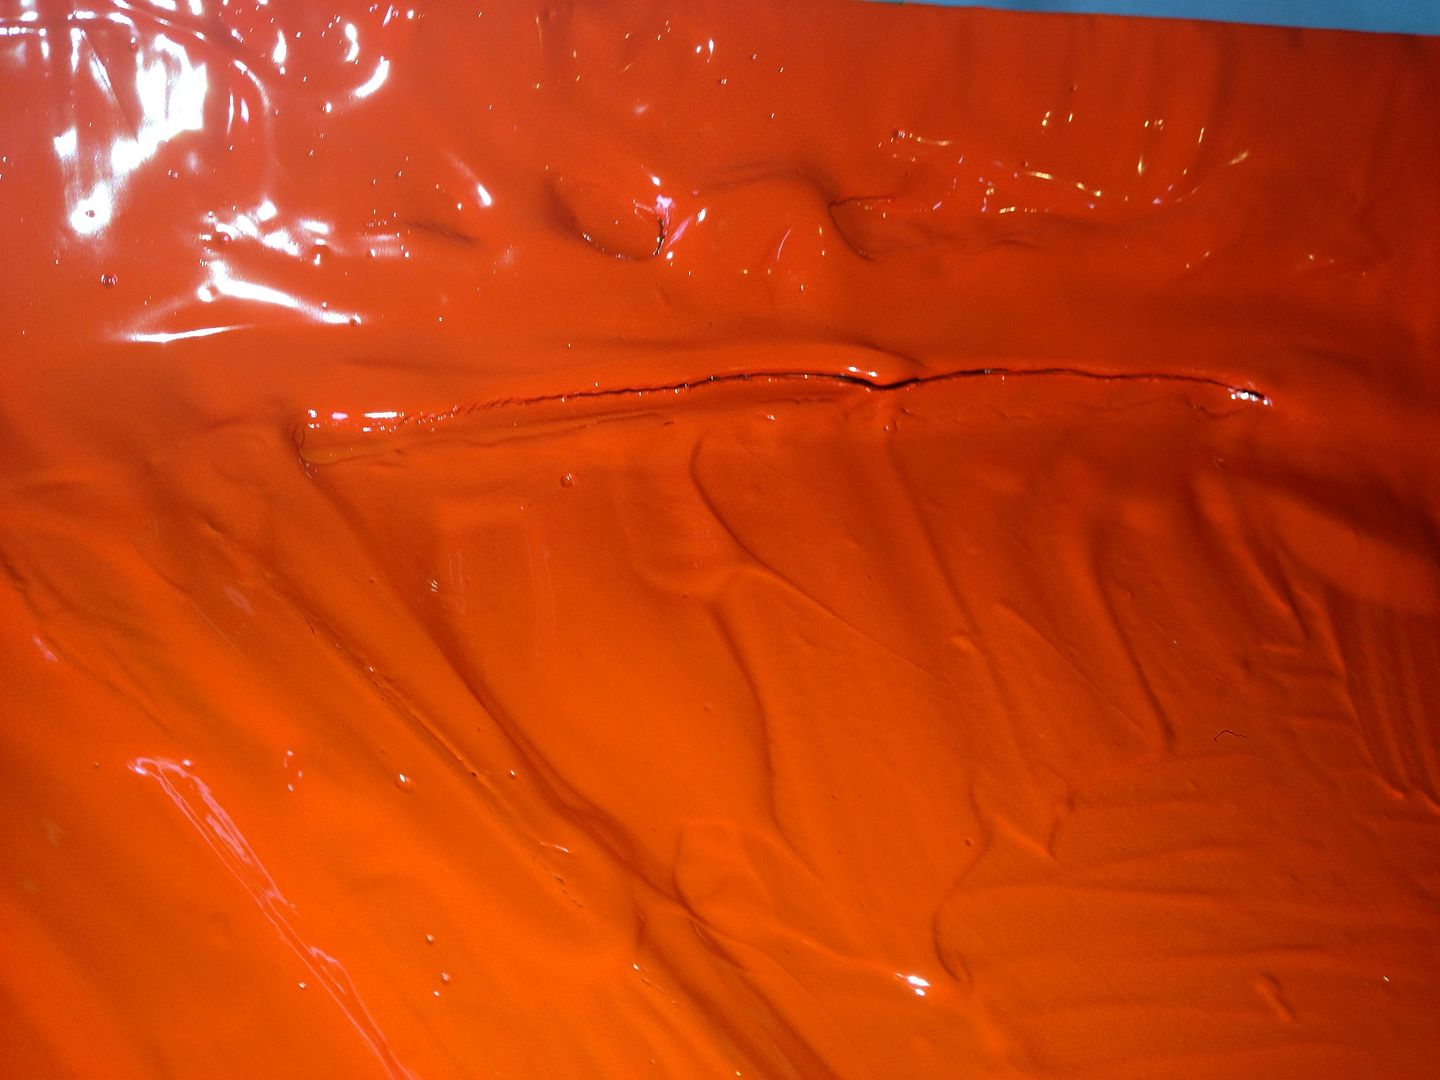
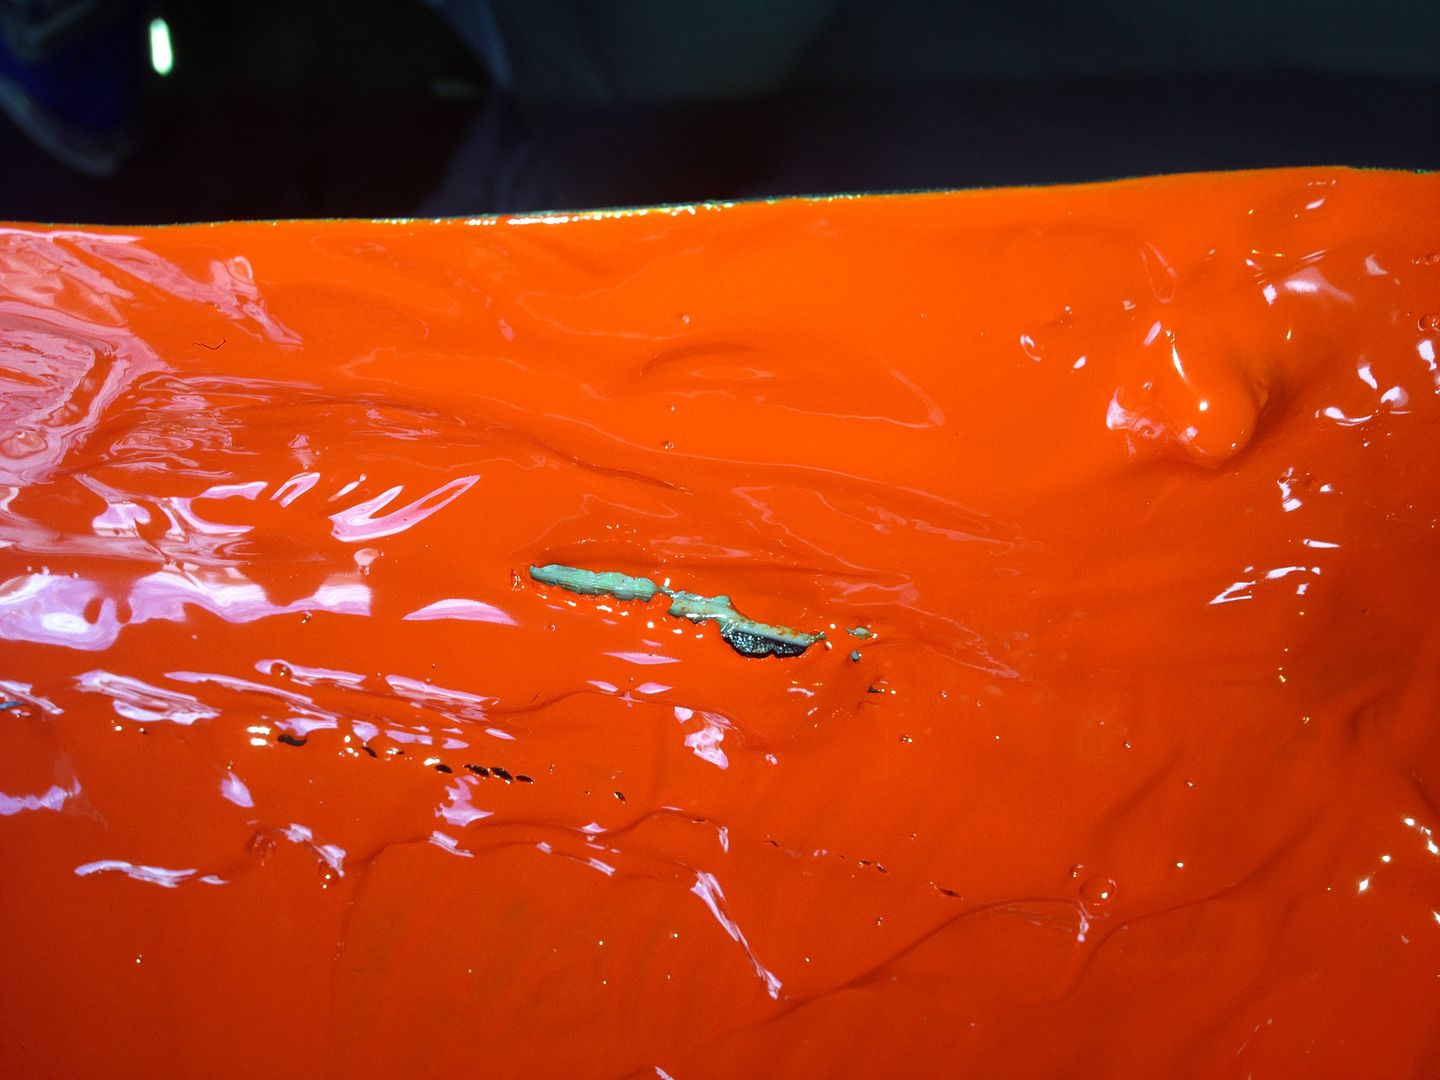
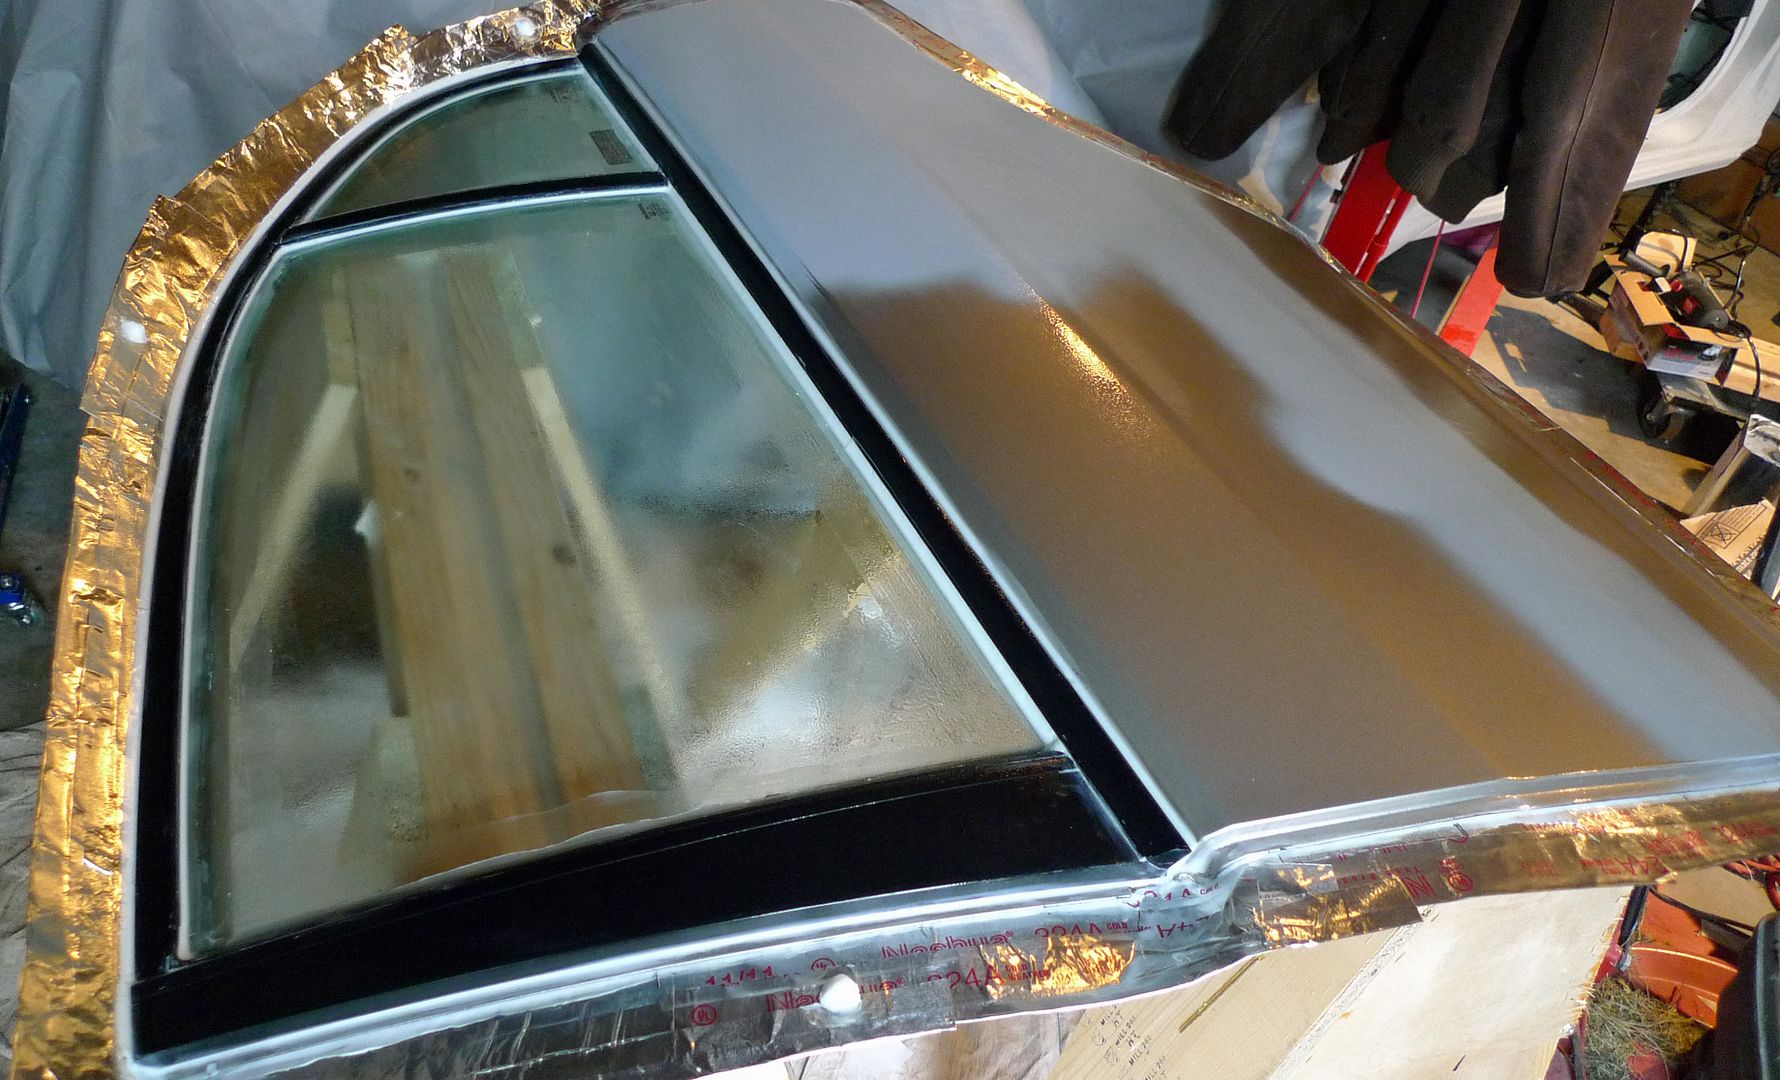
I used 100% silicone caulk in all the small crevices between the glass and the weather stripping. I have read that silicone can contaminate gel coat and I’m wondering if this was the cause of the gel coat failure?? (I have ordered soft fillet wax for a future attempt)
Here is a pic of the door flanged with silicone in along all the trim:
I am so tired of failing at this…I’m also doing this in my garage and I am at the mercy of the weather:(((((
Was it not fully cured? I’ve used silicone before and not had any issues. But I do know it does take a while to fully cure.
I once used it to fill in some seams before pouring some tool cast resin. I only waited an hour and it caused some weird wavy issues with the tool cast, but only in the spots where the silicone was and it was very minor, not a total failure like that.
Silicone had been on for about a week before the gel coat was applied. I think I probably tried to rush the gel coat a bit and laid it too thick in some areas.
Edit
Not sure why but this post took days to show up so was a duplicate.
I feel your pain, I had 5 goes at making a mould for my instrument binnacle before getting one that worked. I followed some of the tips on this video and it made a big difference.
[ame=“http://www.youtube.com/watch?v=UgKvDw1E60E”]How to Make a Carbon Fiber Car Bonnet/Hood - Part 1/3 - YouTube[/ame]
The only problem is he makes it look too easy.
Finally…success!!!
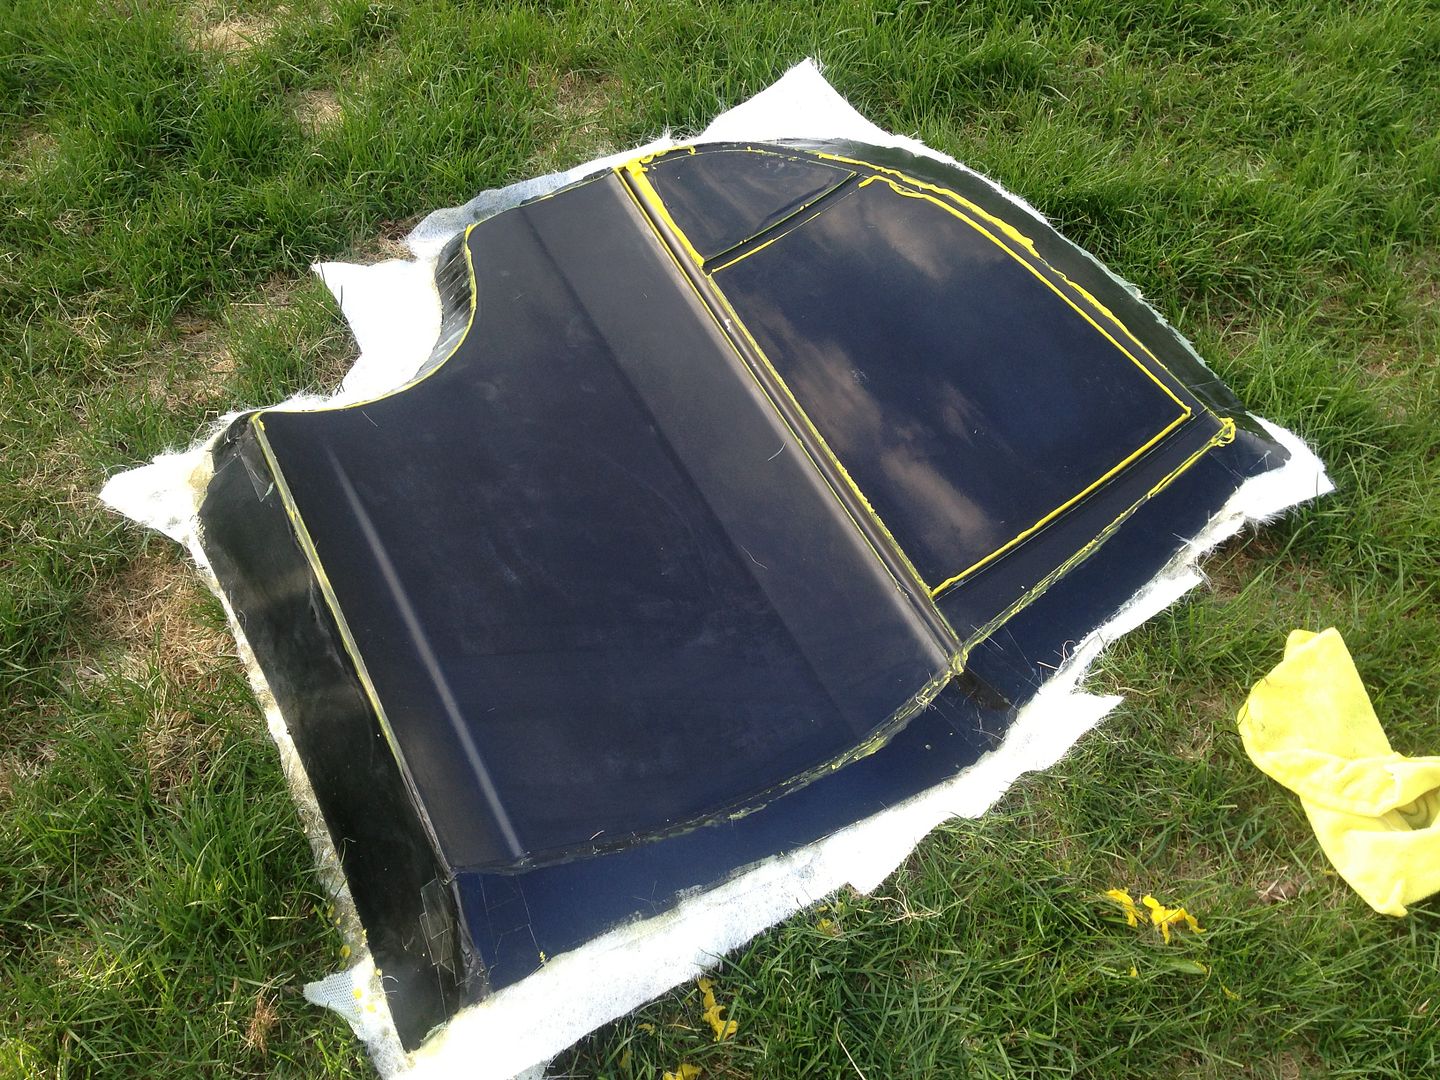
PROGRESS:)
Looks good, what do you think made the difference from the previous fails?
The first time I put the second coat of gel coat on too soon. The second time, I put the single coat on waaaay too thick. The third time I went slow with the gel coat application and waited overnight to put the second coat on…I was definitely sweating bullets when I applied the second coat.
Next up, I’m reinforcing the mold and then I’m going to buy supplies for vacuum infusion for a carbon fiber skin.
